Properly adjusted headlights light up the road better and minimize glare for other drivers, resulting in safer roads for everyone. In this article, we show you how you can perform a headlight adjustment and also give you tips for troubleshooting certain LED headlight issues.
Understanding LED Headlights
LED headlights have several key differences compared to the halogen headlight bulbs your car may have come with. These differences include:
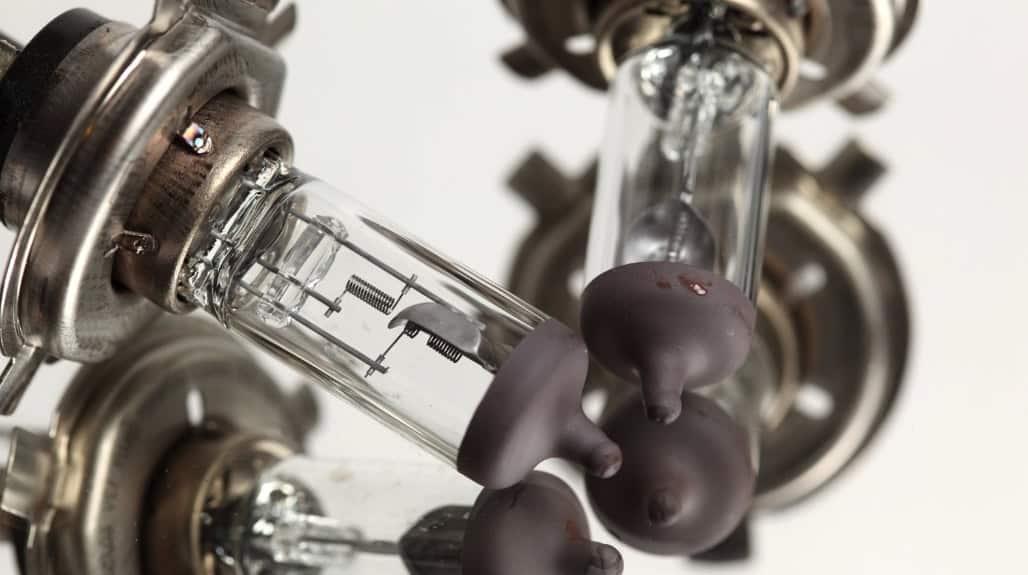
- Lighting Technology: Traditional halogen bulbs emit light by heating a tungsten coil inside a halogen-filled bulb. On the other hand, LED headlights produce light from one or more semiconductor chips that emit light due to the movement of electrons.
- Light Direction: The light from a halogen bulb comes from a point source that emits light equally in all directions while the light from LED headlights comes from chips typically installed on two sides of the bulb and isn’t equally emitted in every direction.
- Brightness: Good-quality LED bulbs produce a lot more light than halogen headlights.
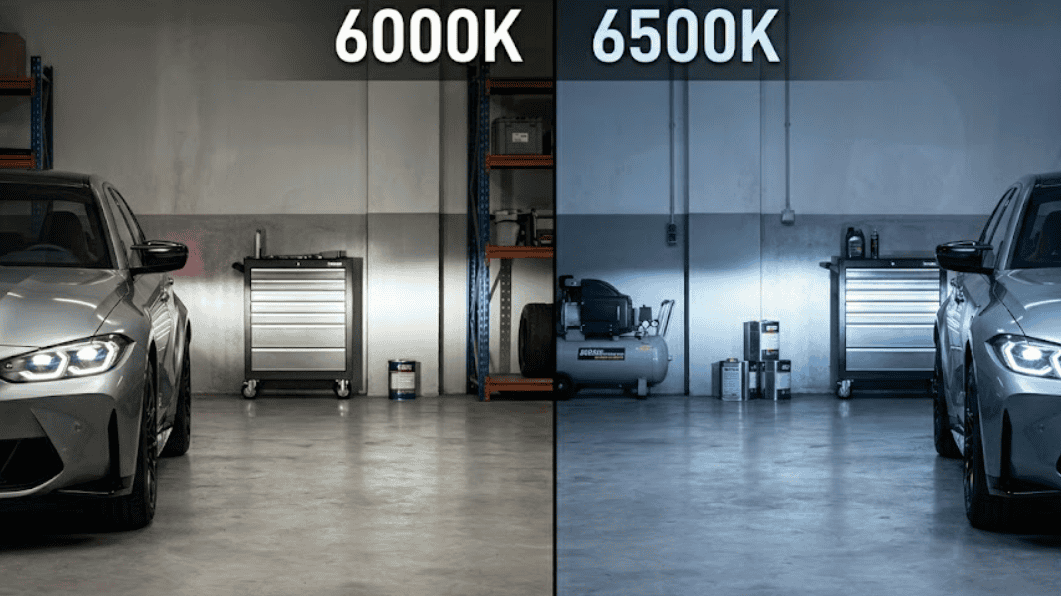
- Color temperature: Halogen bulbs produce a warm orange light with a color temperature of 3000K. LED headlights can achieve a wider range, but 4300K, 5800K, and 6500K are the most common LED color temperatures. These are cooler and look white.

These differences between LED and halogen headlights are important because to get the correct headlight beam pattern, the halogen bulb has to be angled correctly during installation. The higher brightness of the bulbs means a poorly aimed LED headlight will be more noticeable than a poorly aimed halogen headlight.
Lastly, experts have stated that the human eye is more sensitive to cooler or bluer light wavelengths compared to the warmer orange ones from halogen bulbs.
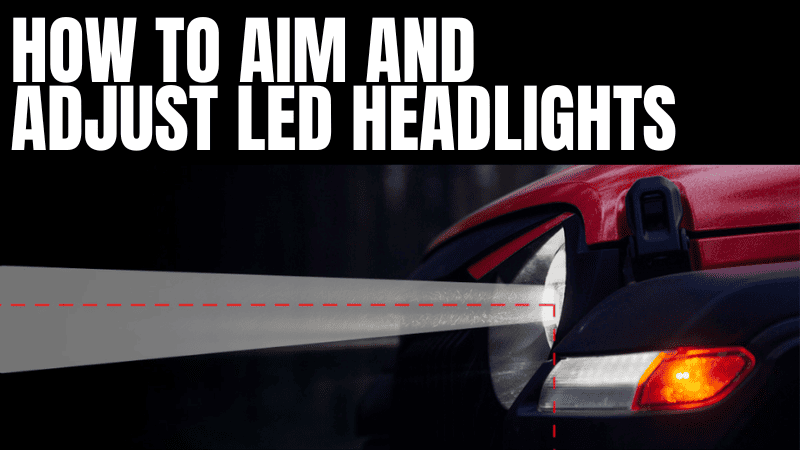
Step-by-Step Guide to Adjusting LED Headlights
When adjusting headlights, the goal is for the beam to be underneath the point of view of drivers coming from the opposite direction. This is only possible with a good-quality bulb that has a distinct bright spot or hot spot near the top of the beam.
If you’re working with a good LED headlight bulb and your car permits headlight adjustment, you can aim your headlights to make them less blinding to oncoming traffic. The step-by-step instructions are provided below.
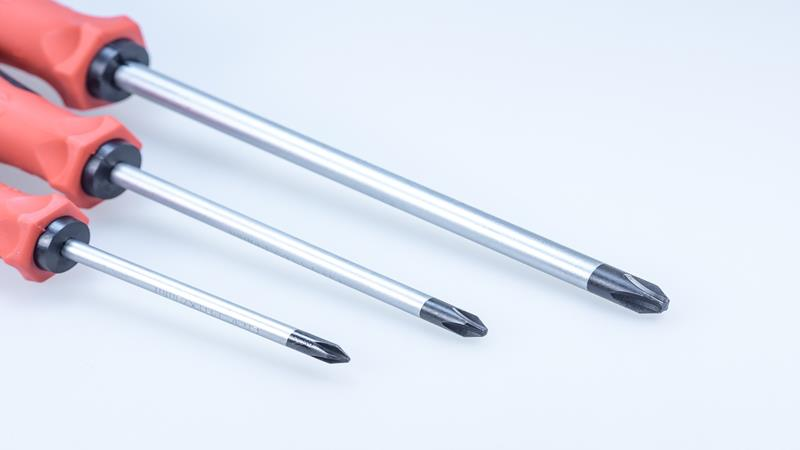
Step 1: Gather Your Tools and Owner’s Manual
For this exercise, you’ll need the following:
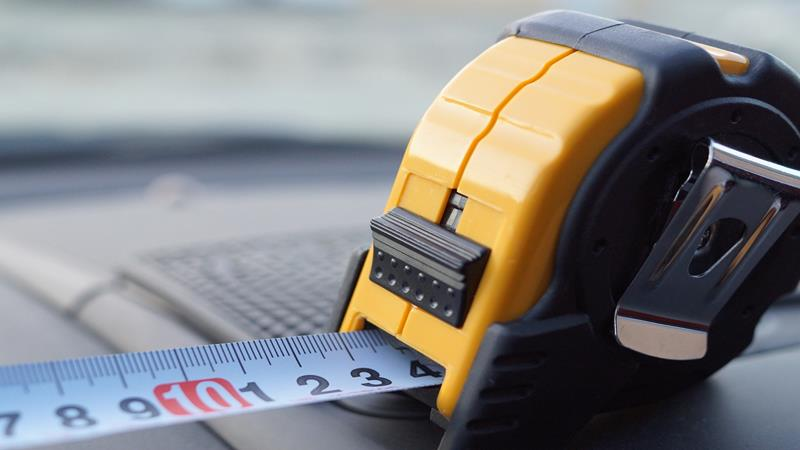
- Tape measure
- Masking tape
- Philips head screwdriver or Allen key (as per owner’s manual)
- Permanent marker
The owner’s manual is important because it can tell you which tool you’ll need for the adjustment and where the adjustment screw is located.
Step 2: Location and Loading Consideration
To properly aim the headlights, you’ll need to move the car to a flat surface with a flat wall or a garage door to aim the lights. You’ll also need to simulate the typical loading conditions in your car when you’re driving at night.
Heavy loads can shift the balance of your car resulting in a higher beam. Therefore, you’ll want someone in the driver’s seat, properly aired tires, approximately half a tank of gas, and any heavy equipment that’s always in the car. Remove incidental loads such as groceries.
Step 3: Identify the Centers of the Vehicle and Headlights
Move your vehicle three feet away from the wall or garage door, making sure it’s square, and turn on the low beams. Indicate the center of the vehicle on the wall using a vertical piece of masking tape.
Identify the center of your headlights and using the steel tape measure as a guide, add a vertical length of masking tape for each headlight on the wall to indicate these points. Next, measure the distance from the ground to the center of the headlight assembly and make a mark for each headlight at the same height on the tape on the wall.
Manufacturers have different ways of indicating the center of headlights, e.g., a dimple on the outer covering. Check with your owner’s manual.
Step 4: Add a Two-Inch Mark
From the first mark, measure two inches below it and add a second mark. Add a piece of tape between the first and second marks to form a cross-shaped target and repeat for the other headlight.
When adjusting your headlight, you’ll be aiming to get the hotspot of your light beams just below the horizontal tapes at the two-inch mark.
Step 5: Align the Headlights
Move the vehicle until it’s 25 feet away from the wall unless your manufacturer specifies a different distance for your vehicle. You’ll then have to locate the adjustment screws and pick the right tool for the adjustment. Many modern vehicles call for a Phillips screwdriver.
When you rotate the screwdriver or Allen key, the mechanism in the headlight will move the projector or reflector up or down depending on the direction of rotation. Turn the mechanism until the brightest part of the beam is just below the tape indicating the two-inch mark. Do this for both headlights.
Step 6: Take the Car on a Test Drive
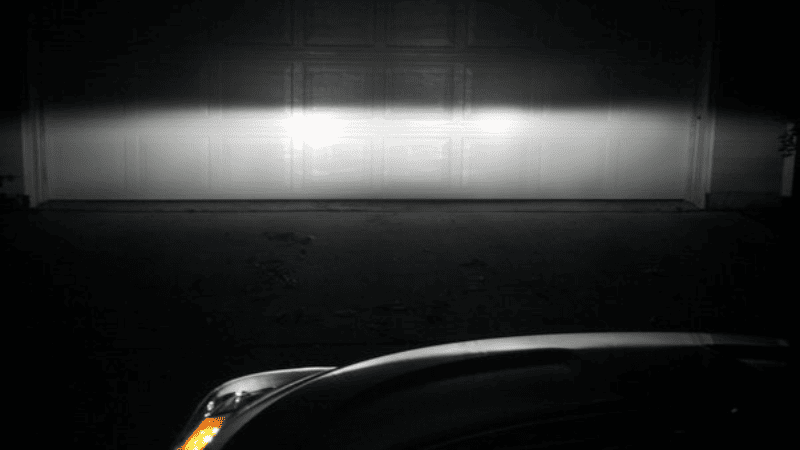
Take your car to a road that’s not too busy and observe how the low beam hits the street signs. Ideally, the lights should be bouncing off the feet of the signs. If the light is bouncing higher up the signs, they’re probably aimed too high up and will probably blind oncoming traffic.
Other indicators that your headlights are not properly aimed are:
- You are lighting up the inside of the car in front of you and seeing the back of the driver’s head.
- The drivers ahead of you keep adjusting their mirrors when you’re behind them.
- Oncoming drivers keep flashing their lights at you.
Troubleshooting Common Issues
Drivers who install LED headlights tend to run into a few known issues. Some of these can be easily fixed while others may require a professional’s intervention.
Excessive Glare
Excessive glare is one of the most commonly cited problems with LED headlights. They are typically brighter than halogen bulbs, which makes the glare issue noticeably worse.

Excessive glare in LED headlights can be corrected by:
- Properly adjusting and aiming the headlights.
- Installing the LED bulb with the LED chips facing the right direction, i.e., 9 and 3 o’clock.
In other cases, the beam pattern of the light bulb may be so bad that the only solution will be to get a better LED bulb. Some LED bulbs may also not be compatible with your existing headlight assembly. This will necessitate extensive retrofitting.
Uneven Beam Patterns
The beam pattern determines how well your headlights light the road without being in another driver’s eyes. Common beam patterns include:
- The DOT beam pattern, i.e. the American Standard
- The ECE beam pattern, i.e. the European Standard

Uneven beam patterns can mean an unfocused, uneven, or poorly aimed beam. This can result in hot spots or dark spots and poor visibility or excessive glare.
Poor beam patterns can be caused by the headlight housing, the type of LED chip, the arrangement of the chips on the bulb, too much space between the two faces of the bulb, and improper installation.
Uneven beam patterns may be fixed by aiming the headlights properly or ensuring the bulb is properly installed. However, in some cases, the best solution will be to switch to a better-quality LED bulb that is compatible with your headlight housing.
Maintenance Tips for LED Headlights
LED bulbs require very little maintenance. Other than the occasional cleaning to remove accumulated dirt, dust, or grime, you may not need to do much else. However, there are other things around the headlight you’ll need to give some regular attention to.
The seal around the headlights can fail, leading to condensation inside the headlight. This seal will have to be reapplied and the moisture cleaned. Your bulbs may also go out of alignment with time. This means you’ll have to repeat the adjustment above.
A more common issue with headlights has to do with the wiring. These can become loose, cut, or corroded. For wiring issues, it’s a better idea to consult a professional.
When to Consult a Professional

Some headlight issues are best handled by an expert. Some situations where you should consult a professional are:
- There is no obvious method for adjusting your car’s headlights.
- You can’t get the headlights aimed properly despite several efforts.
- The LED bulbs seem to require adjustment regularly.
- You experience other headlight issues, e.g., flickering lights, bulbs not lighting, etc.
- You don’t have the means or the tools to properly adjust and test your headlights.
Conclusion
The rapid adoption of LED headlight bulbs has been curtailed by reports that they cause too much glare for other drivers. This problem may have been attributed to the brightness of the bulbs, but in many cases, it’s simply because the bulbs are aimed incorrectly.
When working with good-quality bulbs and compatible headlight housing, adjusting your headlights should be no more than an evening’s job.
In other cases, the bulb may be incompatible with your current housing or there may be a different issue with your car. Consulting a professional is the best solution in such cases.
Get Wholesale LED Headlights – Contact Us for Bulk Pricing!
No amount of aiming and adjustment will make up for a poor-quality LED bulb. Carlightvision’s products are designed and manufactured to help you avoid this problem. We’ve worked with many businesses to deliver LED headlights that make poor beam patterns a thing of the past. Contact our team to find out what solutions we can offer you today.