Have you ever driven your car at night and noticed that the headlight output seems to be pointing in the wrong direction? This can not only be frustrating but also dangerous. Imagine trying to navigate your way through a dark forest with only a dim flashlight.
You need a good headlight beam pattern to guide you safely on the road. But what is a good headlight beam pattern, and how do you ensure that your car’s headlights meet the standards? Let’s find out.
What is a Headlight Beam Pattern?
A headlight beam pattern is the distribution of light emitted by your car’s headlight lens on the road ahead. In other words, the shape and direction of the light is projected from your headlights.
This pattern should be designed to provide maximum visibility while minimizing the glare of other drivers on the road. You can’t just point your headlights in any direction and call it a day. There are standards set by the Department of Transportation (DOT) and the Economic Commission for Europe (ECE) that dictate how a good headlight beam pattern, both low beam and high beam, should appear.
Characteristics of a Good Headlight Beam Pattern
So, what makes a headlight beam pattern good? Here are some characteristics that you should look for:
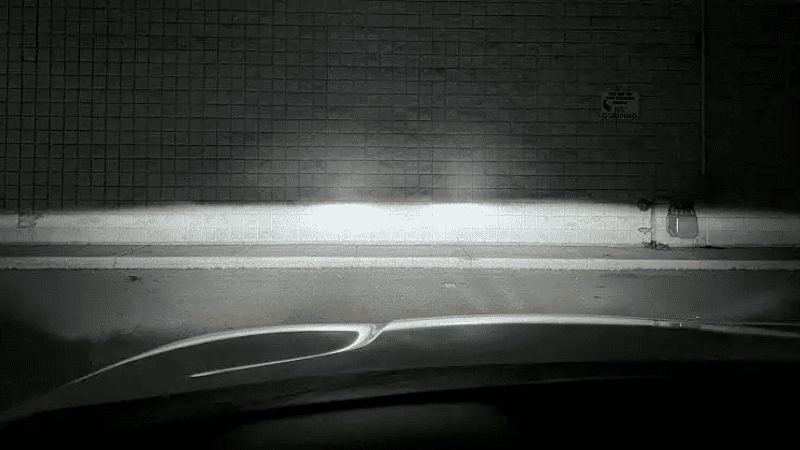
Sharp Cut-off Lines
Sharp cut-off lines are a sign of a good headlight beam pattern. These lines serve as a boundary at the top of the light beam, preventing the light from shining directly into the eyes of oncoming drivers. This feature significantly reduces the chance of causing discomforting glare for other drivers.
In short, it enhances road safety by preventing visibility impairment for other drivers. So, the sharp cutoff line should be clear and well-defined for optimal performance.
Light Distribution

Another characteristic of a good headlight beam pattern is the even distribution of light. A well-designed beam pattern should illuminate the road uniformly, with sufficient brightness at both the center and edges. It is crucial to have a wider spread of light towards the right side of the road (or left, depending on the country’s driving direction) to view pedestrians and potential roadside hazards.
Uneven light distribution can result in blind spots, making it difficult to see objects or obstacles on the road. As a result, it can increase the risk of accidents.
Clearly Defined Hotspots
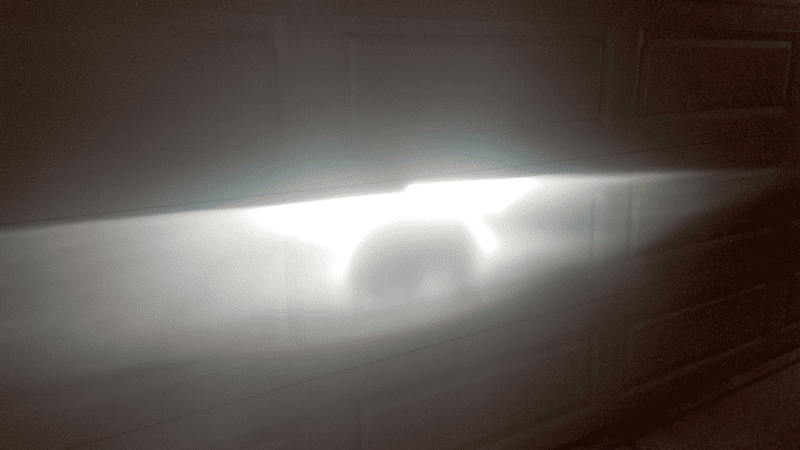
Hotspots are the brightest areas of the beam pattern, typically found towards the center. A clear and prominent hotspot can improve long-distance visibility, which is especially crucial during night driving on highways or dark country roads.
Properly defined hotspots ensure the driver can see far enough ahead to react to potential hazards. For example, there should be enough light to see a pedestrian crossing the road or an animal running across the road. When combined with an even light distribution, this feature forms a well-balanced and efficient beam pattern.
Types of Headlight Beam Patterns
There are mainly two types of headlight beam patterns:
DOT Headlight Beam Pattern Explained
The DOT (Department of Transportation) beam pattern is a standard set out by the U.S. DOT. Per the DOT beam pattern regulations, all projector headlights must be operational and detectable from a distance of at least 500 feet.
This requirement ensures adequate driver visibility and promotes road safety measures. Such headlights must adhere to the Section 108 requirements of the Federal Motor Vehicle Safety Standards (FMVSS) to be qualified as DOT. When discussing DOT beam patterns, it is always important to highlight their role in maintaining road safety standards.
ECE Headlight Beam Pattern Explained
The ECE (Economic Commission for Europe) headlight beam pattern was established by the United Nations Economic Commission for Europe. It has a unique feature known as the front position function. This aspect denotes that ECE-compliant headlight beam patterns are recognized and accepted in the European Union and other non-European countries that have adopted ECE Regulations.
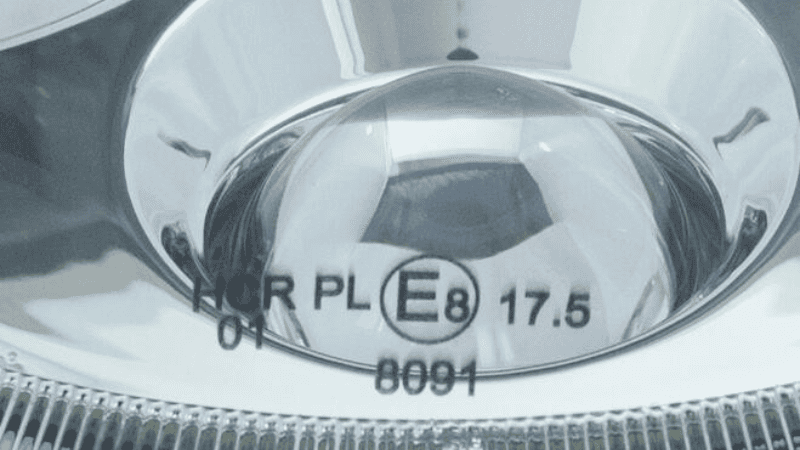
One important note about ECE-complaint headlights is their marking. The complaint headlights have a permanent mark that indicates their compliance, which is easily visible when installed (similar to your stock light). This visible confirmation of compliance eliminates the necessity for additional certificates during inspection, simplifying the process considerably.
Similar to the DOT standard, the ECE headlight beam pattern is carefully made to balance, giving enough light and keeping everyone safe. However, the specific characteristics may vary based on European and ECE-adopting countries’ driving conditions and regulations. This beam pattern ensures a well-defined and uniform light distribution.
Comparison Between DOT and ECE Headlight Beam Patterns
Here is a quick side-by-side comparison between DOT and ECE headlight beam patterns:
| DOT | ECE |
|---|---|
| It features a high beam ‘hotspot’ towards the center, providing effective long-distance visibility crucial for wide roads. | It emphasizes the even distribution of light, specifically casting a wider spread towards the right side of the road (or left, as per local driving directions), which is ideal for narrower roads. |
| The ‘cut-off’ line here is less sharp. | The ‘cut-off’ line here is very sharp. |
| Front position functions are not needed. | Front position functions are a must, as the focus is not just the driver’s visibility but also the vehicle’s visibility to others on the road. |
| The light intensity is designed to reduce as one gets closer. This safety measure reduces glare for oncoming drivers when vehicles cross paths at a close range. | The light intensity is maintained throughout their range, consistent with the uniform light conditions preferred on European roads. |
Adjusting Headlight Beam Patterns
This is something that is discussed among car lovers and aftermarket headlight manufacturers. Well, adjusting the headlights as good beam patterns are related to the alignment of your headlights. Although, it is not required for every vehicle.
For example, if you notice that the light from your headlights is too low or high, it may be a sign that your headlight beam pattern needs adjustment. This can also happen if you frequently carry heavy loads in your car, causing the front end to dip and change the alignment of the headlights.
Before you start the process, make sure you have the right tools. You will need the following:
- Masking Tape
- Tape Measure
- Screwdriver/Socket Wrench
- A Wall
After you have these necessary tools, follow these steps to adjust your headlight beam pattern:
Step 1: Position Your Vehicle Correctly
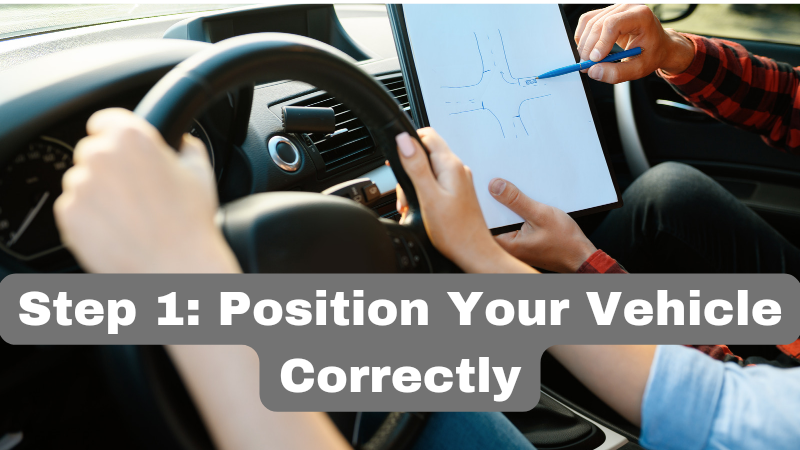
Before starting the main adjustment process, it is crucial to ensure that your vehicle is correctly positioned. Pull your vehicle up to the wall about three feet away. This gap between your front bumper and the wall will allow you to properly access the alignment of your headlights and see the adjustments as you make them. In addition, ensure that your vehicle is parked on a flat surface and the headlights are facing directly ahead.
Step 2: Simulate Normal Driving Conditions

While adjusting the headlights, remember to simulate your standard driving conditions for the most accurate results. When only one person typically drives the vehicle, have them sit in the driver’s seat during the adjustment process. This is because the driver’s weight can shift the headlights’ alignment. Similarly, if your car is often weighted down with heavy equipment, replicate the weight during the alignment.
Aiming your headlights under typical load conditions will ensure you have the best possible visibility during your regular driving scenarios.
Helpful Tips: Keep your vehicle’s fuel tank about half full during the adjustment process for a more precise alignment. This considers how the weight of the fuel can affect your car’s balance, leading to more precise headlight alignment.
Step 3: Mark the Vehicle and Headlight Centers
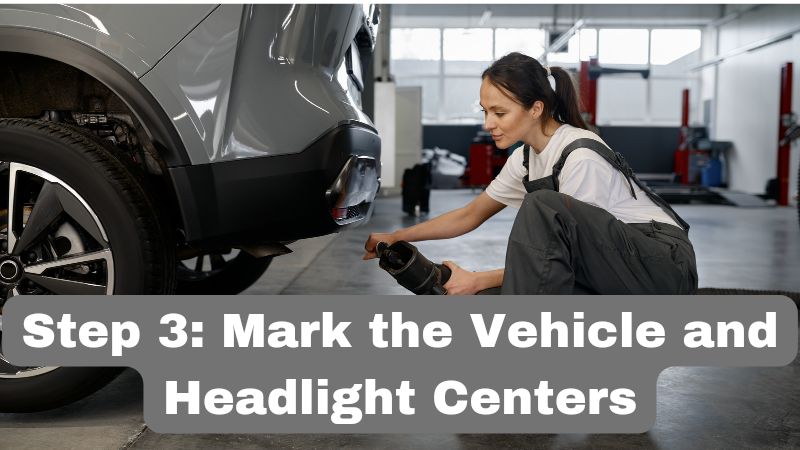
Identifying your vehicle’s and headlight’s centers is important for accurate adjustments. To begin, locate the center of the vehicle. Once you have determined this, place a vertical strip of painter’s tape or a similar marking tool on the wall directly in front of the vehicle’s center point.
Next, find the center of each headlight, typically indicated by a small dimple in the plastic casing. Place another vertical piece of tape on the wall before each headlight center. Ensure that the distance between the vehicle’s center mark and each headlight’s mark on the wall is equal.
This will guarantee that the adjustments are aligned properly with your vehicle’s center and each headlight, leading to a more accurate and effective adjustment process.
Step 4: Measure and Mark the Headlight Height
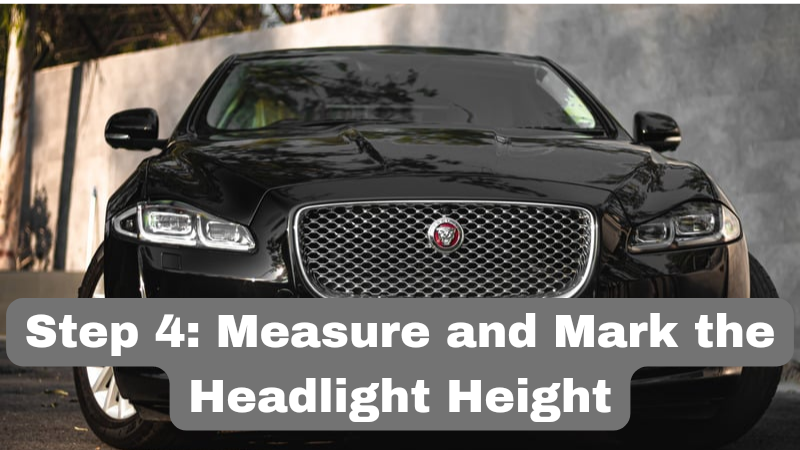
Now, it’s time to identify the exact height of your headlights. Start by using a tape measure to find the distance from the ground up to the center of your headlight. This is usually the position of the dimple on your headlight.
Carefully note this measurement, as it represents the precise height of your headlight from the ground up. Then, measure this distance from the floor to the tape on the wall and make a corresponding mark on the tape. This mark should line up with the center of your headlight.
Step 5: Create a Lower Reference Point

Once you have determined the center of your headlight on the wall, it is important to establish a lower reference point. To do this, measure down two inches from the center mark you have just made on the tape and make a second mark. Now, place a horizontal strip of tape just above this lower mark.
This will create a guide from the cut-off of your headlight beam. Remember, this process should be repeated for both headlights to ensure they are properly aligned.
Step 6: Set the Appropriate Distance from the Wall
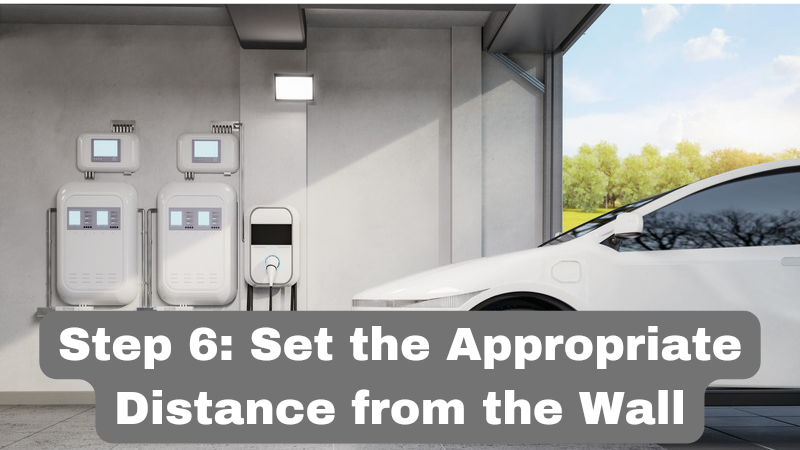
Next, ensure your vehicle is at the correct distance from the wall. Generally, this would be approximately 25 feet. However, remember that this distance might vary for different car manufacturers. Therefore, it is a good idea to consult your vehicle’s owner manual to determine the distance recommended for your specific model.
After you have moved your vehicle back to the noted distance, check your headlight’s beam alignment. The upper edge of the beam should not exceed the cross mark on the wall that was made earlier. This is important in ensuring efficient and safe illumination of the road ahead.
Step 7: Adjust the Headlight Height
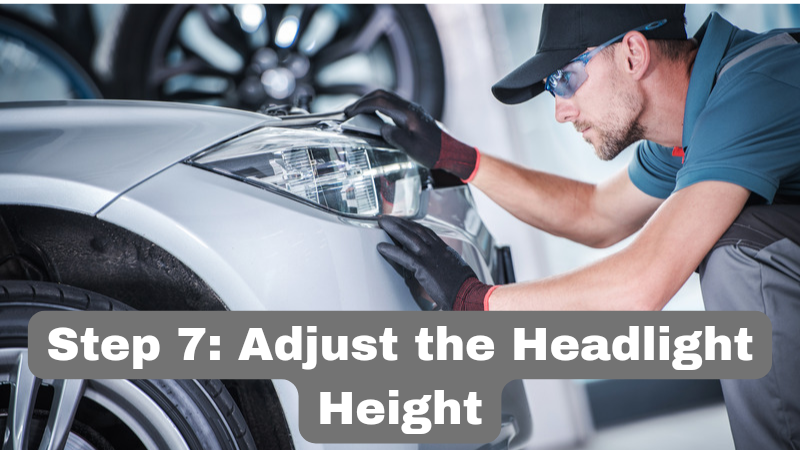
The final step in this process includes adjusting the height of your headlights. Locate the adjustment screw on your headlight. This screw will be responsible for changing the screwdriver or socket wrench; turn the adjustment screw.
If there are high beams, turn the screw clockwise. If there are low beams, turn it counterclockwise. Make small adjustments and check the beam’s position on the wall after each change. The goal is to align the top of the headlight beam with the horizontal tape mark on the wall.
This ensures optimal illumination without blinding oncoming traffic. Remember to adjust both headlights for an equal and balanced lighting system.
After these steps, you should have successfully adjusted a good beam pattern! But before you hit the road, here are a few tips to keep in mind:
- Check your headlight alignment regularly, especially after any changes to your vehicle’s weight or suspension.
- If you notice one headlight is significantly brighter than the other, it means there is a problem with the bulb or wiring. Have this checked out by a professional mechanic.
- Fog lights and high-beam headlights require separate adjustments, so refer to your vehicle’s manual for specific instructions.
Conclusion
So, a good headlight beam pattern is important for your safety and the safety of others on the road. The process may seem complex, but with our step-by-step instructions, you can confidently adjust your vehicle’s headlight at home.
The key is to take your time and follow the instructions carefully, ensuring a clear and balanced beam pattern. With proper headlight adjustment, you can drive confidently, knowing you have excellent visibility in all driving conditions.
If you are still having problems, it is better to get the right LED bulb for your car’s headlights. Here are the four Types of Headlight Bulbs you can get today!
Contact Us Today to Optimize Your Fleet’s Headlights for Maximum Safety!
Don’t let poorly adjusted headlights compromise your safety on the roads. Good light ensures your visibility and helps other drivers see you. At CarlightVision, we understand how crucial headlights are to driving safety.
We are here to help you maximize your vehicle’s lighting system. Ready to learn more about CarlightVision? Visit our website for a complete overview of our services and products.