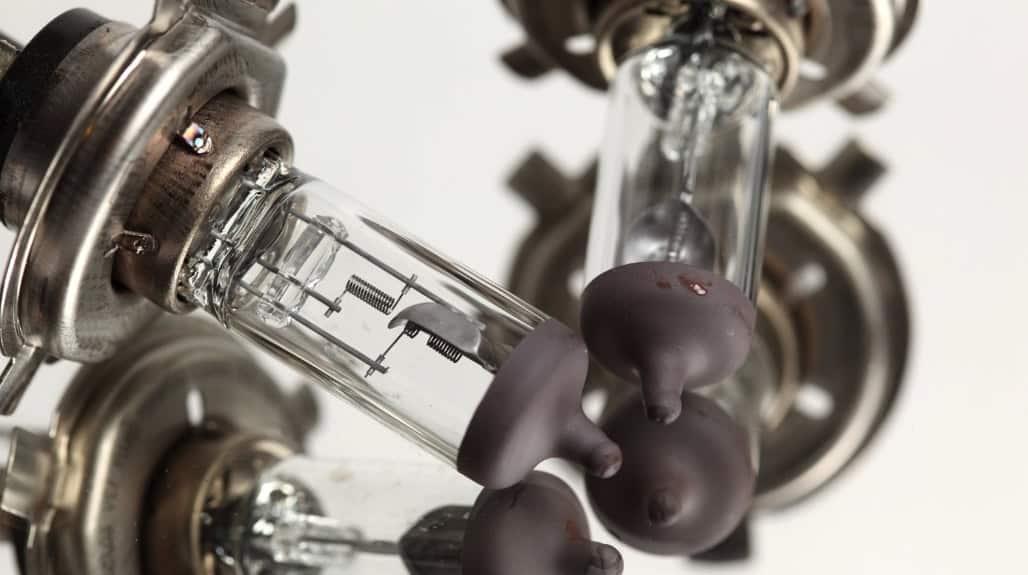
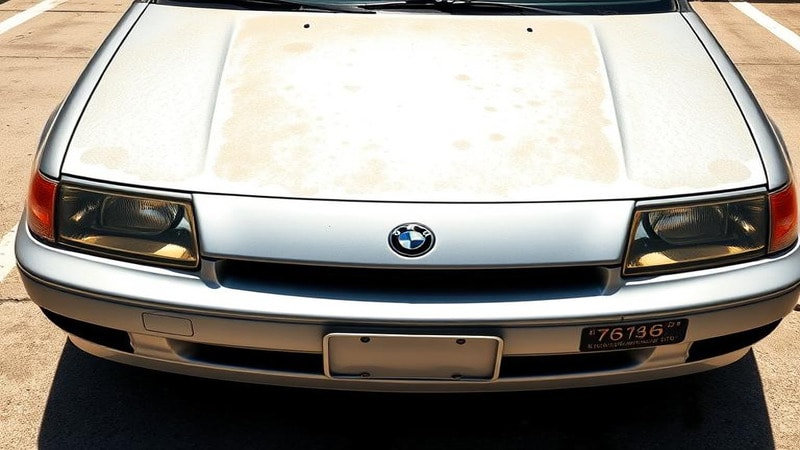
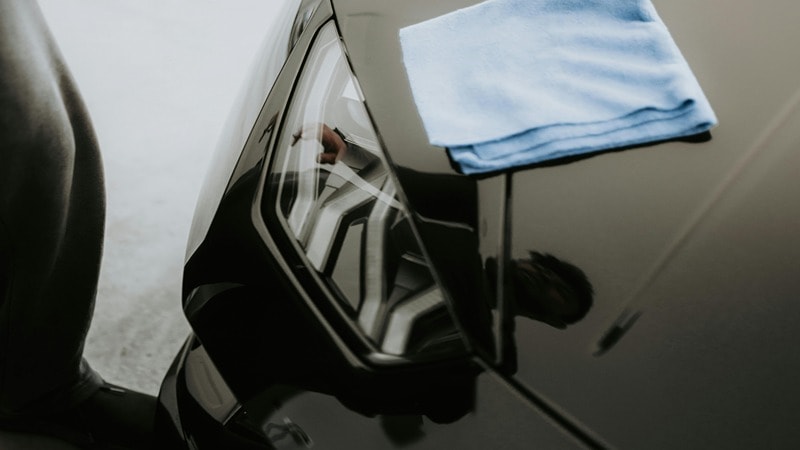
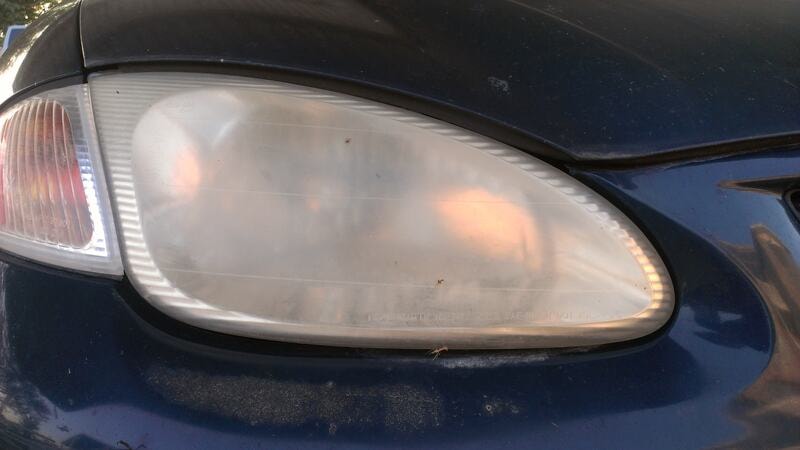
Have you noticed yellowness or fog in your car headlights? It reduces visibility and affects the clarity of light output. You need to clean the headlights for driving safety. It is dangerous to drive a car with low visibility at night. Wondering how to clean headlights?
This blog includes a step-by-step guide to cleaning foggy headlights. Explore different cleaning methods and best practices!
Why Do Headlights Get Foggy or Yellowed?
Your headlights can become foggy or yellowed over time because several factors work together to degrade their plastic lenses.
Continuous UV exposure from sunlight breaks down the protective coating, while heat and oxygen cause the plastic to oxidize, turning it cloudy. Dirt, road grime, and pollutants stick to your headlights and sometimes get inside, making the lens appear hazy.
Moisture and condensation can form inside your headlights, scattering the light and reducing visibility. Even harsh cleaning chemicals you use can speed up yellowing and wear, making your headlights look older and less effective.
Reason 1: UV Exposure
Headlights are enclosed in a plastic covering infused with a UV protective film in the outermost layer. Over time, the film degrades due to continuous UV exposure and heat from the light. The plastic also reacts with oxygen, leading to headlight oxidation. It causes cloudy headlights that appear yellow.
Reason 2: Dirt & Grime Buildup

When driving around the road, debris and pollutants stick to the surface of the headlights. Although headlights are sealed airtight, dirt makes its way inside. It leads to dirt and grime buildup inside and outside the headlights. The edges and corners are most affected and look foggy.
Reason 3: Moisture & Condensation
When you wash the car, moisture seeps into the headlight covering due to condensation. The water droplets appear on the headlight surface from inside. The accumulation makes headlights look cloudy. It severely affects visibility because the light beam reflects on water droplets and scatters.
Reason 4: Chemical Reactions
The use of harsh chemical products for cleaning purposes often causes yellowing in headlights. It also accelerates deterioration, leading to quick wear. The chemicals strip the protective layering, which causes oxidation. The headlight lens appears hazy, leading to low visibility.
What are you preparing for headlight cleaning?
Before you start cleaning your headlights, you should gather the right supplies, choose an effective cleaning method, and know how to protect your car’s paint. Proper preparation ensures you can restore clarity safely, remove yellowing or cloudiness, and make your headlights last longer.
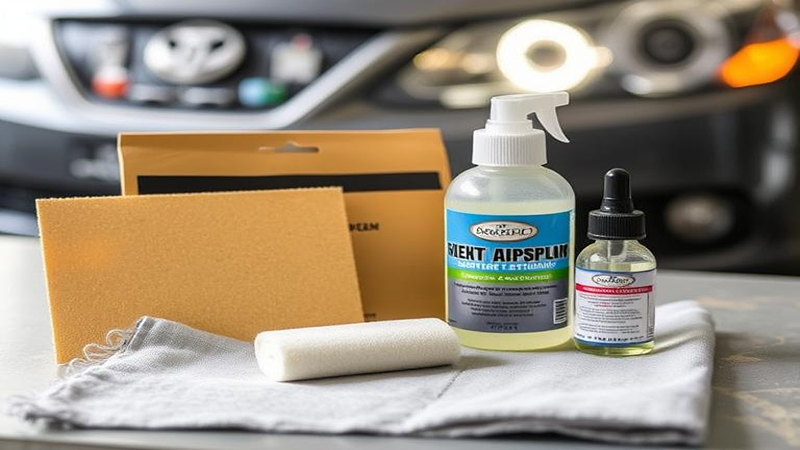
1. Gather Necessary Supplies
- Microfibre cloth: To wipe away dirt and grime.
- Masking tape: Protect your car’s paint around the headlights.
- Mild cleaning solution & soap: For basic cleaning.
- Sandpaper (optional): For deep oxidation removal.
2. Choose Your Cleaning Method
- DIY solutions: Baking soda, vinegar, and toothpaste for light haze.
- Commercial headlight kits: Easy, efficient, and come with instructions.
- Wet sanding: For severe yellowing or cloudiness.
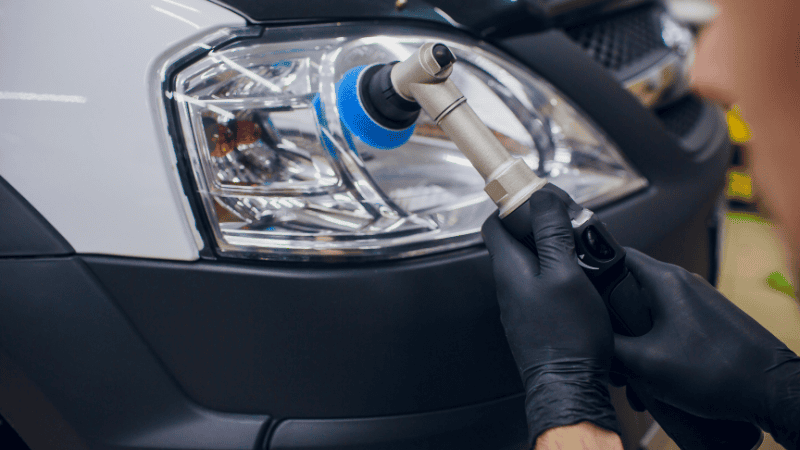
3. Using a Headlight Restoration Kit
Headlight restoration kits are a popular choice for cleaning headlights.
- Kits include wet/dry sandpaper, polish, and other materials.
- Follow the instructions for a quick and safe clean.
- Minimal preparation needed if using a complete kit.
4. Alternative Methods for Cleaning Headlights
Let’s compare DIY headlight cleaning solutions to gauge their effectiveness. It will help you identify the best way to clean headlights.
| Cleaning Solution | Usage | Pros | Cons | Effectiveness |
|---|---|---|---|---|
| Vinegar | It is ideal for removing light oxidation | It is natural and non-toxic | It may not work for excess oxidation and yellowing | Moderate |
| Toothpaste | Used to remove oxidation and yellowing and also for surface cleaning | It is abrasive and effectively removes oxidation and grime. | It must be used with a scrub, which can cause scratches | High |
| Baking Soda | Universal cleaning agent | It is natural and mildly abrasive | Offers temporary results and requires frequent reuse | Moderat to low |
How to Clean Foggy Headlights (Step-by-Step Guide)
Are you worried about foggy headlights? If your headlights are foggy or yellowed, you can restore them at home using simple tools, DIY cleaning agents, and proper techniques. Cleaning foggy headlights improves your night-time visibility, restores the look of your car, and protects your headlights from future damage.
Here are DIY headlight cleaning tips; follow the steps to clean your car headlights at home.
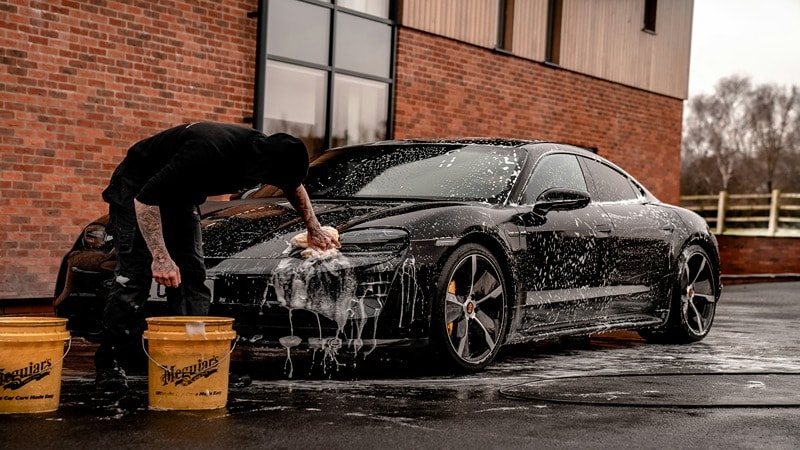
Step 1: Preparation Before Cleaning
Before you start cleaning, you need to prepare your car and materials so you can work safely and get the best results.
- You should park your car in an open, well-lit area.
- Turn off your engine and disconnect your battery for safety.
- Gather your microfiber cloth, soap, cleaning solutions, and masking tape.
- Use masking tape to protect your car’s paint around your headlights.
- Rinse your headlights and wipe them with a dry cloth so they are ready for cleaning.
Step 3: Sanding of Headlight Surface
You should sand your headlights to remove oxidation and yellowing, giving you a smoother, clearer surface.
- Wet your 800-grit sandpaper and your headlight with bottled water to prevent scratches.
- Sand in straight, even motions across your headlight surface.
- Rinse your headlights thoroughly after sanding to remove debris.
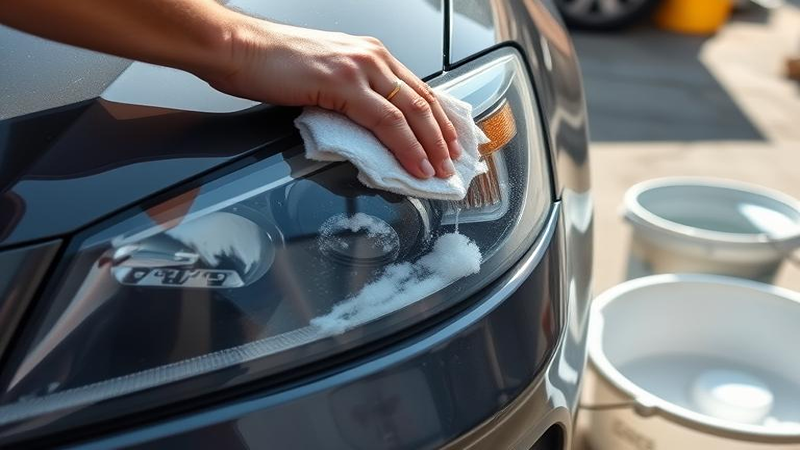
Step 4: The Cleaning Process
You need to clean your headlights with a DIY agent to remove remaining haze and minor scratches.
- Apply a paste made of vinegar and baking soda, or use toothpaste directly.
- You should scrub in circular motions using your toothbrush or soft cloth.
- Rinse your headlights with water and wipe them clean with your microfiber cloth.
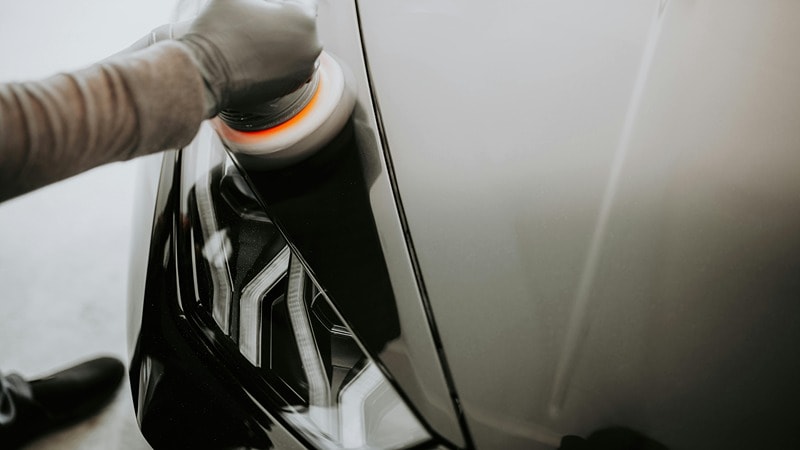
Step 5: Polishing and UV Sealant (Optional)
By polishing your headlights and applying a UV sealant, you protect your lenses and make them look shiny and clear.
- Let your headlights dry completely before polishing.
- Apply a polishing compound with your soft applicator or foam pad and wipe off excess.
- Apply UV sealant to your headlights to protect them from future UV damage.
Step 6: Final Rinse and Wipe
Your final rinse ensures that your headlights are clean, dry, and fully restored for safer driving.
- Rinse your headlights with soap and water to remove any remaining residue.
- Remove the masking tape you applied around your headlights.
- Dry your headlights with your clean microfiber cloth.
- Inspect your headlights and see the difference in clarity and brightness for yourself.
How to Prevent Hazy Headlights
You can prevent hazy, foggy, or yellowed headlights by taking simple and consistent steps: clean your headlights regularly, protect them from UV damage, avoid harsh chemicals, and follow basic maintenance habits. By doing this, you keep your headlights clear, extend their lifespan, and improve your driving safety.
- Clean your headlights regularly. Use a damp microfiber cloth to remove dust and grime, especially from corners and edges.
- Apply a UV sealant or coating. This protects your headlights from sun damage and keeps them looking new longer.
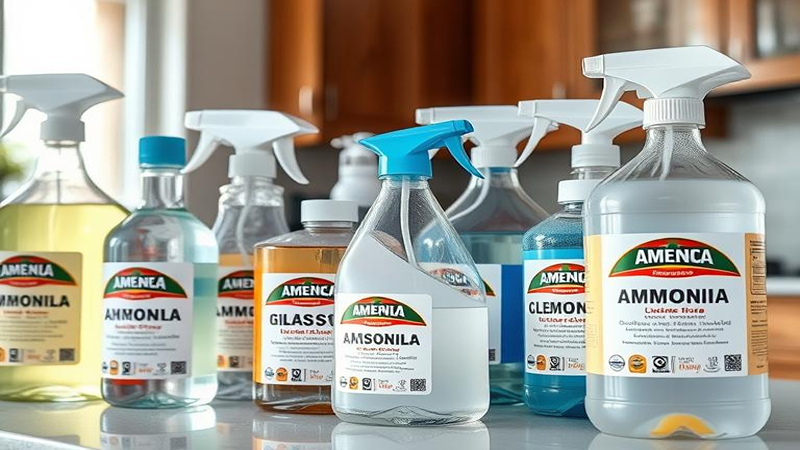
- Avoid harsh chemicals. Don’t use ammonia-based cleaners, which can damage the plastic lens and cause yellowing.
- Use a headlight maintenance kit. Kits provide all the necessary tools and products for easy upkeep.
- Follow simple best practices. Park in the shade, dry headlights after washing, and polish them occasionally to prevent fog and yellowing.
How often should I clean my headlights?
You should clean your headlights at least once a month, and more often if you drive in dusty, rural, or snowy conditions. Regular cleaning keeps your headlights clear, prevents yellowing or fog buildup, and ensures your visibility and safety while driving at night or in low-light conditions.

Key Points to Keep in Mind:
Monthly Maintenance: Clean your headlights at least once a month to prevent fog, haze, and yellowing. This keeps your light beams sharp and visibility optimal.
Impact of Driving Conditions:
- If you drive in dusty or rural areas, clean your headlights every two weeks to remove dirt and grime.
- During winter, snow and road salts can accelerate oxidation, so increase cleaning frequency.
Safety Considerations: Foggy or yellow headlights distort your light beams, whether single or dual beam, reducing your ability to see the road clearly at night.
Preventive Action: Frequent cleaning protects your headlights, improves longevity, and reduces the risk of accidents caused by poor visibility.
What are common headlight polishing mistakes?
You can damage your headlights or reduce visibility if you make common polishing mistakes. Most mistakes happen when you use harsh chemicals, abrasive tools, or follow myths that seem effective but aren’t. Avoiding these errors helps you maintain clear, long-lasting headlights.
Key Mistakes to Avoid:
- Using Harsh Chemicals:
- Avoid WD-40, ammonia-based cleaners, acetone, or bug spray.
- These chemicals strip away the protective layer on your headlight lenses and cause yellowing or faster degradation.
- Scrubbing with Abrasive Materials:
- Using rough sponges or steel wool scratches your headlights instead of cleaning them.
- If you need to remove embedded dirt or oxidation, use 800-grit sandpaper gently with water.
- Following Myths:
- Soaking headlights in vinegar or using random household remedies may seem effective, but they can damage your headlights.
- Stick to tested cleaning methods and proper polishing kits for safe results.
- Neglecting Safety and Prep:
- Always protect the surrounding paint with masking tape.
- Disconnect your car battery if needed to avoid accidents during cleaning or sanding.
When to Consider Professional Headlight Restoration or Replacement
You should consider professional headlight restoration or replacement when your headlights are too foggy, yellowed, or damaged for DIY cleaning to fix. Acting promptly keeps your visibility clear and ensures your driving safety.
Signs You Need Professional Restoration or Replacement:
- Persistent Cloudiness: You’ve tried cleaning, polishing, or DIY methods, but your headlights remain hazy.
- Chemical Damage: You’ve accidentally used harsh chemicals that permanently damage the lens or protective coating.
- Low Nighttime Visibility: Your headlights are dim, making night driving unsafe.
- Excessive Wear & Oxidation: Headlight lenses are severely oxidized, and the thin UV protective layer is gone.
Cost Consideration:
- Professional restoration typically costs $50–$150, depending on the headlight condition.
- In some cases, upgrading to new LED headlights is more cost-effective and longer-lasting.
Upgrade Benefits:
- Clearer, brighter light for safer driving.
- Long-lasting protection against UV damage.
- Avoids repeated restoration efforts and saves you time.
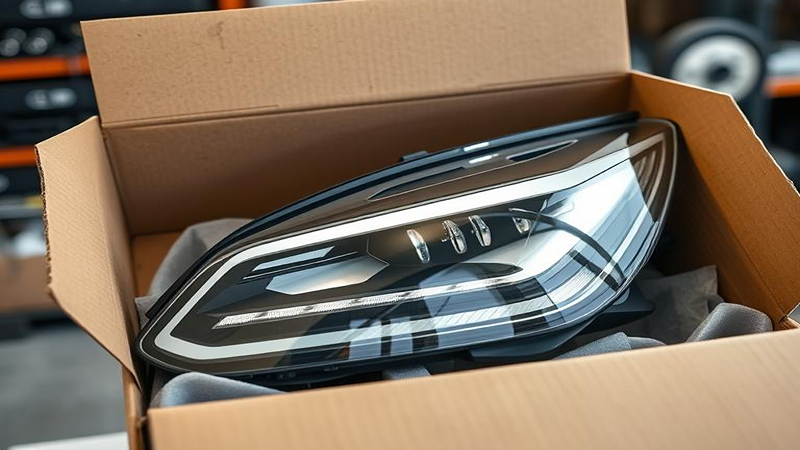
If your headlights are beyond repair, you should upgrade to high-quality LED headlights. Carlightvision offers reliable OEM/ODM solutions, helping you get bright, durable, and safe headlights for your vehicle.
Conclusion
So, what’s the secret to long-lasting headlights? It’s nothing but proper maintenance and cleaning. You must follow our guidelines to upkeep your car headlights and prevent haze, yellowing, or a foggy appearance. And try not to make the common mistakes. Keeping your car headlights clean is critical for road safety and visibility.
Are your car headlights too dirty to clean? It’s time to replace them with new ones. Carlightvision offers the best headlights that last long, don’t turn yellow, or become foggy.
From Clean to Clear—Upgrade to LED and Boost Your Sales
Are you looking to upgrade your car headlights? Carlightvision has a wide variety of top-quality headlights. It offers both HID and LED options with remarkable durability and longevity. Carlightvision has over a decade of manufacturing expertise. It has an advanced manufacturing facility and robust R&D to produce the best headlights. Get in touch for a walkthrough!
FAQs
Q1. Why Do Headlights Get Foggy or Yellowed?
Your headlights become foggy or yellowed due to UV exposure, dirt buildup, moisture, and harsh chemicals. UV rays degrade the plastic lens over time, while dirt, dust, and grime stick to the surface and edges. Moisture can form condensation inside, and harsh cleaners can strip protective coatings. Understanding these causes helps you prevent damage and maintain clear visibility for safer driving.
Q2. How Often Should You Clean Your Headlights?
You should clean your headlights at least once a month to prevent fog, yellowing, and reduced visibility. If you drive in dusty or snowy conditions, cleaning every two weeks is ideal. Regular cleaning keeps your light beams bright and accurate, ensuring your safety at night or in low-light situations.
Q3. Can Toothpaste Really Clean Headlights?
Yes, toothpaste can clean headlights with light oxidation. You can apply it with a soft scrub to remove dirt, grime, and minor yellowing. Its mild abrasiveness helps restore clarity without harming the headlight lens, making it a simple and effective DIY solution.
Q4. What Is the Best Way to Clean Headlights?
The best way to clean your headlights depends on how damaged they are. DIY methods like toothpaste, vinegar, or baking soda work for light fogging, while wet sanding or a headlight restoration kit is better for severe oxidation. If your headlights are heavily worn, professional restoration or replacement ensures long-lasting results.
Q5. When Should You Consider Professional Headlight Restoration?
You should consider professional restoration if DIY methods fail or your headlights are severely damaged. Professionals use specialized machines to restore clarity and prolong headlight life. For severely worn headlights, it may be more practical to upgrade to new LED headlights. For high-quality, reliable replacements, Carlightvision offers top aftermarket options that improve visibility and safety.