Changing a headlight bulb is an easy job in most vehicles and usually takes less than 30 minutes.
A faulty car headlight reduces visibility, affects road markings, and can be dangerous for other drivers. This guide explains how to change a headlight bulb, identify problems, and help you choose the right replacement bulbs.
When to Replace a New Bulb
You should replace a headlight bulb when it becomes dim, changes color, or reduces visibility at night. These are early dim headlight bulb symptoms that indicate performance loss before failure.

1. Oncoming Drivers Keep Flashing You
Frequent flashing usually means your headlights are causing glare or an uneven beam pattern. This happens when the bulb is wearing out or sitting incorrectly in the headlight housing.
A worn bulb can distort the beam pattern. It sends light upward instead of forward. Even on low beam, this can affect other drivers and reduce your own road visibility.
2. You Rely on Street Lights to See
If you feel comfortable driving only under street lights, it is a signal that your headlights are too weak. They are not providing sufficient illumination. A properly working car headlight should clearly light up the road, lane markings, and nearby objects without outside lighting.
Weak bulbs reduce throw distance. It means you see obstacles later than you should. This becomes dangerous on dark roads or highways.
3. Noticeable Color Shift
A yellow, dull, or bluish headlight bulb indicates aging or internal damage. This change in color temperature reduces clarity and makes objects appear less defined.
Over time, the light output becomes uneven, which can affect depth perception and visibility. Even if the bulb still works, performance is already reduced.
4. Increased Eye Strain at Night
Dim or uneven lights force your eyes to work harder. It causes fatigue and slower reaction time.
When light output drops, contrast between the road and surroundings decreases. So it’s harder to detect obstacles or road markings clearly. It’s a common issue in older vehicles with aging bulbs.
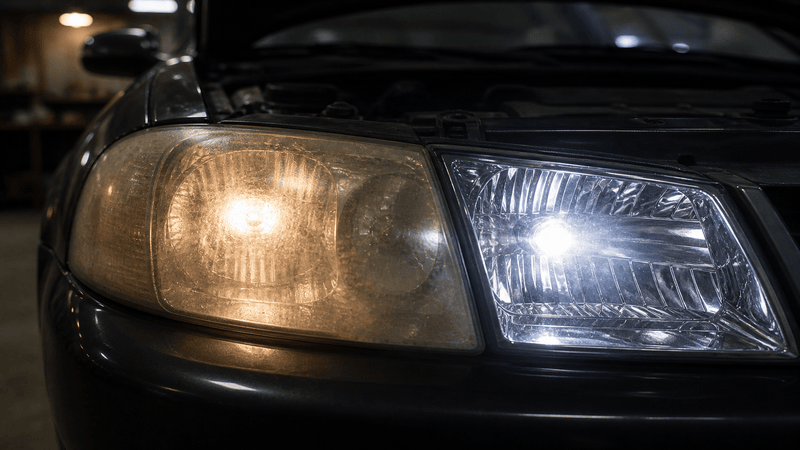
5. Cloudy or Yellowed Headlight Lenses
A damaged or oxidized headlight housing reduces light output and scatters beams in different directions. Heavy oxidized stress on lenses can block up to 70%-80% of light. It significantly reduces night visibility by 20-22% than new headlights and increases glare risk for other drivers.
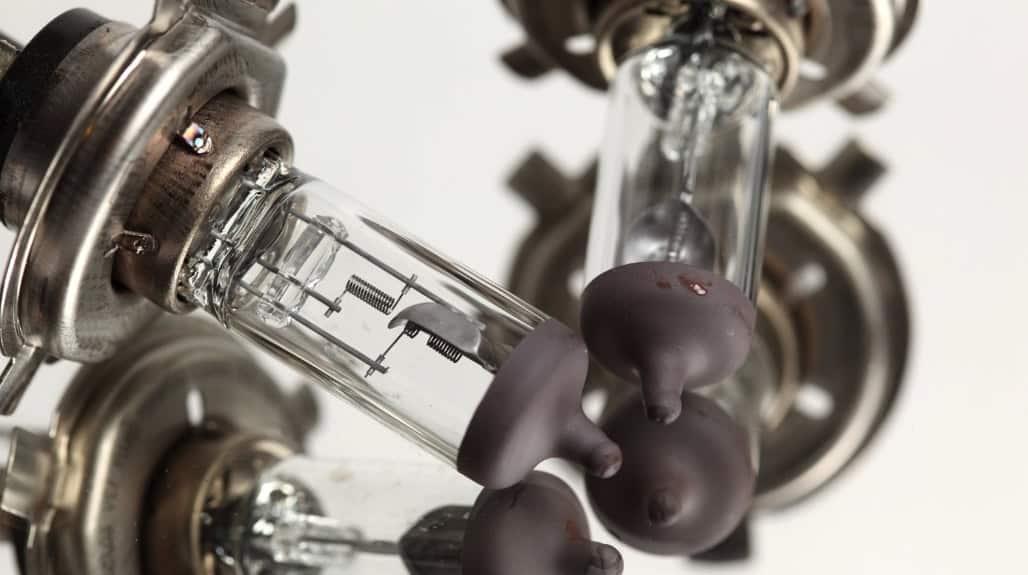
6. Past Expected Lifespan (even without obvious issues)
Halogen bulbs typically last 1–2 years, HID bulbs around 3 years, and LED bulbs longer, but still degrade over time.
Even before failure, most bulbs lose brightness gradually due to filament wear or internal component aging, which reduces effective throw distance.
Should You Upgrade to LED Instead of Replacing Halogen?
Upgrading to LED headlights is better if you want brighter output, longer bulb life, and improved visibility. However, halogen bulbs remain a low-cost and simple option for most cars.
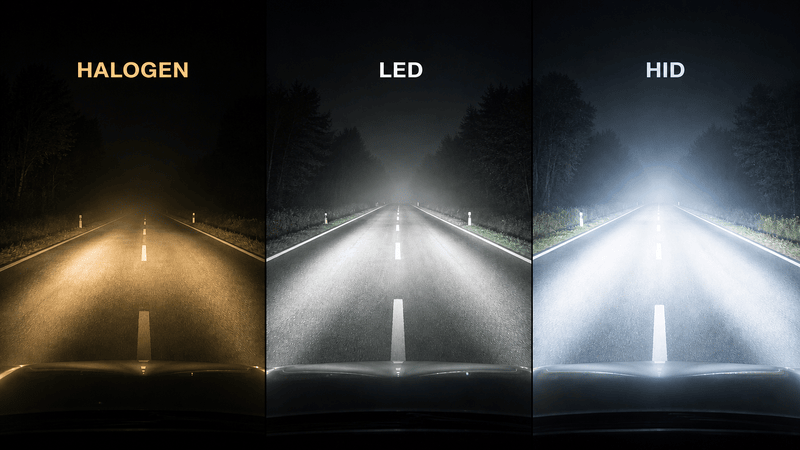
Halogen vs LED vs HID Comparison
| Feature | Halogen | LED | HID |
|---|---|---|---|
| Cost | Low | Medium | Higher |
| Brightnes | Standard | Bright | Very bright |
| Lifespan | Short | Long | Medium |
| Color Temperature | Warm | Cool white | Bright white |
| Installation | Easy | Medium | Complex |
| Compatibility | Most vehicles | Vehicle specific | Limited |
Halogen bulbs are ideal for quick replacement because they are plug-and-play and widely compatible.
They are still used in most cars due to their low cost.
LED bulbs produce brighter light with better throw distance and improved road visibility. They generate less heat with a cooler white color temperature.
HID bulbs provide strong brightness. They need ballast systems, and are less common in simple bulb replacement. They are usually found in premium vehicles.
Driver stability is important when installing LED bulbs to prevent flickering or error codes. Always double-check compatibility before upgrading.
How to install a Headlight Bulb Step by Step
You can change a headlight bulb by accessing the headlight housing, removing the old bulb, and installing a new one correctly.
Tools You Need Before Starting
In most headlight bulb replacements, you will only need basic tools:
- Safety gloves
- A flathead or Phillips screwdriver
- A pocket screwdriver
- A clean cloth to avoid touching the bulb’s glass
An owner’s manual is also useful to check bulb compatibility and locate the correct access points for your specific vehicle.
Step 1: Turn off Your Vehicle and Open the Hood
Turn off the vehicle completely and let the headlight bulb cool before starting. This will prevent burns and protect electrical components.
To open the hood, pull the hood release lever located inside the car (usually under the dashboard on the driver’s side). Then move to the front of the vehicle and find the secondary latch under the hood edge, lift it, and raise the hood fully.
Secure the hood using the support rod or ensure the hydraulic struts hold it in place. In some cases, you need to disconnect the battery for extra safety.

Step 2: Access the Rear of the Headlight Housing
Locate the headlight housing behind the front lights and identify the bulb cover. In most cars, you can access it directly under the hood.
If space is tight, you can access it through the wheel well or wheel arch. You need to turn the wheel, remove a well cover, or loosen a few screws or fasteners.
Use a screwdriver if needed to remove the dust cover or protective cap. In some vehicles, you will need moving parts like the coolant reservoir to gain access.
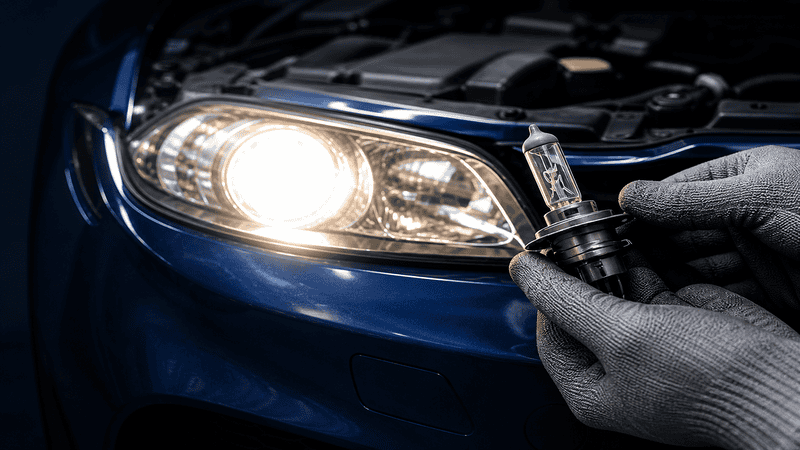
Step 3: Disconnect the Connector and Remove the Old Bulb
Disconnect the electrical plug from the back of the bulb by pulling it straight out. Then rotate the bulb about a quarter turn counterclockwise to release it.
Some bulbs are held by clips, so gently press and release the clip before removing the bulb. If the bulb feels stuck, pull it straight with slight movement instead of forcing it.
Step 4: Install the New Bulb Correctly
Insert the new bulb into the headlight housing, align the tabs, and lock it with a clockwise turn. Make sure it sits securely in place.
Avoid touching the glass of halogen bulbs, as this can reduce bulb life and cause uneven heating.
Reconnect the plug and reinstall the dust cover or housing cap tightly.
Step 5: Test Low Beam and High Beam
Turn on the headlights and check both the low beam and high beam functions. Make sure the lights are bright, stable, and evenly aligned.
If one side looks dim or mismatched, double-check the installation or replace both bulbs together.
This provides consistent brightness and better visibility for night driving.
What Should I Consider When Buying Bulbs?
Choose a headlight bulb that fits accurately. It should provide enough brightness with a longer lifespan for optimal performance. A wrong bulb can cause poor visibility, uneven beam patterns, or even damage the headlight housing.
1. Bulb Size & Fitment
Always use the exact bulb size specified for your vehicle. This ensures proper fit and beam alignment.
Common sizes include H11, 9005, and H7, but each vehicle uses a specific type for low beam and high beam.
Installing the wrong size bulb can lead to loose fitting, poor beam focus, or electrical issues. You can also check your owner’s manual or search online using your vehicle model to confirm the correct replacement.
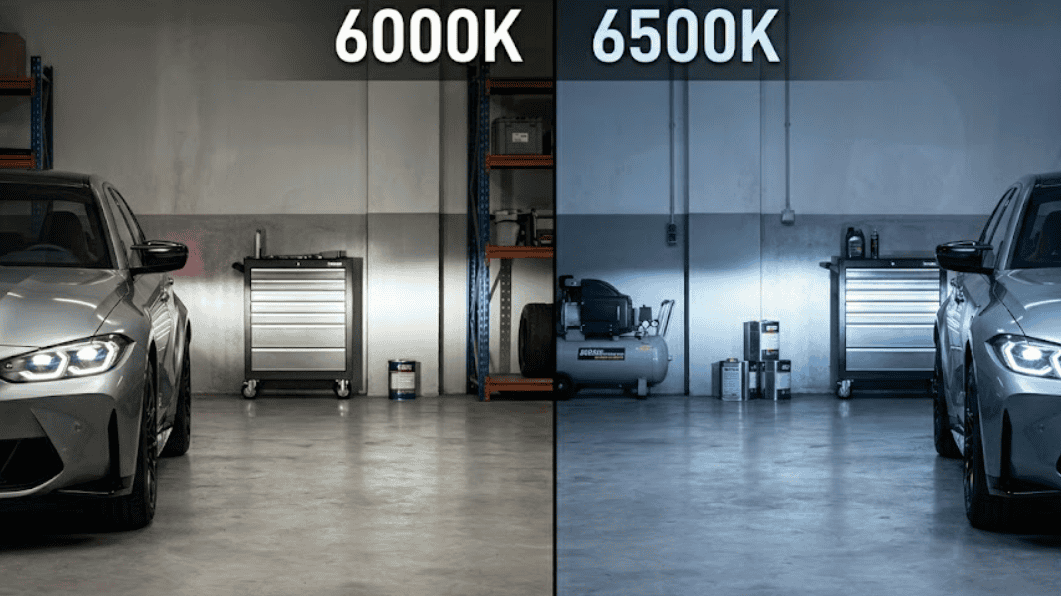
2. Color Temperature
Color temperature affects the road visibility in different weather conditions. It is measured in Kelvin (K) and determines the light appearance, whether it will be yellow, white, or blue.
| Temperature | Look | Best Use |
|---|---|---|
| 3000K–4300K | Yellow | Better in fog, rain, snow |
| 5000K–6000K | White | Best balance for daily driving |
| 6500K+ | Blue-white | More stylish, less practical |
Lower color temperatures penetrate fog and rain better, and higher temperatures improve clarity on dry roads. For most drivers, 5000K–6000K is the best balance of brightness and visibility.
3. Lifespan & Reliability
Bulb life depends on quality, heat control, and headlight usage. Low-quality bulbs burn out quickly or lose brightness within a few months.
LED and HID bulbs last longer than halogen bulbs. But proper heat management is essential to avoid early failure. Look for bulbs with good cooling design and stable performance ratings.
4. Brightness and Beam Pattern
Brightness (lumens) is important, but a proper beam pattern matters more for safe driving. A poorly focused beam can scatter light, reduce visibility, and cause glare for other drivers.
Well-designed headlights focus light forward with a clear cutoff line. It improves throw distance without blinding traffic. Always choose bulbs that match your headlight housing design (reflector or projector) to maintain proper light distribution.
Final Words
Changing a headlight bulb improves safety and makes night driving easier. Ignoring dim headlights reduces visibility and increases risk. Follow the correct steps, use the right tools, and test your lights after installation.
What to Do If Your Headlight Still Doesn’t Work
If your headlight still doesn’t work after replacement, the issue can be electrical, not the bulb itself.
Check the fuse, wiring, connector, or headlight housing for damage. In some cases, a faulty socket or loose plug can prevent the new bulb from working.
Carlight Vision provides reliable replacement bulbs and vehicle-specific lighting solutions for most cars and trucks. Our experts can help you find the right fit for your vehicle.
FAQ
Q1: Can I change a headlight bulb with Carlightvision?
Yes, you can use Carlight Vision products to replace or upgrade your headlight bulb in most vehicles. They offer LED replacement bulbs and conversion kits designed for easy installation, even for DIY users.
Q2: Do I need to replace both headlights at the same time?
Yes, replacing both headlights at the same time keeps the brightness and color equal. A new bulb is usually brighter than an old one, which can create uneven lighting and reduce visibility.
Q3: Why is my new headlight bulb still not working?
If your new headlight is still not working, it may be due to a blown fuse, a loose connector, damaged wiring, or a faulty socket. Another cause is the incompatibility with the vehicle system in LED upgrades. Double-check all connections and test the circuit before replacing the bulb again.
Q4: Can I upgrade halogen headlights to LED?
Yes, most vehicles can be upgraded to LED using bulbs that fit the same socket (like H11 or H7).
LEDs are brighter and last longer, but you must choose compatible bulbs to maintain a proper beam pattern and avoid glare. Some cars also need a CAN bus decoder to prevent flickering or warning lights.
Q5: Do I need to disconnect the battery first?
Disconnecting the battery is recommended for safety, especially when working with electrical components. It reduces the risk of short circuits or accidental shocks.