Headlights are one of the most overlooked yet essential components of your car. Over time, they can become cloudy, yellowed, or dim, affecting both the appearance of your vehicle and your safety on the road.
In this guide, we’ll show you how to clean, restore, and replace LED headlight bulbs, covering everything from simple cleaning techniques to full restoration and LED upgrades.
You’ll learn how to assess whether your headlights need a quick polish, a full restoration, or a complete bulb replacement, helping you make the right choice and keep your car looking bright and modern.
Why Headlight Lenses Turn Yellow or Hazy
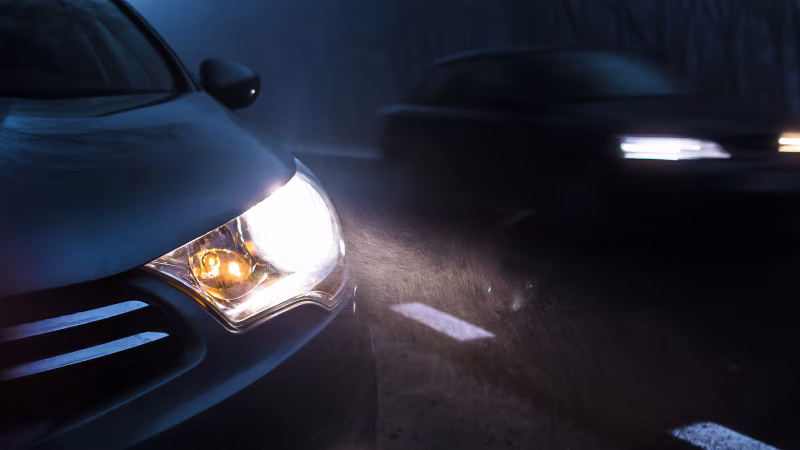
If your headlights look yellow or cloudy, you’re not seeing the road as clearly as you should. Cloudy lenses scatter light, reduce visibility, and can even create glare for oncoming drivers.
- 1. UV Exposure: Sunlight slowly breaks down the plastic on your lenses, making them yellow over time.
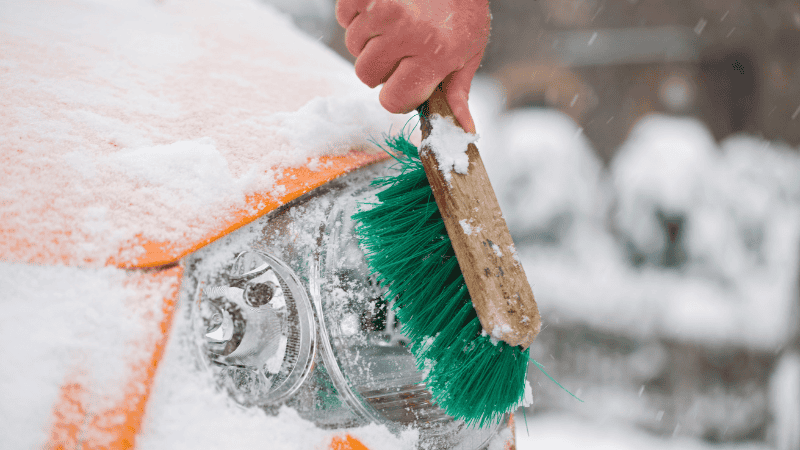
- 2. Road Debris: Small rocks and dirt scratch your lens surface, trapping grime that clouds your headlights.
- 3. Harsh Chemicals: Car washes and polishers can wear off the protective coating, accelerating hazing.
The Result: You get lenses that scatter light rather than shine straight ahead, making night driving less safe.
Think About This: Studies show that vehicles with hazy headlights face a 15–23% higher risk of accidents at night. By understanding these causes, you can decide whether you should clean, restore, or replace your headlights to stay safe on the road.
What You Need Before Restoring Your Headlights
If you want to offer reliable headlight restoration for your customers, having the right tools and materials upfront is critical. The right prep not only speeds up the process but also improves results and reduces repeat service calls.
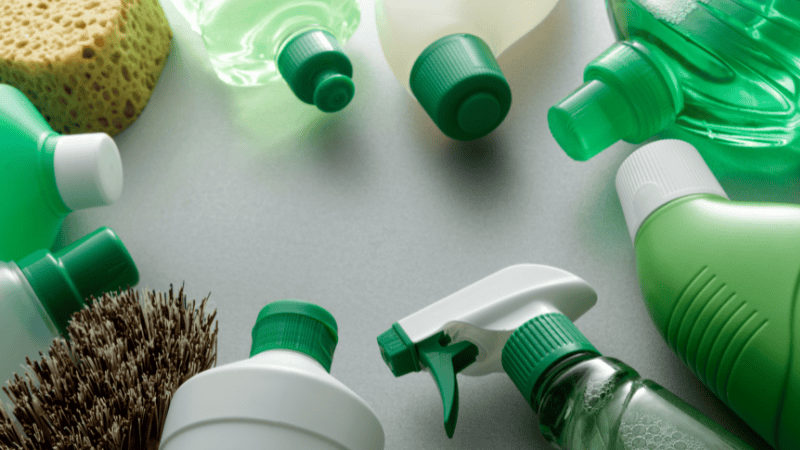
- Microfiber towels: Used in washing, cleaning headlights, drying, and buffing.
- Masking tape: to shield the car’s paint on the lens.
- Spray bottle with water: to keep the surface moist when sanding.
- Wet/dry sandpaper: 800, 1500, 2000, and 3000 grit
- Polishing compound: to wipe off sanding marks and remove clarity.
- UV sealant or clear coat spray: the step that most people omit.
- Foam applicator pad: to apply polish and sealant in an even manner.
Pro tip for you: Offering ceramic coatings or PPF after restoration can extend lens life 2–3x compared to standard sealants. This differentiates your service and allows you to charge a premium.
Our insight: Stocking OE-size replacement lens covers and UV-resistant finishes can dramatically cut repeat restoration requests, improve customer satisfaction, and make your service more predictable.
How to Clean Car Headlights
You can restore your headlights to near-new clarity in four steps using simple tools. By following these steps, you will remove oxidation, scratches, and haze while protecting your lenses with UV coating, improving your night visibility, and extending your lens life.
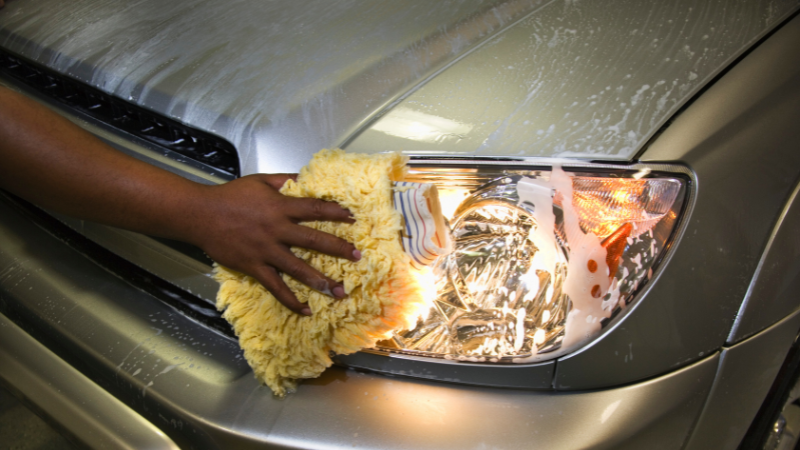
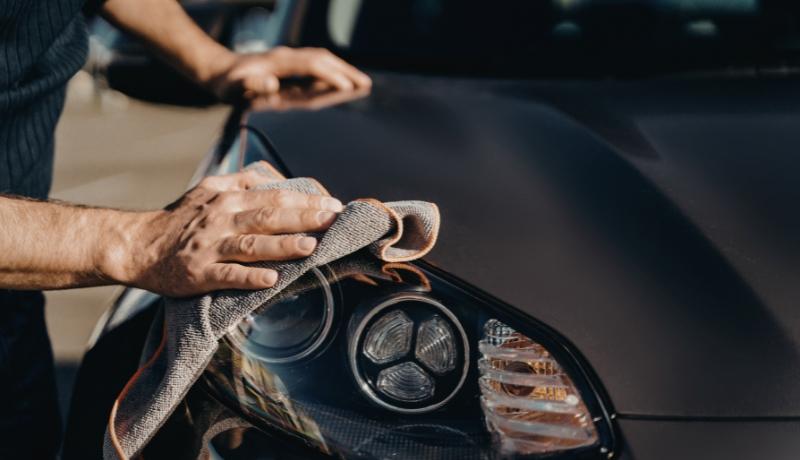
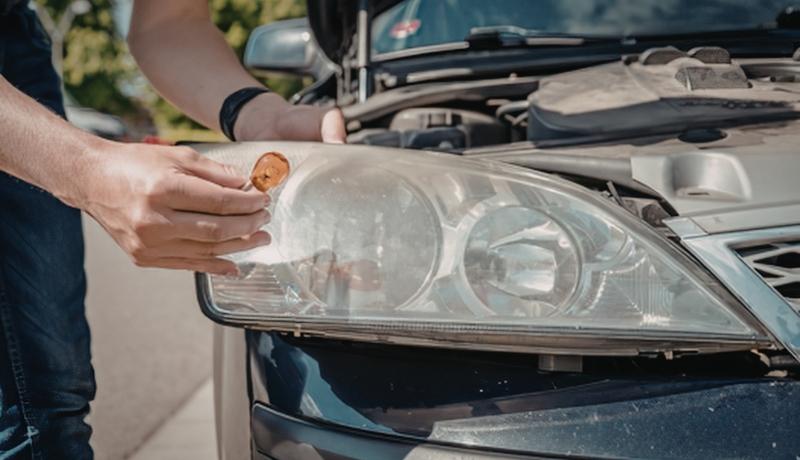
Step 1: Clean Your Headlights and Protect the Surrounding Paint
- Wash your lenses thoroughly with soap and water to remove dirt, grease, bugs, and road film. Even a small grain in your sandpaper can leave deep scratches.
- Dry your lenses completely using a clean microfiber towel.
- Apply masking tape around your bumper, hood edges, or trim to prevent paint damage while sanding.
- Check your lenses carefully. If you notice haze or moisture inside your lens housing, surface restoration may not work; you may need a replacement lens or assembly.
Why it matters for you: Proper cleaning and masking protect your vehicle and ensure your restoration will be effective without causing scratches.
Step 2: Wet Sand the Oxidized Surface
- Keep your lens wet with a spray bottle while sanding to prevent scratches.
- Start coarse, then refine. Begin with 800–1000 grit sandpaper to remove the oxidized layer. Progress to finer grits (1500 → 2000 → 3000) to remove sanding scratches.
- Sand gently in circular motions, and check your progress frequently.
- You may notice your lens looks cloudier at first. This is normal, and you’re removing damage, not polishing yet.
Pro tip for you: Oxidized polycarbonate headlights can reduce light output by 80%, cutting night visibility from 150 ft to as low as 30 ft (AAA study).
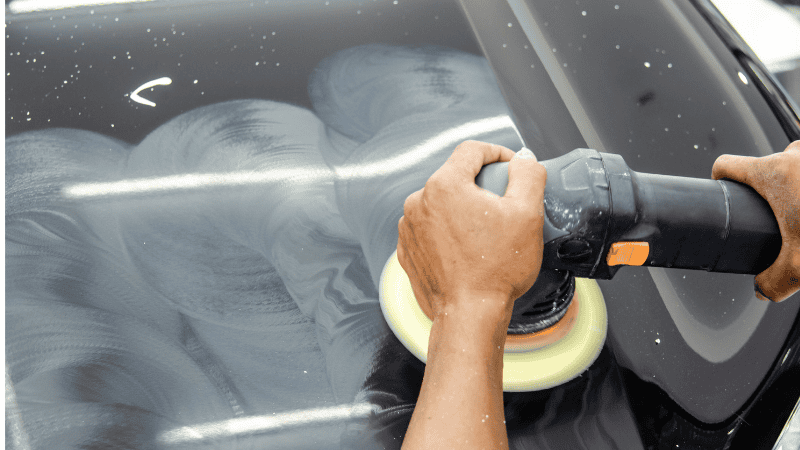
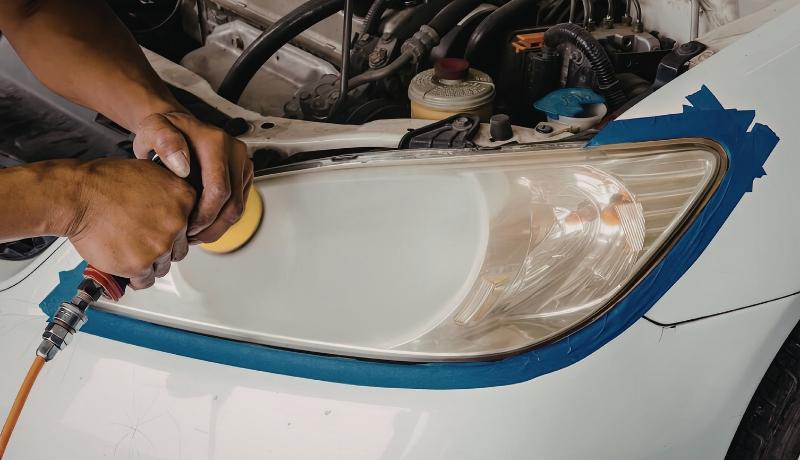
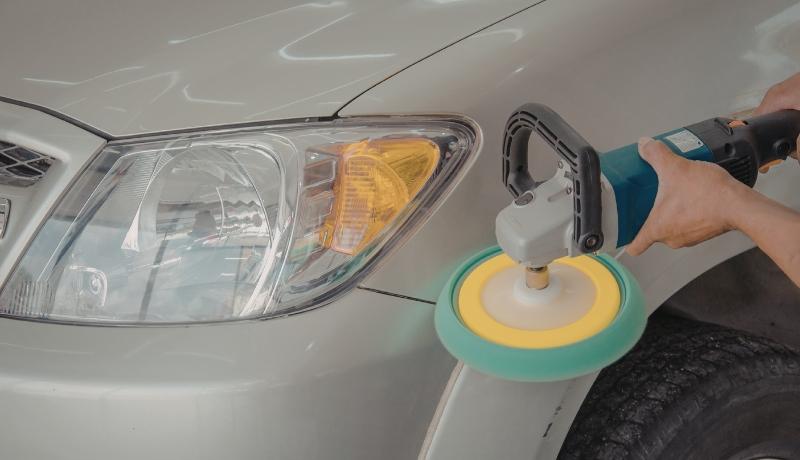
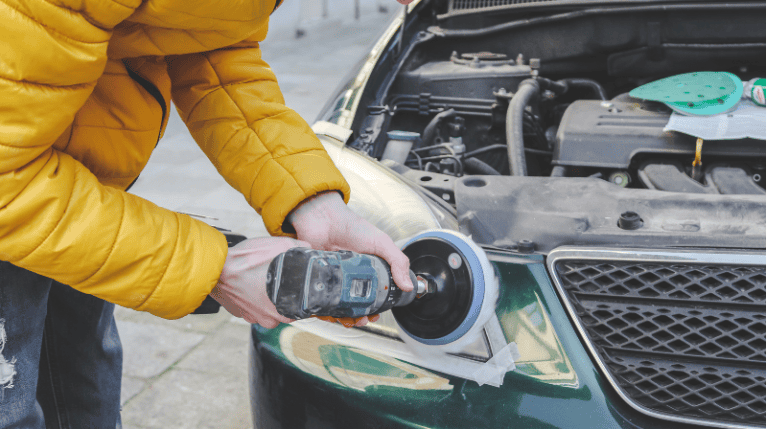
Step 3: Polish Your Headlights Until Clear
- Apply polishing compound using a foam pad or microfiber towel. Massage it into your lens in circular motions with medium force.
- Optional: Use a drill with a polishing attachment to speed up the process and achieve more even results.
- Buff thoroughly until all fine sanding marks disappear and your lens looks smooth and glossy.
- Inspect your work under bright light: Your headlights should appear nearly new.
Why it matters for you: Proper polishing restores your lens clarity, maximizing your light output and improving your safety during night driving.
Step 4: Apply UV Protection
This is the key step that really makes the difference between a restoration that stays beautiful and one that begins to fade back to yellow after just a few months. Without a UV sealant, restored lenses yellow quickly, in weeks or months, because the polycarbonate surface is unprotected.
1. Here are your main options:
| Protection Type | Lifespan | Key Benefits |
|---|---|---|
| UV Sealant Spray | 6–12 months | Quick and easy to apply; offers temporary UV protection |
| Clear Coat Spray | 1–2 years | Budget-friendly; stronger protection than standard UV sealant |
| Ceramic Coating | 2–5 years | Long-lasting UV resistance; maintains a glossy, clear lens finish |
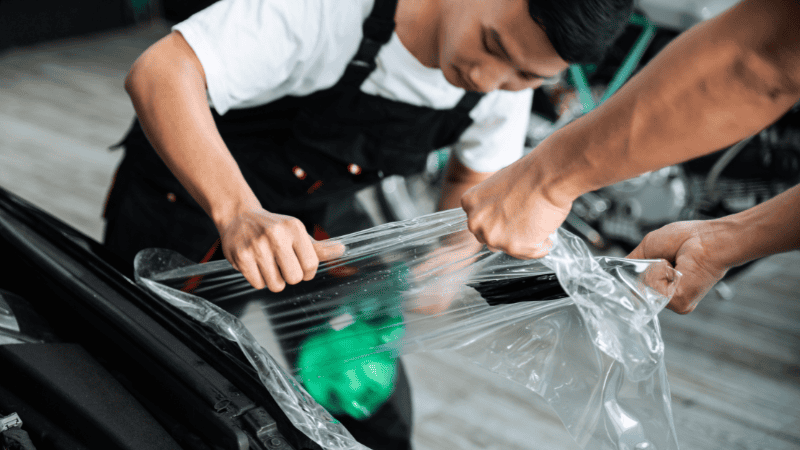
| Paint Protection Film (PPF) | 3–5+ years | Highest overall protection against UV rays, road debris, and chemicals; perfect for long-term and professional use |
2. How to apply:
- Make sure your lens is clean and completely dry.
- Follow the product instructions carefully for the curing time.
- Avoid rain or car washes until fully cured.
Apply your chosen product according to its instructions. The majority of sealants and coatings require a clean and dry surface and require a particular time to cure before the car can be exposed to rain or washing. Allow all to heal; do not be in a hurry about this last thing.
How to Keep Headlights Clear Longer
Most headlights’ lenses that might be cloudy do not require the same repair. The correct method is determined by the severity of the oxidation and your desired duration of results.
1. Toothpaste Method
You can use toothpaste as a DIY quick fix for mild haze on headlights. Toothpaste contains gentle abrasives like baking soda that can remove surface oxidation on lenses just beginning to dull.
- Pros: Fast, inexpensive, requires only a cloth and a tube of white toothpaste. Results are visible within minutes for slightly hazed lenses.
- Cons: Provides no UV protection, so your lenses will re-oxidize quickly. It cannot remove moderate or severe oxidation, scratches, or structural damage. Nighttime visibility may only reach 150–250 feet, which is insufficient for safe driving.
Our professional insight: According to AutoGuide and Consumer Reports, toothpaste can temporarily improve clarity but is not a substitute for proper restoration or UV protection.
2. Commercial Restoration Kit
Commercial kit is the most suitable when dealing with medium oxidation, yellow film on lenses that are significantly yellowish but not structurally damaged. Sandpaper, polishing compound, and UV sealant are usually combined in a single pack. When properly done, the results stay one to two years.
- Pros:
- Suitable for lenses that are yellowed but not structurally damaged.
- When applied correctly, clarity lasts 1–2 years.
- Standardized process ensures predictable results across multiple vehicles, ideal for repair workshops and B2B services.
- Cons: Skipping the UV sealant reduces the lifespan of the restoration; lenses re-oxidize quickly, even if sanding and polishing are done well.
Our authority reference: AAA Auto Repair & Maintenance Guidelines recommend using kits with UV protection for medium oxidation, noting that untreated polycarbonate lenses degrade rapidly.
3. Lens or Full Headlight Replacement
Other headlights cannot be fixed by any restoration technique. When the lens is cracked, has internal haze not removable with surface work, exhibits a peeling or damaged reflector bowl, its mounting tabs are broken, the projector module has failed, or the LED DRL is not operating, restoration is not the correct choice.
Some headlights cannot be restored and require replacement. Restoration cannot fix:
- Cracked lenses or peeling reflectors
- Internal haze inside the housing
- Broken mounting tabs
- Failed projector modules or LED DRLs
Why replacement is necessary: Polishing the exterior will not restore light output if the internal components are damaged.
Our insight: For workshops, wholesalers, or automotive brands, OE-fit lenses or full headlight assemblies often provide more reliable, long-term results than repeated restoration.
Industry reference: According to Sema.org and 3M Automotive Technical Resources, lenses with internal damage or structural defects should be replaced to maintain optical performance and vehicle safety.
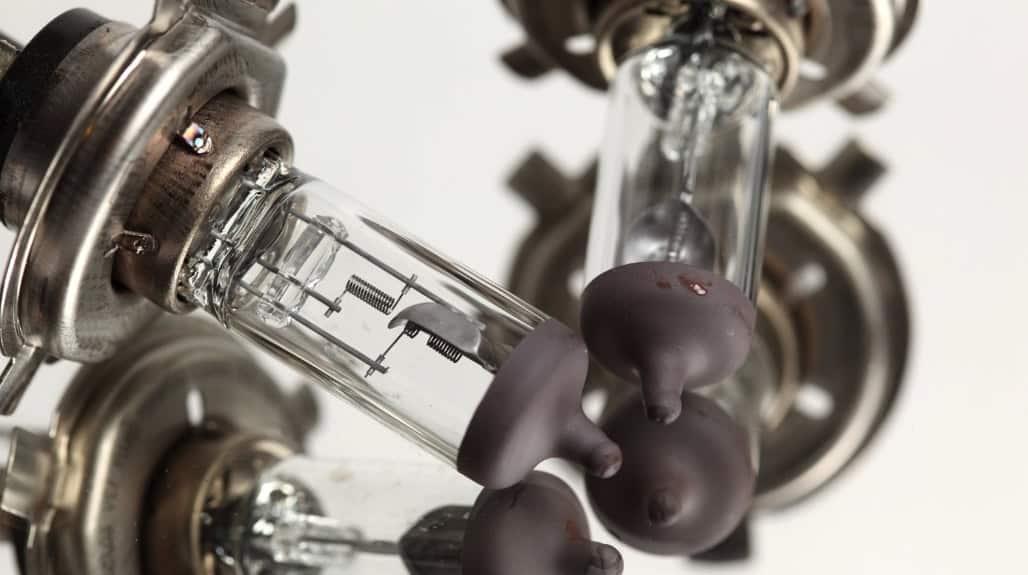
When to Replace & Upgrade to LED Headlight Bulbs
Restoration is effective in cases of surface oxidation only. These indicators suggest that replacement is the wiser decision.
Signs You Need to Replace or Upgrade
Restoration by any of the following means will not give a reliable result:
- Burned-out or failing bulbs – immediate replacement is needed, ideal time to switch to LED
- Severely reduced brightness – halogen bulbs dim over time (typically 6–12 months lifespan)
- Cracked or chipped lenses – surface damage that cannot be polished away
- Internal fogging or condensation – trapped moisture inside the housing
- Damaged reflector, projector, or LED DRL – affects light output and beam pattern
- Broken mounting tabs or loose assembly – prevents secure installation
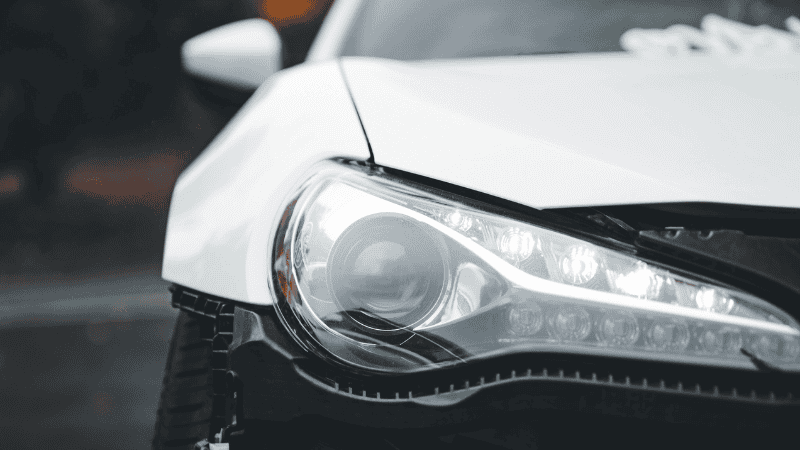
Key Features of High-Quality Headlights
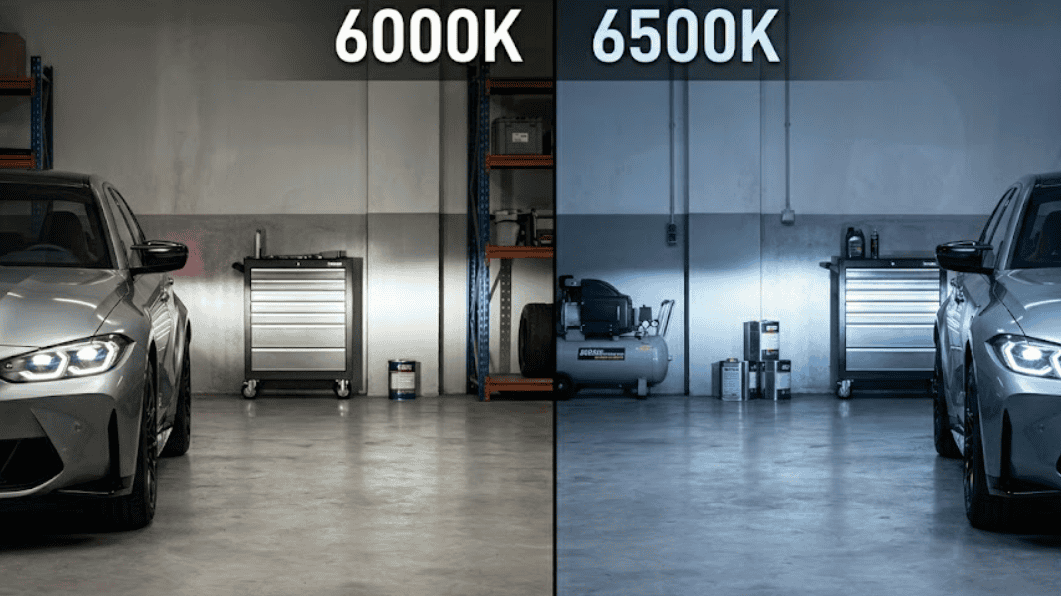
- Brightness: LEDs provide whiter, cleaner light that mimics daylight, improving night driving visibility and reducing eye strain
- Longevity: LEDs last 30,000–50,000 hours versus 500–1,000 hours for halogens
- Efficiency: LEDs consume less power, reducing electrical load
- Consistent beam pattern: Full LED assemblies ensure proper light focus and reduce glare for oncoming drivers
- Certified & Tested: DOT, SAE, E-mark approvals ensure compliance and safety
- HID & LED Options: Brighter, cleaner light than standard halogens
Reliable Headlight Solutions for Long-Term Performance!
If you want the most reliable and high-quality headlights, choosing CarlLightVision ensures you get certified, thoroughly tested products that improve your driving safety and enhance your vehicle’s appearance.
Our lineup represents the best auto headlights and replacement headlight bulbs currently available on the market. For inquiries regarding bulk orders or product compatibility, request a business-to-business quote today.
FAQs
Q1: What causes headlights to turn yellow?
The headlights turn yellow as the UV oxidation destroys the surface layer of the polycarbonate lens with age. The process is accelerated by road debris, harsh cleaning products, sun damage, and UV exposure. This is slowed down by the factory UV hard-coat, but it is worn away on most vehicles in a few years.
Q2: How can you restore your LED headlights?
You can restore your LED headlights by washing the lenses and drying them with a microfiber towel. Remove haze using fine-grit sandpaper and polishing compound, then protect your lenses with a UV sealant. This works for surface oxidation but will not fix internal damage.
Q3: When should you replace your headlight bulbs?
You should replace your headlight bulbs if your lenses are cracked, internally fogged, or the reflectors are damaged. Dim or failing LEDs or halogens also need replacement to restore your visibility and safety. Full assemblies ensure your headlights perform at their best.
Q4: Which is the best headlight brand for your car?
CarlLightVision is the best headlight brand for your car, offering certified LED, HID, and halogen headlights. Our high-quality bulbs provide you with long lifespan, consistent brightness, and reliable performance for every vehicle.
Q5: Should you upgrade your headlights to HID or LED?
You should upgrade your headlights to HID or LED if you want brighter, whiter light and better night visibility. Make sure your chosen bulbs are compatible and properly installed to maintain your beam pattern and avoid blinding other drivers.
Q6: How long does headlight restoration last?
Toothpaste results last for weeks at best. A complete wet-sand and polish using UV sealant normally takes one to two years. This can be extended to three or more years by ceramic coating or PPF. Any restoration with no UV is lost in a few months.