Changing your headlights to LEDs actually makes driving safer, more visible, and enjoyable. LED headlights are brighter, longer-lasting, and consume less energy than halogen bulbs. CarLightVision’s LED headlight helps businesses ensure optimal visibility and compliance. In this guide, we’ll walk you through the entire LED headlight installation process in an easy step-by-step procedure, even if you’re not an automotive enthusiast.
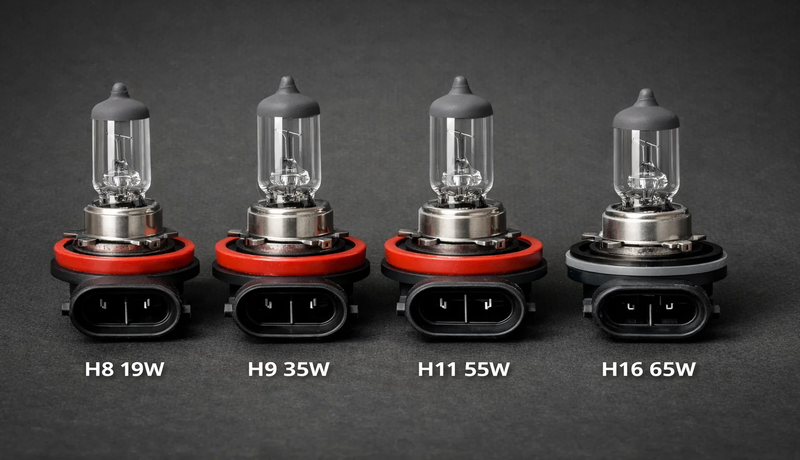
Understanding Headlight Bulb Types
Prior to getting into the installation, it is helpful to comprehend the different types of headlight bulbs. Halogen headlight bulbs, the most conventional type, function by warming a tungsten filament to cause light.
They’re found in older cars and are famous for being inexpensive but not so much for being bright or long-lasting. HID (High-Intensity Discharge) bulbs use a particular technology.

They create a white, intense light when an electric current is passed through xenon gas. HIDs are brighter and more long-lasting than halogens, but are more expensive and harder to install.
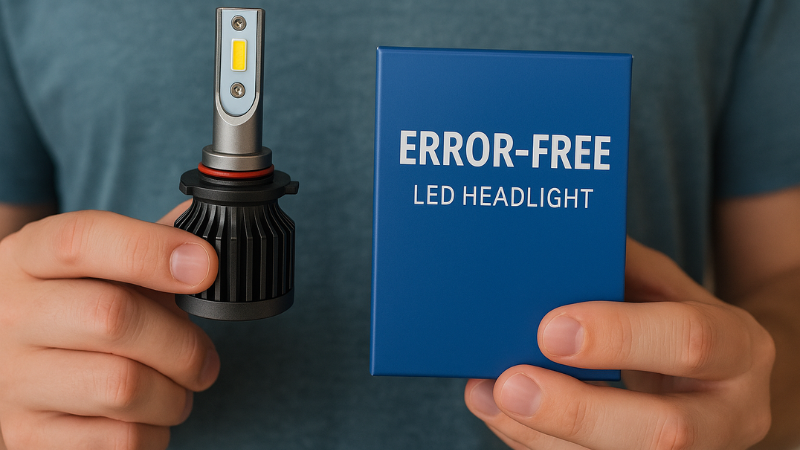
LED bulbs, the focus of this guide, utilize light-emitting diodes to create a high and low beam, extremely high-intensity light output.
LEDs provide you with a high-tech, state-of-the-art look, enhanced efficiency, correct colour temperature, and tens of thousands more hours of lifespan compared to halogen or HID equivalents. These differences help you to make the correct upgrade solution choice for your vehicle.
LED Headlight Bulb Types: Plug-and-Play vs. Wired Kits
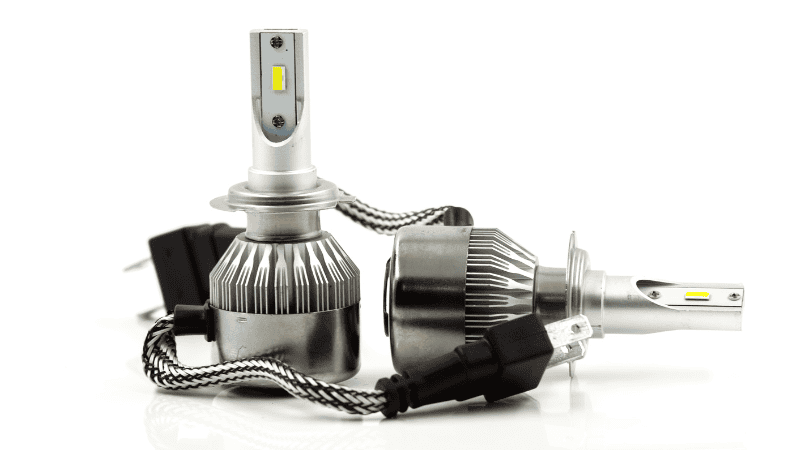
There are two major types of LED lighting upgrades—plug-and-play and wired conversion kits. The knowledge of both types is very necessary to get the perfect fit for your vehicle.
Plug-and-Play LED Headlight Bulbs
Plug-and-play LED headlight bulbs are a simple installation. They fit into the headlight housing and plug into the factory wiring harness. Because this is such a simple installation, they are a wonderful upgrade to utilise in newer vehicles, because no other components or modifications are usually required.
Wired LED Conversion Kits
Wired conversion kits are utilised most often on older vehicles. They need additional parts like a ballast or a wiring adapter in order to work effectively. It is a little more labour-intensive to install, but the kits are also more universal and compatible with cars that do not have LED systems on board
Both types are good, but make sure they comply with the legal considerations and your needs. Check both of them and then choose what is best for you.
Why Replace with LED Headlights
One of the wisest improvements you can give to your vehicle is to upgrade old headlights to LEDs. The primary benefits of LED headlights include:
Instant Greater Brightness: Cast a clear, white beam that significantly boosts nighttime driving safety and visibility.
Energy Efficiency: Draws less power than halogen or HID headlight bulbs, lightening your vehicle’s electrical load.
Instant On: Turn on and off immediately—no warm-up period is required, like HID lights.
New Look: Provide your vehicle with a high-tech, aggressive appearance with beam patterns.
Long Life: LEDs last longer than halogens, thus resulting in less replacement cost.
Low Maintenance: Robust build means fewer issues and less repair time in the long term.
Pre-Installation Preparations
There should be appropriate planning conducted prior to commencing the installation. To start, check your owner’s manual to find out the correct bulb size and type for your car. This avoids one from venturing out to purchase the incorrect size of bulbs and then experiencing installation difficulties.
Second, get to know your headlight housing. In model and make, the headlight access might be back towards the rear of the engine compartment or in the rear of protective coverings. Having some knowledge of where it is and how to pop the headlight housing will make it faster and easier.
Also, take a look at any special installation instructions that accompany your LED bulb, especially in the case of a hardwired conversion kit.
Some vehicles will include a specific wiring or housing design that requires attention to special details. By incorporating some important info, you can maximise the lifespan of the LED headlight bulb.
Tools and Materials Required for LED Headlight Installation
Start by collecting the tools and materials needed. Your new bulbs or conversion kit, electrical tape, gloves to avoid oil coming into contact with the bulbs, and a screwdriver or trim removal tool to remove panels will be needed.
Step-by-Step LED Headlight Installation Guide
Replacing the LED headlights is easy as long as you proceed with all the steps carefully. Provided that you have prepared properly and also own the appropriate tools, upgrading within less than one hour without any prior experience is possible.

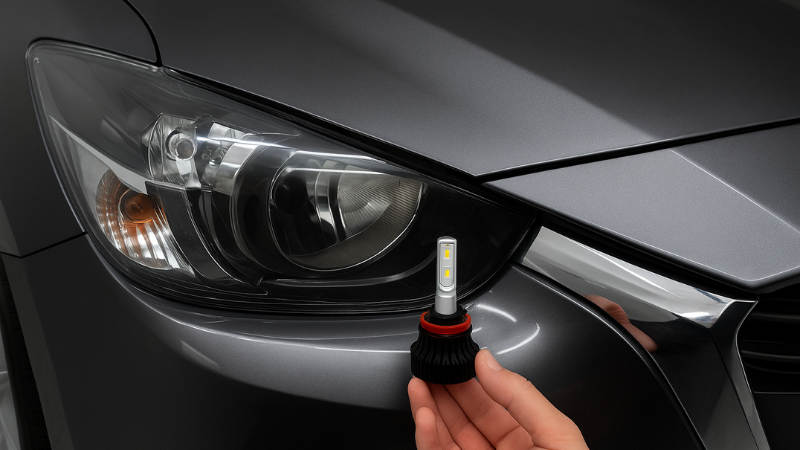
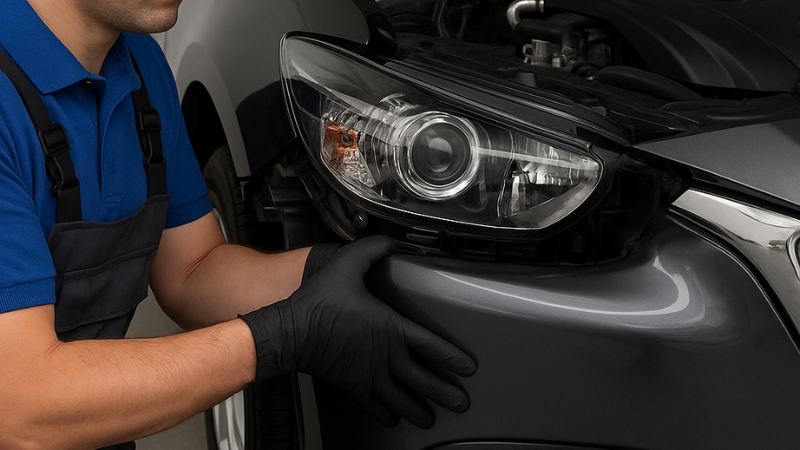
1. Gain access to the Headlight Housing
Pop the hood and locate the right headlight assembly and the left headlight assembly. On your car, you can remove the battery, air intake thingy, or panel covers. At the back of the headlight assembly, if yours has one, remove the dust cover.
2. Replace the Halogen Bulbs
Gently pull out the power plug from the halogen bulb. Next, turn and pull out the bulb in the reverse direction while removing the screws. Do so carefully in pulling it out without spilling the wiring or the socket.
3. Install the LED Bulbs
Mount your new LED headlight bulb onto the housing carefully. Mount it with tabs correctly and seat it firmly. A bulb not seated will cause beam pattern distortions, or in a worse scenario, get unseated when driving.

Make sure the LED chips are in horizontal left-to-right orientation and not top to bottom so that LEDs will emit a proper beam pattern. Don’t pressurize the bulb; just sufficient pressure can be applied when properly aligned.

4. Reconnect Power
For plug-and-play LEDs, simply plug the original wiring harness into the LED bulb. With a wired kit, refer to the wiring diagram that comes with it. This typically means installing a ballast or resistor between the car wiring and the LED bulb.
Secure the connections tightly so that there will be no flicker or on-off lighting issues. Inspect for any bare wires that will cause shorts or electrical failure.
5. Test the Headlights
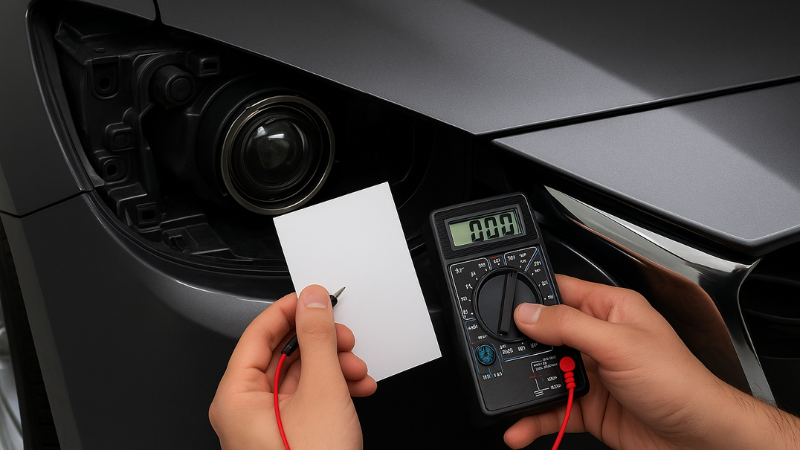
Flip your headlamps on and check the low beam and high beams. Check for flicker, misaligned light, or warning signs on your dash. There will be some reason behind the flickering of LED headlights. If symptoms persist, examine your connections and refer to the following troubleshooting subsection.
Also, check outside and near the vehicle to see if your two headlamps are emitting light smoothly. Check your running and off to see if the system differs when loaded.

6. Adjustment of Beam Pattern
Drive the vehicle across a smooth surface and turn on the lights. The beam pattern level and cutoff line are below the legal level. The alignment will not blind opposing traffic and will be below legal beam levels.
Tape over the surface to form a wall as a reference point when measuring the floor level to the headlight lens center. Adjust in the screws using the horizontal or vertical screws most headlight assemblies have.

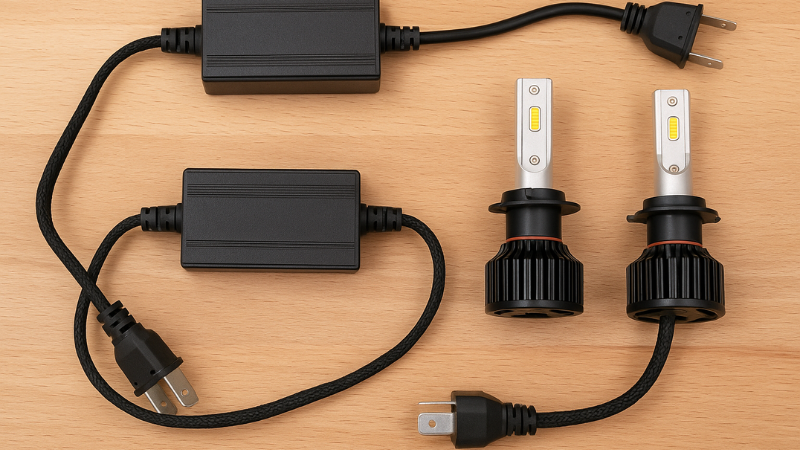
LED Headlight Installation Troubleshooting Problems
Certain minor problems with or after installation are unavoidable. If your LEDs blink, CANbus decoder is the solution. This tiny gadget will PC enable your new lights.
If you notice a fault light on your dashboard, loading the wires with a load resistor will remedy the fault by mimicking the electric load of a halogen bulb.
There are some reasons behind the dimming of LEDs. Sputtering dim light might be due to a loose fit—have all your wires securely snugged and snug fits. If a light won’t turn on, nine times out of ten, it is the plug that is in backwards. Try it again at an angle.

Having the Ballasts Stable
Use of a conversion kit may be necessary; ballasts should be firmly attached. Select a position out of direct heat and moisture from the engine. Firmly tape wiring together using zip ties or electrical tape and keep away from other parts of the engine.
Install the ballast of the LED bulb firmly. Test the system again after all the installations have been completed to verify if all the devices are in working condition. Proper installation at this time ensures that there would not be any fault in the future.
Beam Alignment Adjustment
Beam alignment is needed so as not to drive hazards. Take note of the cutoff line’s position on a horizontal wall in comparison to your height. Headlights need to be aligned and pointing downwards in a bid not to blind other road users.

Test your headlights at night on a dark road to see how they perform. Make small adjustments to LED headlights if needed to fine-tune the beam direction. Properly aligned lights not only improve visibility but also ensure you’re driving within the legal limits.
Final Check and Test Drive

Once the installation is complete, it’s important to do a thorough check before hitting the road.
- Verify that everything is securely bolted and that the wires are properly connected.
- Run high beam and low beam to test and verify in working order.
- Inspect turn signal, park lights, and hazard lights to see if out of alignment.
- Inspect for flicker, fault message, or unbalanced output.
- Sustained test drive to monitor under normal driving conditions and see if anything is amiss with alignment or output.
Maintenance Tips following LED Installation
LED headlamps will perform and function optimally if followed by LED installation tips. Make sure to double-check the following point:
- Clean the headlight lenses periodically to avoid dirt and debris from interfering with light clarity.
- Check alignment now and then or after bumps, potholes, or suspension adjustments.
- Check seals for no moisture entering the housing, which will ruin components.
- Replace bulbs in sets at all times to ensure color temperature and luminosity balance.
FAQs
Can LED headlights be installed on any vehicle for business use?
Yes, as long as they meet legal brightness and beam pattern standards. Proper installation and alignment are essential to avoid glare and ensure safety and compliance.
Will installing an LED headlight require me to employ a technician?
Not quite. LED headlights are actually ideal for a DIY installation, particularly plug-and-play but if it involves wire adapters or you’re not sure about compatibility, then bit’s est to be done by a professional.
Will LED headlights fit into halogen headlight housings for business fleets
Yes, most LED bulbs are plug-and-play for halogen housings, but some vehicles may require adapters or resistors. Always verify compatibility to ensure proper fit and performance.
Conclusion
Installing LED headlights is the best one can possibly do for a car. It’s not difficult enough when done properly in advance with the right tools. It has obvious benefits, like improved visibility, fashionable appearance, and cost savings in the long run.
Reliable LED Lighting Solutions for Automotive Businesses
Ready to give your customers the best-in-class LED headlight solutions? CarLightVision offers premium Bi-LED, 360 LED, and High Lumen to consumers and manufacturers. Call us today and see how CarLightVision can light up your product line with proven, road-tested lighting solutions.