Don’t know how to replace a headlight bulb? This blog post will walk you through the process of replacing your vehicle’s headlights.
Poor lighting can lead to drastic accidents while driving on the road. With years of experience in the vehicle lighting industry, we understand the importance of properly functioning headlights. We can help you replace a damaged headlight.
Are you ready to learn about replacing your worn-out headlight bulb? Let’s dive into it.
Why Do Headlights Fail?
Before digging into replacing the headlight, you need to understand the cause of its failure. The following are some common causes of headlight failure:
Burn-Out Bulb
Faulty headlight bulbs are a common cause of headlight failure. If your headlights are not working, you need to check the bulb.
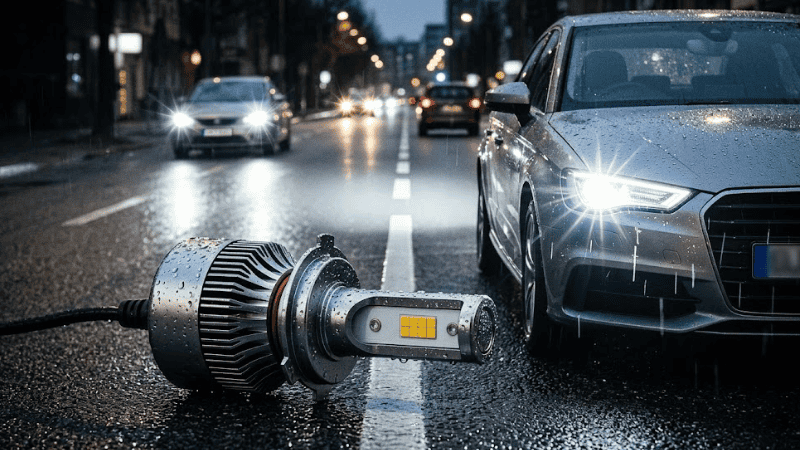
Halogen bulbs have a shorter lifespan. In contrast, LED lights have a longer life expectancy. Halogen bulbs have a lifespan of about two years. At the same time, LED bulbs can last for 15 to 20 years.
However, even with this longer lifespan, LED headlights can still fail over time. So, you need to check the bulb first in case of any issue with your headlights.
Electrical Issues
Several electrical issues can arise in the headlight housing. Blown fuses, damaged wiring, and faulty headlight switches can be the culprits behind non-functional headlights. They interfere with the normal power flow to your headlights and cause them to go out.
Faulty Relays
Relays are like a bridge between a headlight and its switch. If it’s faulty, your headlights may not get enough power supply. It causes them to flicker or stop working entirely.
Condensation In the Headlight Housing
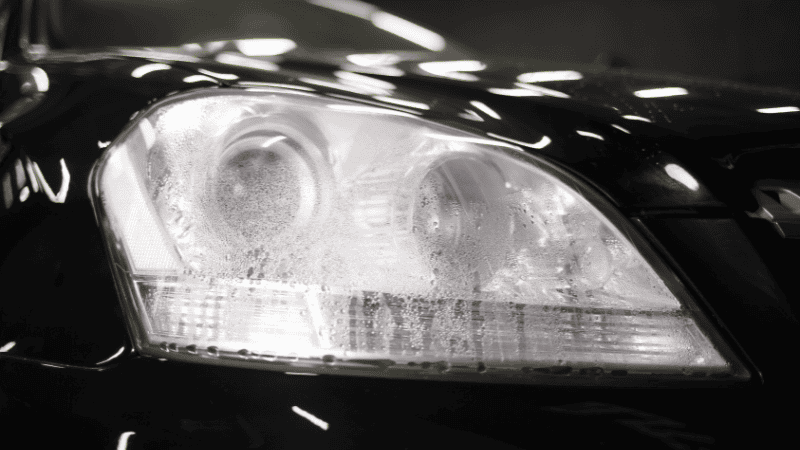
Moisture buildup in the headlight housing can also lead to headlight failure. It interferes with the electrical components of the headlight. This interference can cause electrical shorts and headlight bulbs to burn out faster.
When Should You Replace Your Headlights?
Replacing a headlight is essential for the maintenance of your vehicle. However, you need to access it at the right time to replace it. The following signs can help you determine if you should get new headlights:
Dim or Flickering Lights

If your headlights are dimmer than usual or flickering, it indicates a problem. It can happen due to the aging of your headlight bulb. Bulbs lose their brightness over time.
You can use a lux or foot-candle to measure the headlight brightness. The decrease in brightness becomes prominent at the end of the bulb’s life.
Corroded wiring is another cause of dimming and flickering. If the bulb is fine, flickering might stem from a wiring issue or a faulty connection. So, you need to inspect the root cause of dimming or flickering to restore the headlights.
Complete Failure
If one or both of your headlights go out while driving, it might be due to a blown-out bulb. However, it is not the only reason for complete headlight failure. Electrical malfunctions can also lead to this issue.
A damaged wire, a bad ground, or a malfunctioning headlight switch are common electrical issues. They prevent the bulb from receiving the power supply.
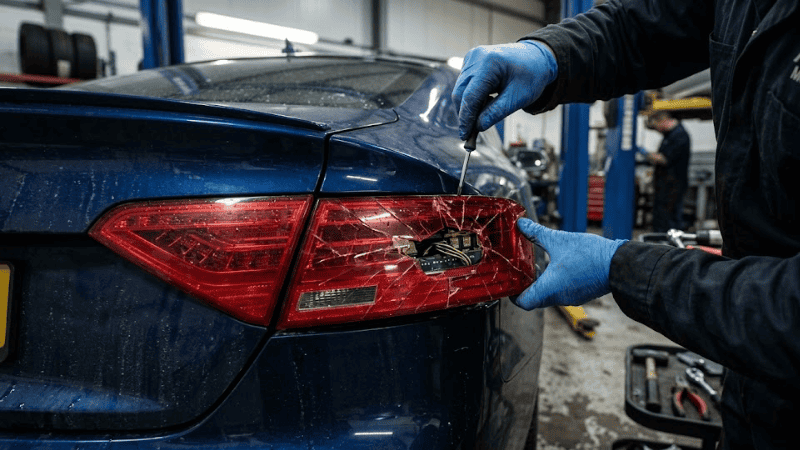
Cracked or Foggy Headlight Housing
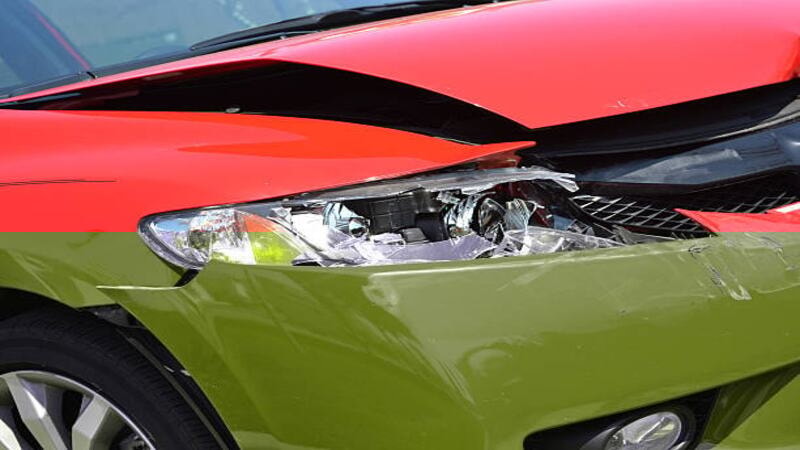
An intact headlight housing ensures the safety of the bulb and internal components of a headlight. If the bulbs are working properly but the visibility is reduced, check the headlight housing. Minor collisions can crack the casing. It exposes the internal headlight components to external factors.
Various external factors, like moisture, air, and dust, can disrupt the normal functioning of your headlights. You need to fix the water in the headlights to clear the condensation.
Besides cracks, prolonged exposure to sunlight can oxidize your headlight lenses. It creates a yellowish or cloudy film. Parking your vehicle in a shady area or using a car cover can minimize oxidation. A foggy headlight case can minimize the light output. It makes it difficult to observe the road markings and hurdles during low visibility.
Types of Headlight Replacements
Insurance Institute of Highway Safety (IIHS) found that vehicles with a good rating for visibility in the IIHS headlight test experience fewer collisions. There is a reduction of 19% in the single-nighttime crashes and 23% in pedestrian crashes.
If your headlights are not working, you need to replace them. The following are two types of headlight replacements:
Bulb-Only Replacement
This type of replacement is simple and employed if the bulb is not working. You need to identify the faulty bulb. Some cars have separate bulbs for low and high beams, while others have the same bulb for both lighting.
In addition, you need to figure out the type of bulb that fits in your headlight. Some vehicle models require a particular type of bulb for their headlights. Understand the difference between LED, halogen, and HID bulbs for better visibility. After picking the bulb, replace the old one with the new bulb.
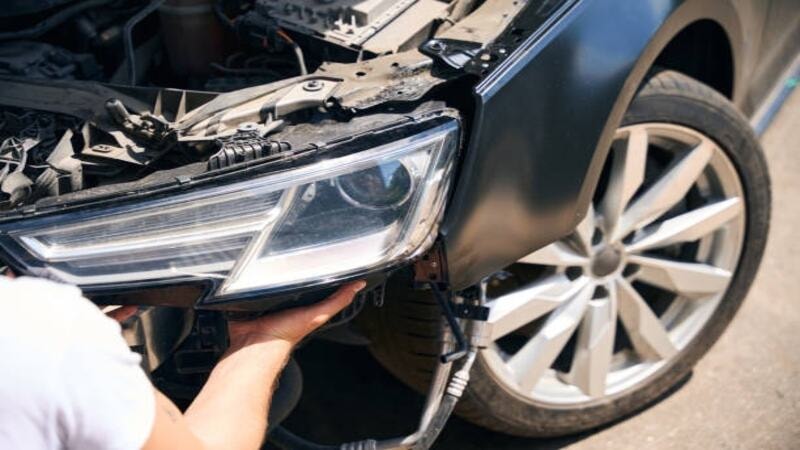
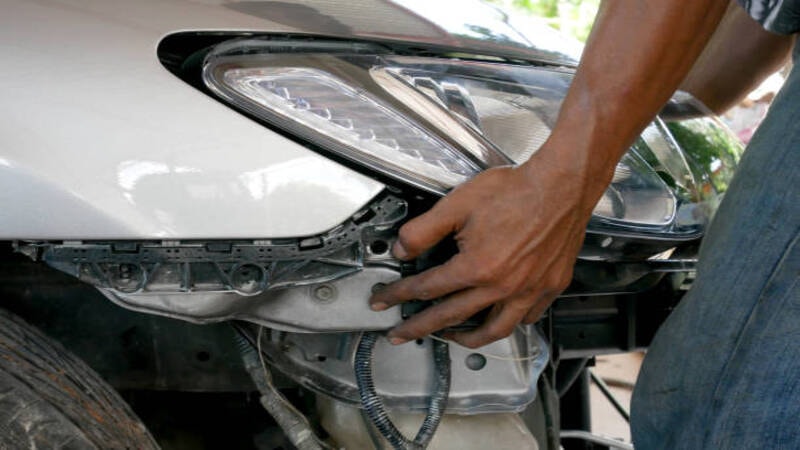
Full Headlight Assembly Replacement

This type of replacement is required when the entire headlight unit or its integrated components are damaged. It involves removing the complete headlight unit from the vehicle and installing a new one. This type of replacement is complicated and requires professional assistance.
What Should I Consider When Buying Bulbs?
You need to consider the following aspects when buying a bulb for your headlight:
- Various vehicles require specific types of bulbs for headlights. Consider the compatibility of your vehicle’s model and headlight housing for different bulbs.
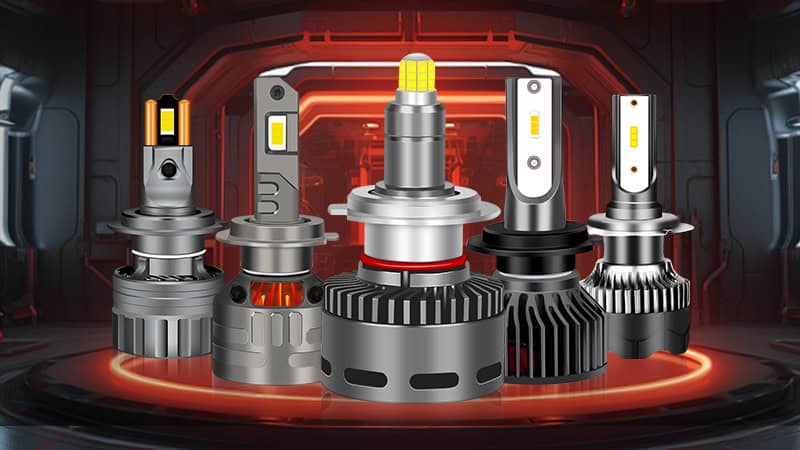
- Select between halogen, HID, and LED bulbs. LEDs are considered the best choice as they have a longer lifespan than other types. In addition, they offer higher brightness.
- Your driving conditions are another notable factor in choosing the right bulb.
- Learn about legal regulations for vehicle headlights. You need to ensure the bulbs meet local road safety regulations to avoid fines or failed inspections.
How to Replace a Headlight (Step-by-Step Guide)
Replacing the headlight of a vehicle is a complicated procedure. You need to pay attention to every step, as a single mistake can lead to costly damage. The following guide can help you replace your car’s headlight:
Tools Needed
Before you start replacing your headlight, you need to have all the required tools and gear. It will save you time and make the process streamlined.
- Get the headlight bulb or the entire headlight assembly, depending on the requirement. You should understand the headlight color laws to avoid potential fines.
- A screwdriver set and a socket wrench are also necessary. They help you remove screws and fasten the different components of your headlight.
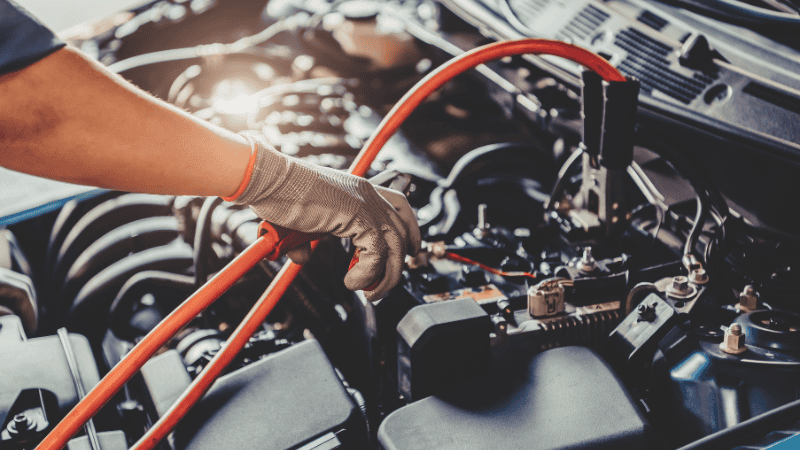
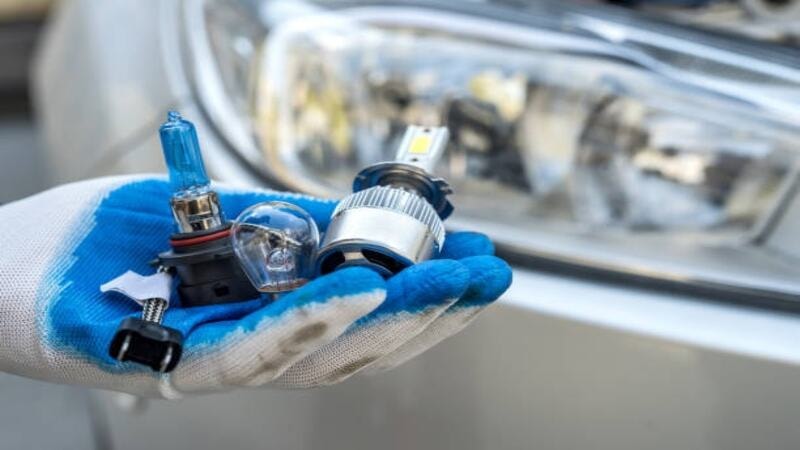
- You should also have cotton gloves for handling the headlight bulb. Directly touching the bulb can transfer oil from your skin. It shortens the bulb’s lifespan. Gloves are crucial while handling halogen bulbs, as they are more sensitive and have a shorter lifespan than LED bulbs.
- Having an owner’s manual can be helpful while changing a headlight. It guides you on accessing the headlight assembly and other details of your vehicle model. Various diagrams and images included in the manual also make it easy for you to locate various headlight components.
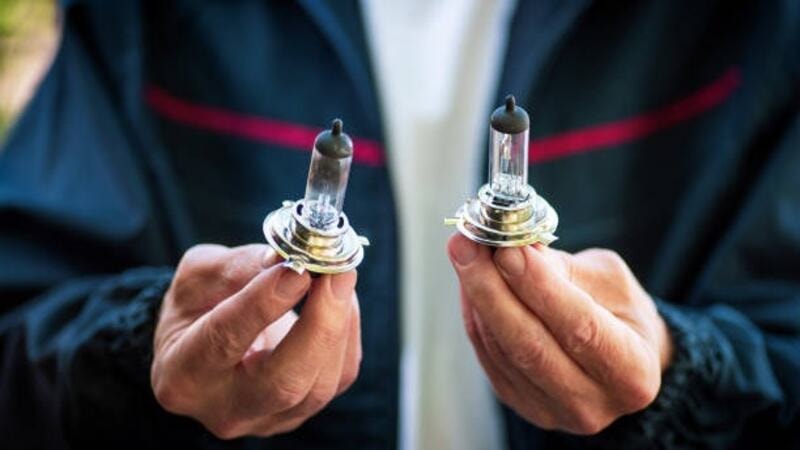
Step 1: Identify Your Headlight Type
The most important thing in headlight replacement is determining the type of bulb or assembly for your vehicle. Most vehicles have halogen bulbs. They are affordable and easy to replace.
HID and LED bulbs have a complicated installation process and are costly. Some LED and HID headlights involve replacing the entire assembly rather than just the bulb. In comparison, some vehicles require H11 LED bulbs. Identify the headlight type carefully to prevent compatibility issues.
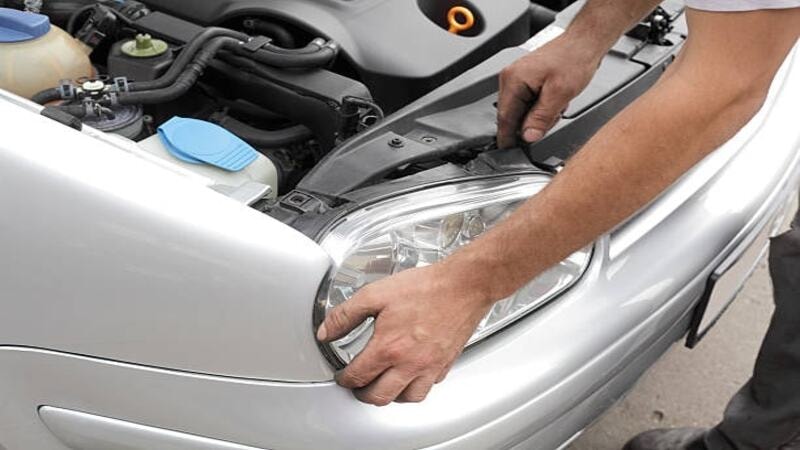
Step 2: Access the Headlight Housing
After identifying the right headlight replacement type, you need to access the headlight housing. It is simple in most vehicles. You need to open the hood from the back of the headlight housing.
However, it is not the same in all vehicles. In some cases, you need to remove plastic covers or fasteners that protect the housing. In some models, you may need to remove the bumper or access the headlight assembly from the wheel arch.
You need to be cautious to avoid damaging any fragile components. It’s best to use the owner’s manual to learn about the right location of the headlight housing. It can also guide you through the replacement steps for your vehicle.
Step 3: Remove the Old Bulb
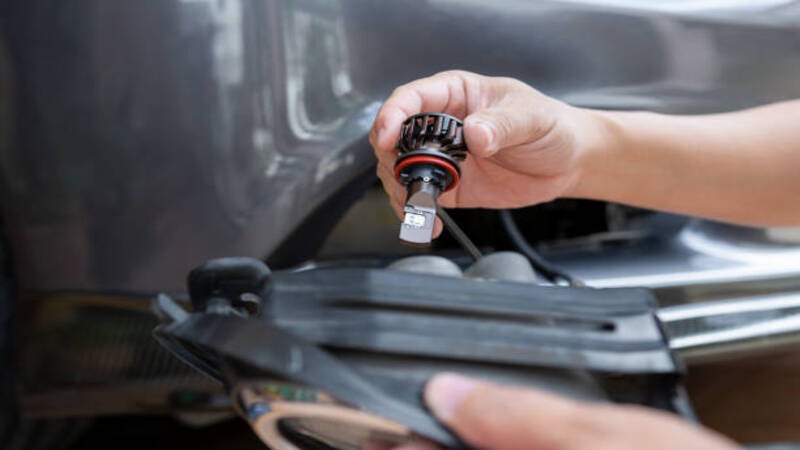
After accessing the headlight housing, you need to carefully remove the bulb. However, make sure to disconnect the wiring by pulling it before removing the bulb. Now gently twist the bulb counterclockwise to loosen it and pull it out. Avoid forcing the bulb while removing it.
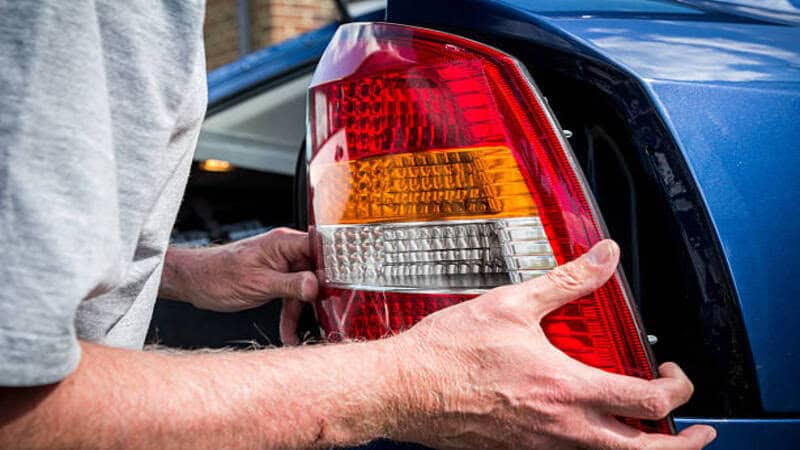
Step 4: Install the New Bulb or Assembly
Now it’s time to install a new bulb in the headlight housings. This step is crucial to reduce headlight glare during night driving. Use gloves while handling the bulb, especially the halogen bulb.
The oil from your fingers can transfer to the bulb surface. It creates a hot spot on it and reduces its life expectancy. Hold the bulb by its base and insert it into the socket. Gently turn it about a quarter turn clockwise to lock it in place.
In case you are replacing the complete headlight assembly, you need to disconnect the wiring harness. You may need to remove a few screws to remove the old assembly.
Now, place the new unit in the correct location. Connect the wiring harness and secure it with screws and bolts. Make sure to place all the components and fasteners you have removed earlier.
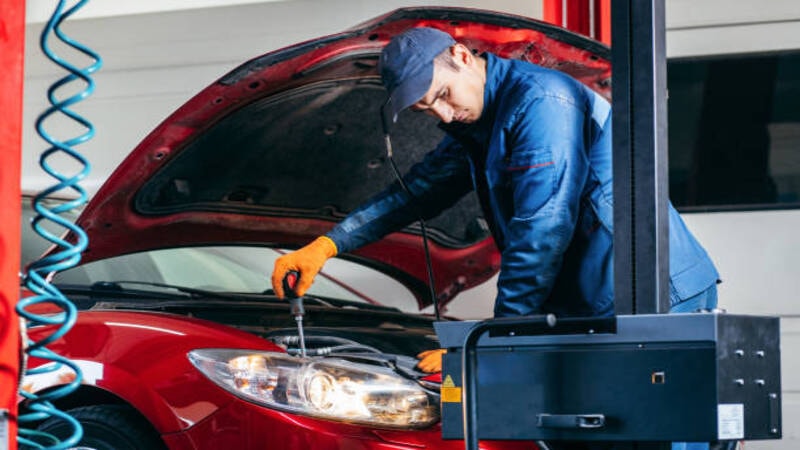
Step 5: Test the Headlights
Test the replaced headlights before closing the hood. Turn the headlights on to ensure proper alignment and function. Make sure to clean your headlights for effective visibility. Check both the high and low beams to ensure the new bulb and assembly are working accurately.
Model-Specific Headlight Replacement Tips
Each vehicle model has unique requirements when it comes to headlight replacement. Here are some headlight replacement tips for different vehicle models:
- Ford F-150 involves opening the hood for headlight replacement. It comes with grille clips; you must remove them to access the headlight. Unclip the grille clips carefully to avoid breaking the fasteners and proceed with the headlight replacement.
- If you are dealing with headlight bulb replacement in a Honda Civic, use the twist-and-remove method. With this simple process, you won’t need to remove additional components.
- In most Toyota Camry models, you need to open the bumper first to access the headlight housing. You need to remove the screws and disconnect the wiring to replace the headlight.
- Headlight replacement is complicated in the Tesla Model 3. It has advanced LED headlight assemblies. You need to replace the complete assembly instead of the bulb in case of any issues.
What Do I Do If the Headlight Still Doesn’t Work?
If your headlight still doesn’t work after replacement, you need to check various headlight components.
- Look for any blown fuses.
- Inspect the headlight wiring and search for any damage or loose connections.
- A faulty headlight switch or a worn-out relay could also prevent the bulb from lighting up. Moisture in the headlight also affects its performance.
- If you don’t understand the issue, consult a professional. A professional can better understand the complex issues. They can also help you with complicated replacements, like upgrading to smart headlights.
DIY vs. Professional Headlight Replacement – Which One is Best?
When your headlights fail, you need to decide whether to do it yourself or get professional assistance. The following aspects will help you determine the best choice between the two:
| Point of Difference | DIY Replacement | Professional Replacement |
|---|---|---|
| Affordability | Lower cost | Higher cost |
| Time Required | More time is required | Done in a short time |
| Risk of Damage | Higher risk of damage and various issues | Minimum risk of damage |
| Skill Level | Basic mechanical skills are involved | Mechanics have the required expertise |
Affordability
The cost of replacing a headlight is a major factor. DIY is a budget-friendly option. You need to invest in the headlight bulb or the assembly and a basic tool kit.
In contrast, professional replacement is a costly option. The replacement becomes more expensive for complex assemblies and luxury vehicles.
Time Required
DIY replacement is a time-consuming process. You might need to go through the owner’s manual and various tutorials to understand the right procedure. Depending on the vehicle model and your experience, the replacement can take hours.
On the other hand, expert technicians can complete the replacement within minutes. They understand the procedure and have the expertise to do it. It makes it easy for them to complete it in a short time.
Risk of Damage
DIY replacement involves risks of incorrect installation, misaligned beams, or damaging the wiring if you’re not experienced. Poor installation can affect a headlight’s optimal visibility and lead to glare.
In contrast, professional headlight replacement minimizes these risks. Mechanics ensure the correct alignment and secure wiring. They can spot hidden issues, ensuring a reliable solution.
Skill Level
You need basic mechanical skills to determine a bad headlight bulb and replace it. You also need to know how to access the headlight assembly, remove old bulbs, and install the new bulbs properly.
In contrast, your mechanic handles the professional replacement. They have the required expertise and experience to handle complex replacements.
Headlight Replacement Cost Breakdown

Headlight replacement cost varies depending on various factors. Bulb type, skills of mechanics, and complexity of the procedure
- A headlight bulb costs between $20 and $200, depending on the bulb type. Halogen headlights are usually cheaper, costing about $15 to $30. On the other hand, LED and HID headlight bulbs are expensive, with a cost ranging from $50 to more than $200.
- In the case of headlight assembly, you might need to spend between $200 and $1,000. This cost also depends on the vehicle model.
- The labor costs vary from $250 to $700, depending on the complexity of the procedure. It also depends on the expertise of the mechanic.
FAQs
Q1: Can I replace a headlight by myself?
Yes, you can do it yourself, as most replacements are easy. However, you must have basic mechanical skills. Check different tutorials and the owner’s manual to replace it accurately.
Q2: Is it easy to replace a headlight?
The ease of replacing a headlight varies for different vehicle models. The underlying cause of headlight failure also affects the complexity of the procedure.
Q3: What should you never do when changing your headlight bulbs?
Avoid touching the glass casing of the bulb with your bare hands. The oil from your skin sticks to the glass casing. It can cause it to overheat and burn out faster.
Conclusion
In conclusion, replacing a headlight bulb is a straightforward task that most car owners can handle with the right tools and precautions. By following safety guidelines and choosing the right bulb type, you’ll ensure a safer driving experience. Remember, regular headlight maintenance can keep your lights shining bright.
Need Reliable Headlights for Easy Replacement? Get in Touch for B2B Deals
Having the best quality of headlights is necessary to ensure safe driving. However, choosing a reliable manufacturer that offers the best lights is a daunting task. Carlightvision offers premium headlights with durable manufacturing. We are known for our innovative lighting solutions for vehicles.
In addition, we accept bulk orders, offering you the desired lighting solutions. Don’t forget to download our catalog to learn about our vehicle lighting options. Contact us for any inquiries. You can also request free samples to ensure the quality of our product.