Moisture and condensation in headlights are common issues that can reduce visibility and damage parts. This guide shows you how to safely remove moisture, reseal the housing, and prevent it from coming back with simple DIY steps.
Is It Normal Condensation or a Serious Water Leak?
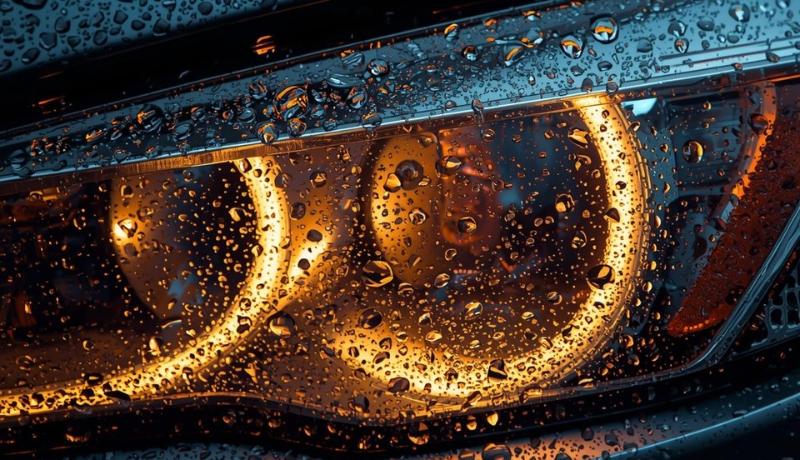
Light condensation inside headlights is normal if it appears as a thin fog after rain, car washes, or temperature changes and disappears within 10–20 minutes of driving. This happens when warm air inside the headlight meets the cooler lens; vents in modern headlights help the moisture evaporate.
| Symptom | Normal Condensation | Serious Water Leak |
|---|---|---|
| Appearance | Thin, uniform fog | Visible water droplets or pooling |
| Clearance Time | Disappears in 10-20 mins of driving | Persists for hours or days |
| Effect on Performance | No impact on brightness | Causes dim light or electrical issues |
Condensation is often normal due to temperature changes, but standing water indicates a broken seal.
What Causes Moisture and Condensation in Headlights?
Condensation in headlights is usually caused by temperature changes and ventilation, not always a leak.

Normal condensation:
- Occurs when warm air inside your headlight meets a cooler lens, creating a thin fog.
- Ventilation ports allow airflow, letting moisture evaporate naturally.
- Even new headlights can fog temporarily due to tight factory seals and temperature swings—this is normal and usually clears after 10–20 minutes of driving.
Common causes of persistent moisture or leaks:
- Blocked or clogged vents – Dust, dirt, or debris can block vents that control pressure and release moisture, trapping condensation inside.
- Loose or damaged rear bulb cap – A broken or poorly sealed bulb cap, damaged gaskets, or old rubber O-rings allow water to enter your headlight assembly.
- Cracks in the lens or housing – Minor cracks or misaligned housings let water in, especially in rain or after pressure washing.
- Worn-out butyl seal – The seal bonding the lens and housing can degrade over time from heat cycles or low-quality manufacturing, causing small leaks.
- Poor vent design or uneven sealing – Low-quality headlights may have inadequate airflow or inconsistent butyl sealing, leading to recurrent condensation.
- Interference with airflow – Objects inside the assembly can disrupt the designed ventilation, allowing moisture to accumulate.
Temporary fog is normal, but water pooling, persistent droplets, or one headlight worse than the other usually signals a seal, vent, or housing issue that needs inspection.
How to Remove Minor Condensation From Headlights
If you have a little amount of water inside your headlights, you’ll need to follow this step-by-step process to remove condensation and keep it from coming back.
Step 1: Check and empty the Vent
Begin by finding the headlight vent, which is typically found on the rear of the housing. Look at the presence of any dust, dirt, or debris. Webs and spider webs, or little obstructions that block or restrict airflow, are common.
Clear the vent with low-pressure compressed air in a way that does not damage the vent. Check the vent cap, too, and make sure it is in place.
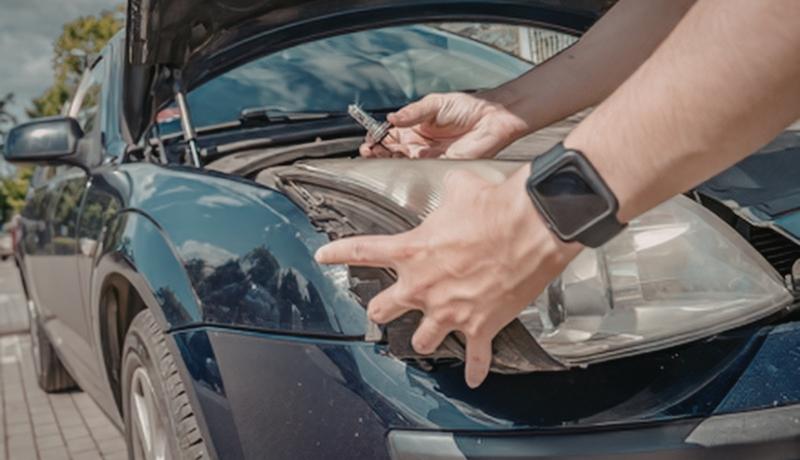
Step 2: Examine Bulb Caps and Gaskets
Then check the back bulb caps. A cap that isn’t fully twisted into place can allow moisture to enter the headlights. Observe the O-ring or rubber gasket closely; whether it is broken, pancaked, or ripped, it might no longer be able to make a proper seal.
When you use aftermarket LED lamps, you should also check the dust cover; loose or incompatible covers are a common cause of condensation problems.
Step 3: Apply Gently Warm Air
To remove minor condensation, you can use a hairdryer on low or medium heat:
- Keep the air moving; do not focus on one spot to avoid warping the plastic lens.
- The warm air helps evaporate moisture, which then exits through the headlight vents.
Direct heat should never be concentrated on one lens area, as it may warp the polycarbonate cover. This technique is the most effective when there is light fogging or early moisture issues.
For mild, recurring condensation, car dehumidifiers and reusable moisture-absorber bags can help prevent excess humidity in the headlight housing. Place a small desiccant pack near the vent (without blocking it) to absorb lingering moisture overnight.
How to Reseal Headlights to Prevent Moisture from Returning

Reseal your dry headlights the right way so moisture never comes back: use fresh sealant, fix rubber parts, and keep your headlight vents clear.
Wait until your headlight housing is fully dry before you start resealing. Scrape away all old, cracked, or worn sealant along your headlight lens edge.
Add new car-grade butyl sealant to create a tight, waterproof seal between your lens and housing.
Key Resealing Best Practices
- Use a small amount of silicone only on your weak seams and gaps
- Do not use too much sealant, or it will block your headlight air vents
- Check your bulb rubber rings and replace any that are broken or flattened
- Fasten your rear headlight dust caps firmly to keep water out
Press gently along your sealed headlight edge to make sure the bond fits tightly. Keep your headlight vents clean and open so air can flow and stop new condensation.
Better aftermarket headlight units come with improved sealing lines and tighter fitting edges, so you deal with far less returning moisture and fewer repeat repairs.
When Drying Is No Longer Enough
If your headlight lens is cracked, your vent is broken, or the internal reflector is peeling, you need to replace your headlight because drying or resealing won’t solve the problem. Water standing inside, repeated mildew, or corrosion of your DRL (daytime running light) boards also show that your headlight assembly has reached the end of its life.
You should replace your headlight if you notice:
- Broken mounting tabs that compromise the seal and alignment
- Persistent water or fog despite drying and resealing
- Damage to reflectors or internal electronics
For a long-lasting solution, consider Carlightvision replacement headlights. Our housings feature UV-coated polycarbonate lenses for durability, IP67 waterproofing, and optimized vent design to reduce condensation.
Look for headlights with certifications like DOT, SAE, or E-mark, which meet strict safety standards. With Carlightvision headlights, you get reliable performance, proper airflow, and a durable seal, making replacement more effective than repeated drying or resealing.
How to Prevent Future Headlight Moisture Problems
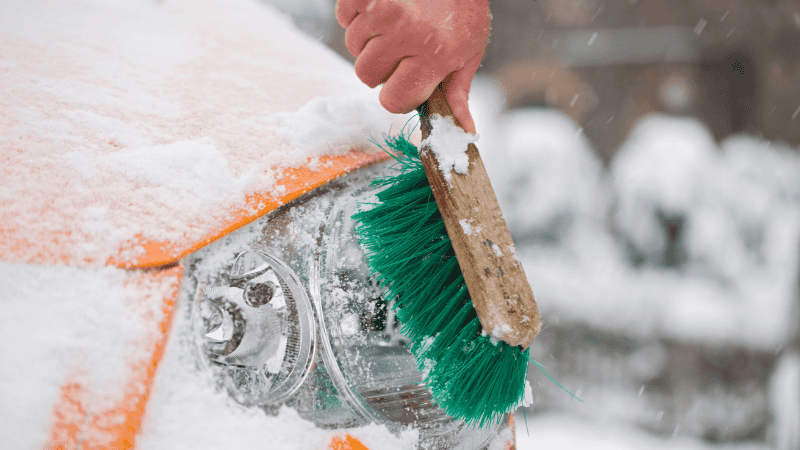
It is better to prevent than to repair. Check your headlights after each visit to the car wash to detect signs of premature condensation. Do not spray high-pressure water on seams or rear housing, which may drive water around seals.
Always inspect bulb caps and change them when worn out. When changing the bulbs, check the vents to make sure they are clear and free of any obstruction. The slightest collisions may upset the seal, and it is worth reviewing alignment and fitment later.
High-quality waterproof OE-fit headlight housings can help to minimize the risk of any moisture problems considerably. Find items that have proven sealing systems and long-lasting materials. Investing in better components upfront often saves time and repair costs later.
Restore Your Headlights with Car Light Vision!
Moisture-filled or foggy headlights can reduce safety and visibility. Carlightvision offers expert restoration, sealing, and replacement guidance to help you achieve clear results.
With professional solutions from Carlightvision, you can prevent recurring condensation and extend your headlights’ life. Don’t wait; restore your headlights’ brightness and enjoy safer night driving today. Contact Carlightvision to restore your headlights and drive with confidence.
FAQs
Q1: Can a Hairdryer Safely Remove Moisture?
Yes, a hairdryer can indeed be helpful in removing the moisture, provided that it is used well. Low to medium heat should be used, and the airflow should be kept moving so as to prevent overheating and damaging the lens. Overheating may distort plastic parts or seals.
Q2: Why Does Moisture Keep Returning?
Recurring condensation is often a warning sign of a faulty seal, plugged vents, or a broken part. These problems permit the water to flow in more than once.
Q3: Should I Use Silica Packs Overnight?
Yes, leftover moisture can indeed be absorbed in the silica gel packs when it is kept in the pack overnight. Always bear in mind to take them out and put them back in.
Q4: How do you get moisture out of a headlight?
You can remove moisture from your headlight by checking your vents and bulb caps, then gently drying the interior with warm air. For minor condensation, place silica gel packs inside overnight. If water is standing, you may need to remove your headlight, drain it, and reseal the housing.
Q5: Do aftermarket headlights have more condensation issues?
Yes, aftermarket headlights can give you more condensation if their seals or vents aren’t perfect. High-quality units with proper sealing and vent design help keep your headlights dry.
Q6: Can a high-pressure car wash cause headlight moisture?
Yes, spraying your headlights with high-pressure water can force moisture into weak seals or cracks, causing fog or water inside your headlights. Even good headlights may fog temporarily after a wash.