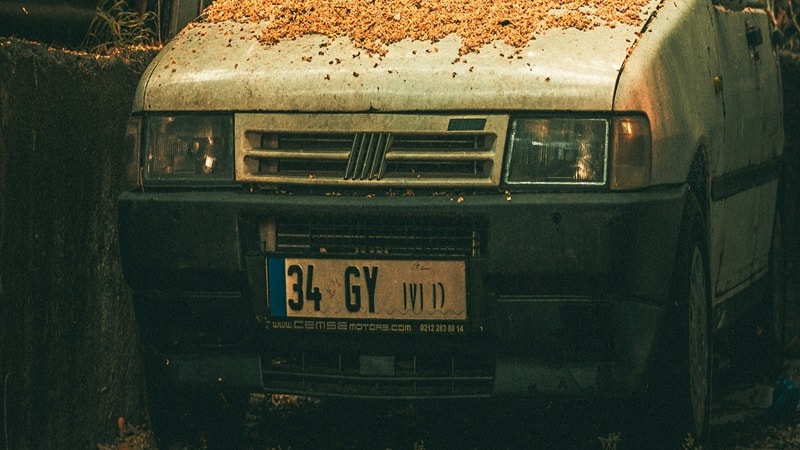
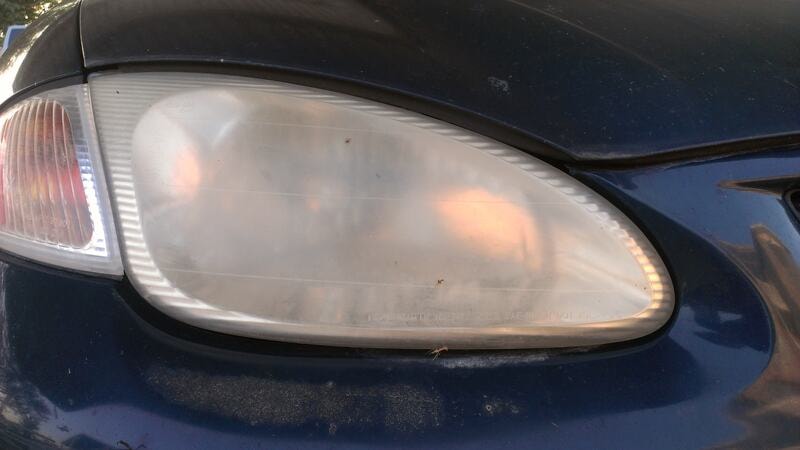
Have you noticed yellowness or fog in your car headlights? It reduces visibility and affects the clarity of light output. You need to clean the headlights for driving safety. It is dangerous to drive a car with low visibility at night. Wondering how to clean headlights? This blog includes a step-by-step guide to clean foggy headlights. Explore different cleaning methods and best practices!
Why Do Headlights Get Foggy or Yellowed?
Headlights get foggy or yellowed due to a number of reasons. Let’s understand the causes to prevent yellowing or fog beforehand.
UV Exposure
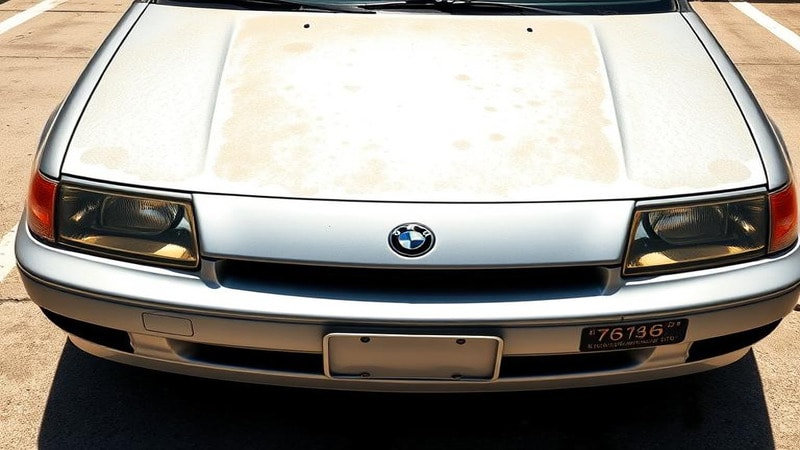
Headlights are enclosed in a plastic covering infused with a UV protective film in the outermost layer. Over time, the film degrades due to continuous UV exposure and heat from the light. The plastic also reacts with oxygen, leading to headlight oxidation. It causes cloudy headlights that appear yellow.
Dirt & Grime Buildup
When driving around the road, debris and pollutants stick to the surface of the headlights. Although headlights are sealed airtight, dirt makes its way inside. It leads to dirt and grime buildup inside and outside the headlights. The edges and corners are most affected and look foggy.
Moisture & Condensation
When you wash the car, moisture seeps into the headlight covering due to condensation. The water droplets appear on the headlight surface from inside. The accumulation makes headlights look cloudy. It severely affects visibility because the light beam reflects on water droplets and scatters.
Chemical Reactions
The use of harsh chemical products for cleaning purposes often causes yellowing in headlights. It also accelerates deterioration, leading to quick wear. The chemicals strip the protective layering, which causes oxidation. The headlight lens appears hazy, leading to low visibility.
Preparing for Headlight Cleaning
If your headlights look yellow or cloudy, let’s clean them. The first step is to complete the necessary preparation before cleaning. Do you wonder how long do headlights last? With proper maintenance, they can last quite long.
Gather Necessary Supplies
Before starting to clean your car headlights, make sure you’ve got the necessary supplies. You should have a microfibre cloth to wipe dirt, a masking tape to mask off paint, some mild cleaning solutions, and soap to remove grime. You can also keep sandpaper for deep oxidation removal.
Choose Your Cleaning Method
Select the best way to clean headlights. You can use DIY solutions like baking soda, soap, vinegar, and toothpaste. They can be effective if the damage is not too high. You can also use commercial headlight kits as they’re easy to use and efficient. In case of excess yellowing, go for wet sanding. Methods involving taking soap are also effective.
Using a Headlight Restoration Kit
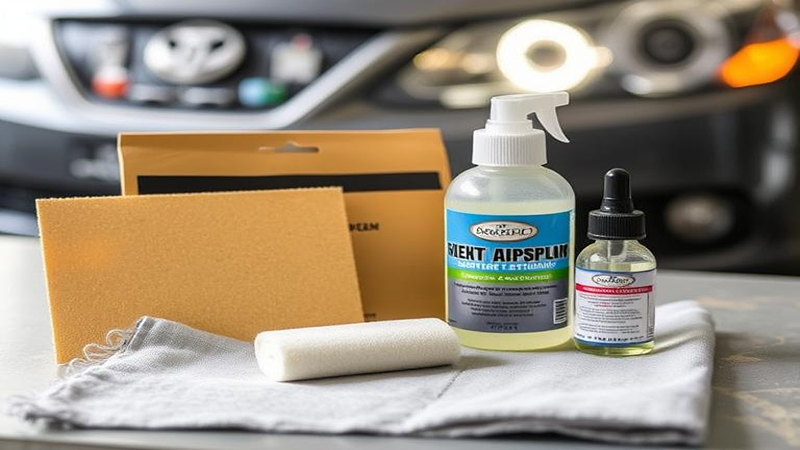
Headlight restoration kits are a popular choice for cleaning headlights. They come in handy and include necessary material. You would not need to complete any preparation before cleaning. The headlight restoration kit includes wet and dry sandpaper, polish, and other materials. You can follow the instruction manual for quick and easy cleaning.
Alternative Methods for Cleaning Headlights
Let’s compare DIY headlight cleaning solutions to gauge their effectiveness. It will help you identify the best way to clean headlights.
| Cleaning Solution | Usage | Pros | Cons | Effectiveness |
|---|---|---|---|---|
| Vinegar | It is ideal for removing light oxidation | It is natural and non-toxic | It may not work for excess oxidation and yellowing | Moderate |
| Toothpaste | Used to remove oxidation and yellowing and also for surface cleaning | It is abrasive and effectively removes oxidation and grime. | It must be used with a scrub, which can cause scratches | High |
| Baking Soda | Universal cleaning agent | It is natural and mildly abrasive | Offers temporary results and requires frequent reuse | Moderat to low |
How to Clean Foggy Headlights (Step-by-Step Guide)
Are you worried about foggy headlights? Here are DIY headlight cleaning tips; follow the steps to clean your car headlights at home.
Step 1: Preparation Before Cleaning
The first step is to make necessary preparations for cleaning. You should park your car in an open and well-lit space. Turn off the engine and disconnect the batteries as a safety precaution. Then, gather the required cleaning materials, such as microfiber cloth, soap, cleaners, etc. Apply masking tape around the headlights. You should also rinse the headlights and wipe them with a dry cloth.
Step 3: Sanding of Headlight Surface
Use a mild sanding paper to remove dirt and grime. You should spray bottled water on the paper and the headlight surface before starting the process. It will prevent scratches and give you a smooth finish. Apply sandpaper in a straight motion and rinse the headlight after you finish. You can use 800-grit sandpaper for hand sanding.
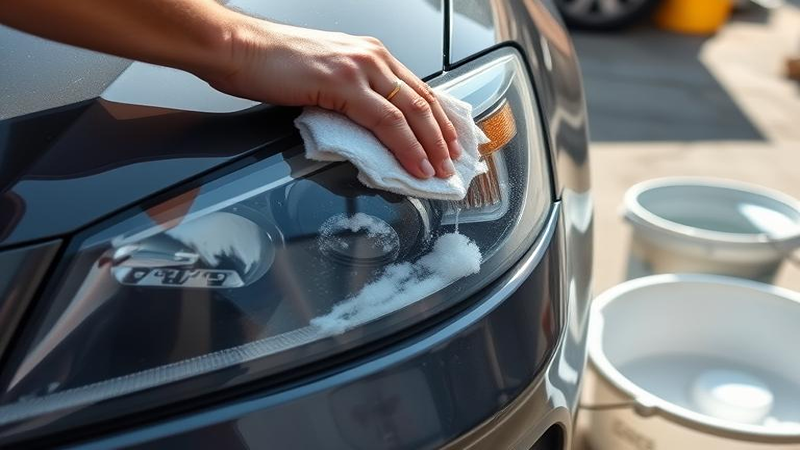
Step 3: The Cleaning Process
Once you’re done with sanding, it’s time for cleaning. You can choose any DIY cleaning agent like vinegar, baking soda, or toothpaste. Mix vinegar with baking soda to form a past,e or use toothpaste directly. Apply and scrub with the help of a toothbrush or a scrub. Follow a circular pattern and then rinse with water. Finally, use a microfiber cloth to wipe it clean.
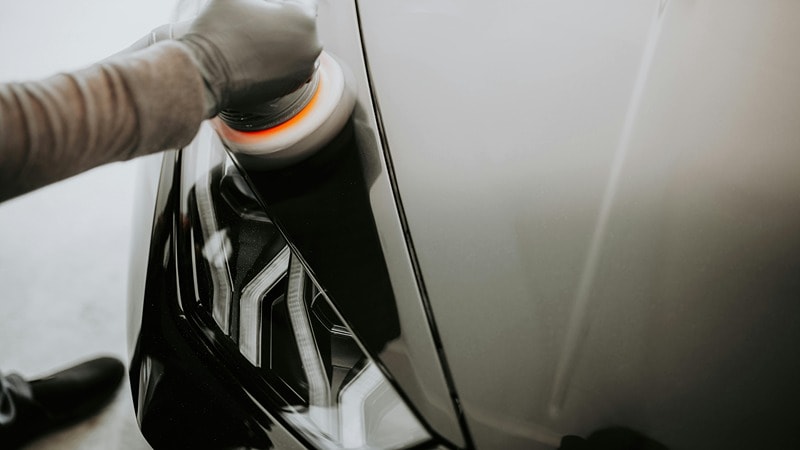
Step 4: Polishing and UV Sealant (Optional)
After cleaning the headlight, set them to dry. You can then apply any compatible polishing compound. Scrub the polish with an applicator or soft foam. Once done, wipe the polish and apply UV sealant with the same process to protect against UV radiation that affects plastic. These compounds are usually not available at home; therefore, you can skip this step. But it’s very effective for a polished look and headlight longevity.
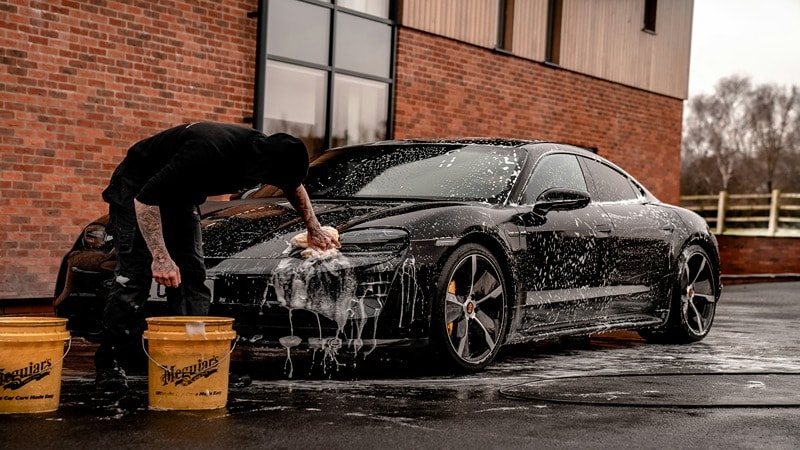
Step 5: Final Rinse and Wipe
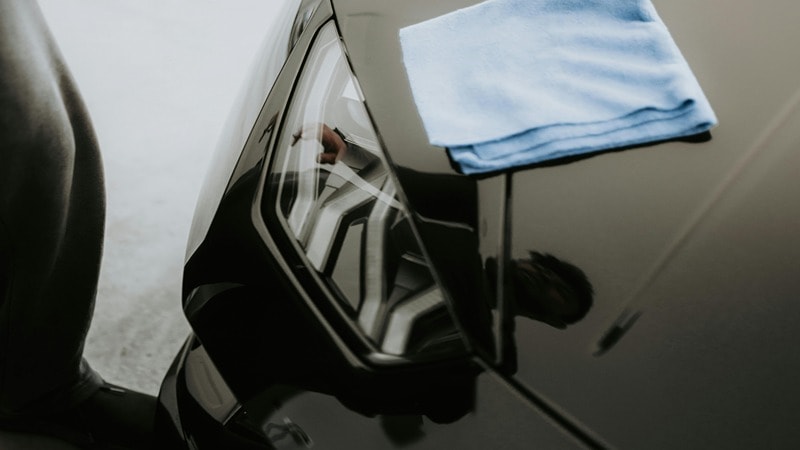
The final step is simple and straightforward. You need to rinse the headlights with water and soap. It will clean any remaining dirt or grim. Remove the masking tape from around the headlights. Use a clean microfiber cloth to wipe water and dry the headlights quickly. If you delay the process, it may lead to condensation. Finally, inspect the headlights and witness the difference!
Preventing Hazy Headlights
Preventive measures can save you from a lot of hassle. You must ensure proper upkeep of your car’s headlights to avoid fog buildup. It is crucial for your driving safety and the longevity of your headlights. Here is an expert to-do list to prevent hazy headlights:
- Clean your car headlights regularly with a damp microfiber cloth and wash them if they are too dirty. Don’t let dirt or grime accumulate on the headlight surface, corners, and edges.
- Apply a UV sealant/coating to protect against harmful UV rays. It is a magic compound that will increase your headlights’ life.
- Avoid using ammonia-based cleaners on headlights. It is a harsh chemical that affects the protective layering and causes fog. Most headlight lenses are made up of plastic.
- You should get a headlight cleaning kit for effective maintenance. It includes all the required products and tools.
- Some best practices, like parking your car in the shade, drying up headlights after washing, and polishing them from time to time, can help prevent hazy headlights.
How often should I clean my headlights?
There’s no specific timeline to clean and maintain headlights. It’s good if you clean them often. The headlights are critical for your safety when driving at night or in low-light conditions. They become yellow or appear cloudy if not appropriately maintained. Most people disregard cleaning headlights, but it can lead to significant safety risks.

You should clean the headlights at least once a month. It prevents fog buildup and yellowing, and the headlights stay clear. However, hazy and foggy headlights affect the visibility. The headlight beam, whether single beam or dual beam, distorts and becomes unclear. Any uncertainty or reduced visibility in headlights makes driving at night difficult.
The driving conditions also come into play. If your commute is in a countryside or dusty environment, you should clean the headlights every two weeks to prevent dust and grime buildup. During winter, the snow also affects the headlight visibility and life. It accelerates the oxidation process, which causes haze. You must clean headlights more frequently in such conditions.
Common Mistakes to Avoid
Most people don’t know about proper headlight maintenance. They use incompatible methods or techniques that lead to quick degradation. You can explore some common mistakes that people frequently make in headlight maintenance. It will keep you from damaging the headlights or affecting their visibility. Let’s learn more.
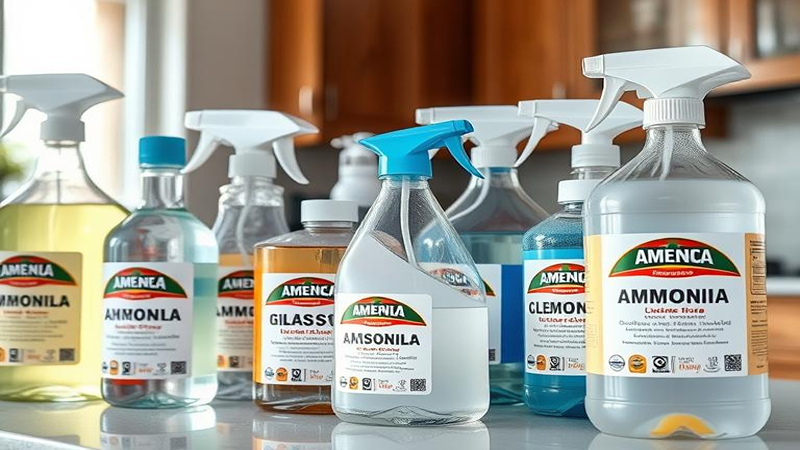
The most frequent mistake people make is using harsh chemicals on car headlights. The popular quick fix is using WD-40 spray. It is highly not recommended because its chemical composition wipes out the protective layering of the headlights. Other harsh chemicals like ammonia-based cleaners, acetone, and bug spray also affect headlight lenses adversely.
The use of abrasive materials to scrub headlights should also be avoided. It only produces scratches on the casing and does no good. If you want to polish or remove infused dirt, go for 800-grit sandpaper. There are some popular myths, like soaking headlights in vinegar will remove yellowing. It’s just a myth and should be avoided.
When to Consider Professional Headlight Restoration
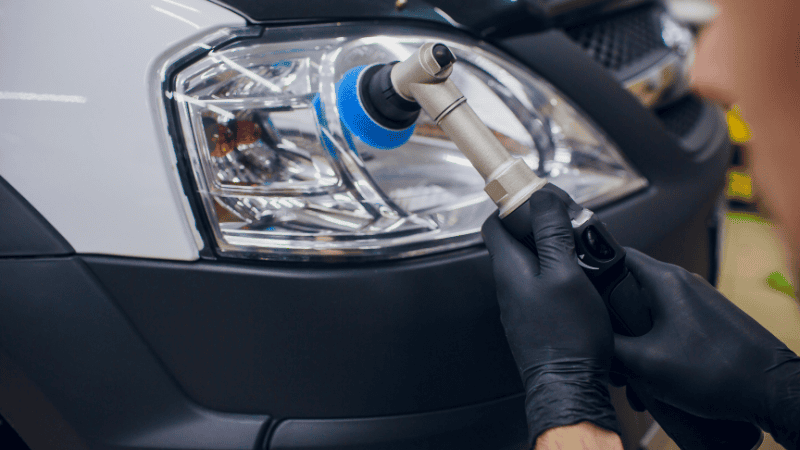
When all cleaning techniques fail and you’re unable to revive the headlights, consider professional restoration. It’s the last resort to get the headlights cleaned and back in pristine condition. Professional restoration follows a rigorous process employing different buffing and polishing machines to clean the headlights. It gives long-lasting results and adds to the headlight’s life.
Professional headlight restoration can costs be expensive. The costs can range anywhere between $50 to $150 for a good service. The costs can also increase if the headlight condition is worse. It’s recommended to go for a headlight upgrade rather than spending a high amount on restoration. The new headlights will last much longer and will be considered a sound decision.
Do Your Car Headlight Needs an Upgrade
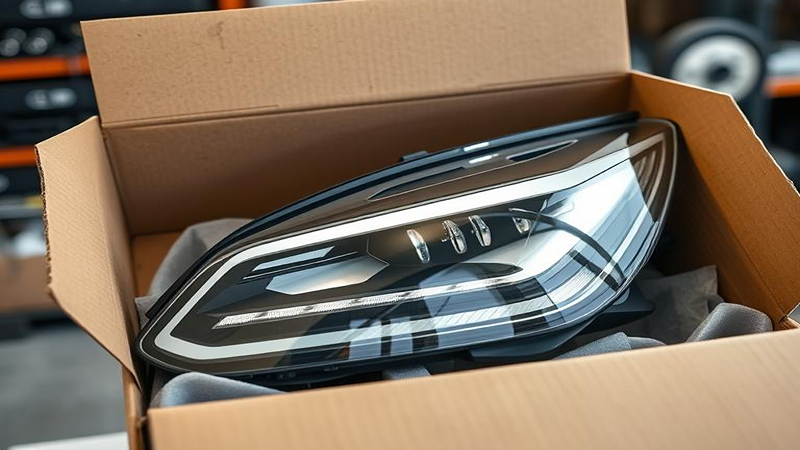
If your car headlights have permanent damage, you must replace them in a timely manner. Other common reasons include excessive wear due to oxidation. When the headlight lens becomes extremely cloudy, visibility is severely affected. You don’t need headlights that do not function properly. Consider upgrading to fix dim headlights and improve visibility.
In case you’ve mistakenly used harsh chemicals on the headlights, replacement will be necessary. The chemical damage is permanent and irreversible. Most of the time, people restore them, but the headlights again become cloudy. The thin UV protective coating quickly wears off, and the headlights get exposed to harmful UV radiation.
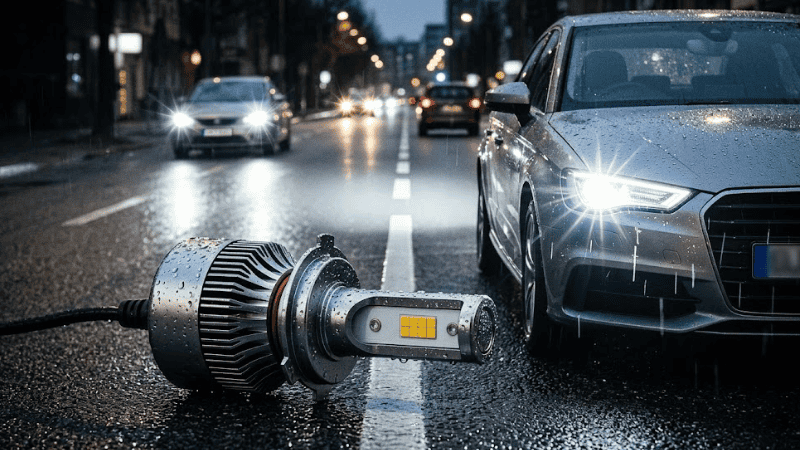
The signs that you need to upgrade your ride with top LED Headlights become clear. The first and foremost is low visibility at nighttime. It doesn’t matter whether the headlights are malfunctioning or it’s due to wear. You should always prioritize your driving safety and go for replacements at the right time. Using old, substandard, or bad lights is a major safety risk and is also illegal.
FAQs
Can toothpaste really clean headlights?
Yes, toothpaste is effective in removing light oxidation from the headlight. It is mildly abrasive and can be used with a scrub to remove dirt, grime, and yellowness.
What is the best way to clean headlights?
The best way to clean headlights is the one that works best for you. You can use DIY methods or go for professional restoration. However, maintaining headlights is necessary.
What can I use to clean my headlights?
You can use commercial headlight cleaning solutions to clean the headlights. Home remedies also work for headlights. The popular choices include toothpaste, vinegar, and baking soda.
Conclusion
So, what’s the secret to long-lasting headlights? It’s nothing but proper maintenance and cleaning. You must follow our guidelines to upkeep your car headlights and prevent haze, yellowing, or a foggy appearance. And try not to make the common mistakes. Keeping your car headlights clean is critical for road safety and visibility.
Are your car headlights too dirty to clean? It’s time to replace them with new ones. Carlightvision offers the best headlights that last long, don’t turn yellow, or become foggy.
From Clean to Clear—Upgrade to LED and Boost Your Sales
Are you looking to upgrade your car headlights? Carlightvision has a wide variety of top-quality headlights. It offers both HID and LED options with remarkable durability and longevity. Carlightvision has over a decade of manufacturing expertise. It has an advanced manufacturing facility and robust R&D to produce the best headlights. Get in touch for a walkthrough!