Have you ever had your headlights stop working while driving at night? If so, then you know how important it is to know how to troubleshoot headlights.
This article explains how a car headlight fuse impacts your vehicle’s lighting system. Read on to learn about common lighting failures and the steps to fix faulty headlights easily.
Understand the Symptoms of Headlight Failure
If your headlights stop working, you can usually tell the cause from the pattern: one headlight out usually means a burned-out bulb or loose connection, while both headlights failing points to an electrical issue like a blown fuse, bad relay, or faulty switch. Dim headlights often mean your bulbs are aging, your voltage is low, or your lenses are dirty.
1. If one headlight is out
If one headlight is not working, the issue is usually simple. It can be due to a burned-out bulb, a loose connection, or corrosion in the socket.
2. If both headlights stop working
If both headlights stop working, the problem is often electrical. This may include a blown car headlight fuse, a bad relay, or a faulty headlight switch in the steering column.
3. If the headlights are dim
Headlight bulbs can dim over time. If the headlights are dim, the problem is usually gradual wear over time. Old headlight bulbs, low voltage in the electrical system, and dirty lenses can reduce overall brightness.
Simply put, a one-sided failure usually indicates a bulb or socket issue, whereas a failure on both sides often points to an electrical problem.
Why One Headlight Is Not Working?

If one headlight is not working, it’s usually a burned-out bulb, a loose or corroded socket, or a wiring/ground issue. Moisture, faulty drivers, or ballasts in HID/LED systems can also cause failure, so checking the bulb, socket, and wiring first will help you fix the problem quickly.
Common Causes of a Single Headlight Failure:
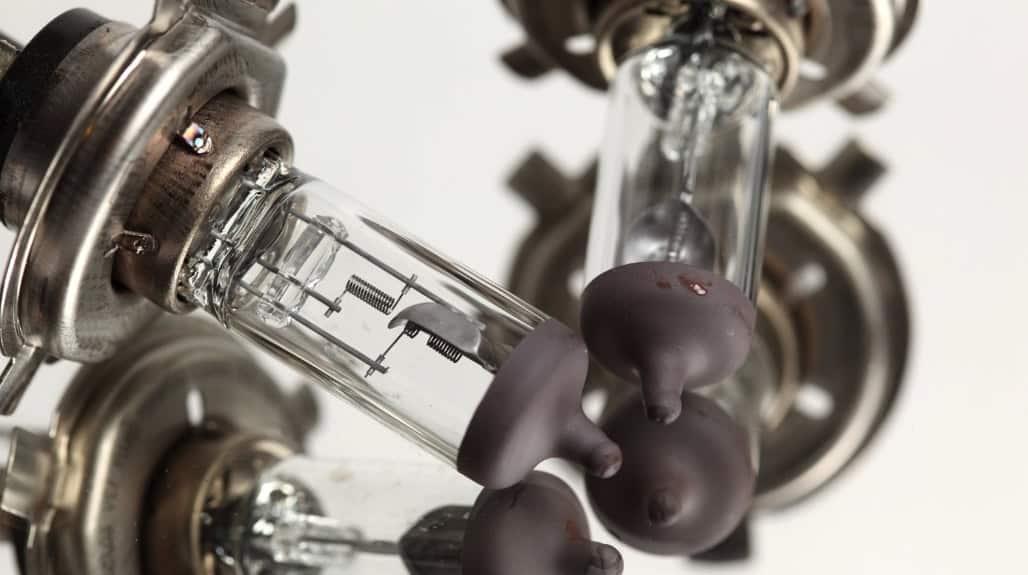
- Burned-out bulbs: Halogen bulbs naturally wear out over time, especially with daily use, making them the most common reason one headlight stops working.
- Wiring or socket issues: Loose sockets, corroded connections, or damaged wiring can block power to the bulb and prevent it from lighting up.
- Faulty ground connections: A bad ground behind the headlight can cause complete failure on one side.
- Advanced HID or LED systems: A malfunctioning driver or ballast can fail independently, affecting only one headlight.
- Moisture inside the housing: Water can damage internal components over time, leading to a single headlight not working.
If replacing the bulb doesn’t solve the issue, check the socket, ground wire, and any moisture inside the housing before moving to more complex repairs. Using high-quality headlights like Carlightvision can reduce the risk of repeated single-headlight failures.
Why Do Both Headlights Stop Working?
If both headlights stop working, it’s usually a blown fuse, a faulty relay, or a bad headlight switch. In modern or LED systems, a control module or driver board can also cause both lights to fail.
Imagine driving at night on a low-light road, and you notice high-beam headlights not working. To fix this issue promptly, you first need to understand the root cause behind the failure of both headlights.
If both headlights stop working, the problem is most likely in a shared part of the system. The first thing to check is a blown headlight fuse. Open the fuse box under the hood or dashboard and inspect the headlight fuse box carefully.
A faulty relay can also prevent current from reaching the lights. Swap the relay with a similar one to test whether the headlights work.
The headlight switch, which controls both low and high-beam headlights, can also fail over time, especially in older vehicles. Low battery voltage or charging issues can affect the system. If power is unstable, the headlights may not function properly.
In modern cars, a control module might be the cause of the headlight failure. Additionally, in advanced LED headlight systems, dual-side failure may indicate a faulty driver module or control board.
Why My Headlights Are Dim?
If your headlights look dim, it’s usually due to old bulbs, cloudy lenses, low voltage, or moisture inside the housing. Dim headlights make it harder for you to see the road and increase the risk of accidents.
In many cases, the headlights might work, but the brightness they offer is lower than before. This means the headlights won’t illuminate the road properly, increasing the risk of accidents.
The main reason behind dim headlights is old bulbs. Over time, headlight bulbs lose their brightness, making it harder for drivers to see clearly.
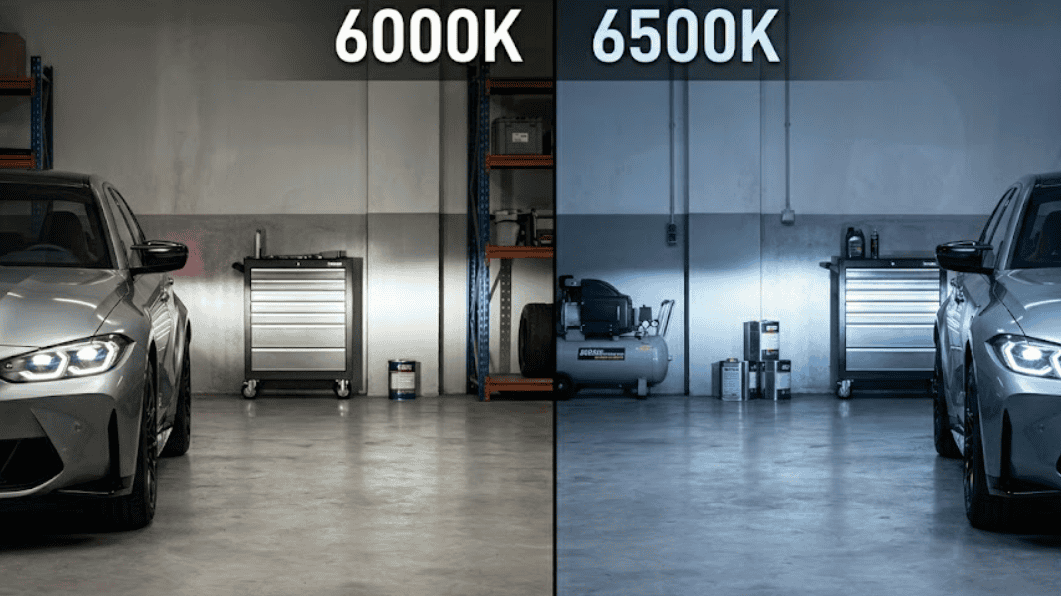
Similarly, when the outer lens is exposed to harmful UV rays for long periods, it may become oxidized or foggy, thereby blocking light. Low voltage in the electrical system can also dim the lights.
A weak battery or alternator that is not providing enough power can reduce headlight performance. Moisture inside the headlight housing is another common cause. Water can scatter the light and reduce clarity.
Cheap aftermarket headlight bulbs or LEDs may perform poorly if they are not compatible with the car’s headlight system. Finally, damage to the internal reflector can reduce beam quality. This issue is especially common in older projector-style headlights.
What Should You Do If Your Headlights Fail? A Step-by-Step Guide

If your headlights fail, start by checking the bulb, fuse, and wiring to quickly identify the problem and get back on the road safely. Following a structured check helps you avoid being stranded or fined for faulty headlights.
To avoid being stranded on the road at night when headlights stop working, or to avoid fines associated with faulty headlights, it’s important to have an idea of how to fix faulty headlights. A step-by-step procedure for troubleshooting headlights is given below. Read it to easily and quickly fix your headlights.
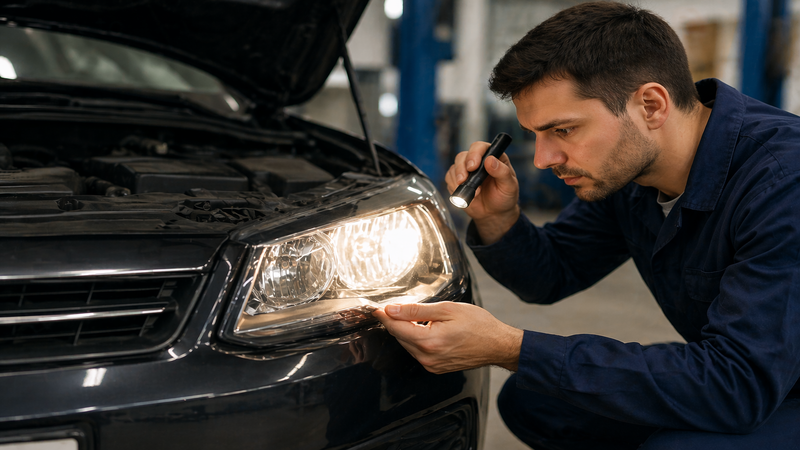
Step 1: Check the Bulb
Start by checking the bulb. Inspect for broken filament or dark spots in the glass. Swap the left and right headlight bulbs to test; if the issue persists, the problem is with the bulb.
Step 2: Check the Fuse and The Relay
Now, locate the fuse box using the car owner’s manual. Remove the fuse and inspect it for damage. You can use a test light or voltmeter to check power. If needed, replace the fuse with one of the same rating. Also, swap the relay with another similar one to check if the problem is with the relay.
Step 3: Check Socket and Wiring
Now, check for loose connections or corrosion. A bad connection can prevent the power from reaching the headlights. Similarly, look for melted plugs or damaged wires. Heat-related damage is common near sockets. A bad ground can also contribute to issues; ensure that the ground wire is secure and clean.
Step 4: Check for Moisture
Water can damage the components inside the headlight housing. Check seals and rear caps for condensation. If the lens is cracked or the cover is loose, moisture can penetrate, leading to headlight failure.
Step 5: Test Voltage
Finally, use a multimeter and test the voltage at the connector. Compare the voltage on both sides to find differences. If no voltage is present, check the circuit to identify the exact issue in the system.
When to Replace the Headlight Bulbs vs the Full Headlight?
If your headlight housing is intact and the lens is clear, replace the bulb. If the housing is cracked, tabs are broken, or the lens is heavily oxidized, replace the full headlight.
Fleet managers or drivers need to determine whether to replace the bulb or the whole headlight by inspecting the headlight’s condition. If the housing is in good shape and the lens is clear and dry, replacing the bulb is a great idea.
But if there is physical damage, cracks, broken tabs, or heavy oxidation, then replacing the whole headlight is recommended. Poor beam pattern or DRL issues may also require replacing the headlight fuse.
When replacing a bulb, make sure to replace both headlight bulbs to get equal brightness. When replacing a headlight or bulb, always go with trusted suppliers and headlight manufacturers to ensure they match your vehicle perfectly.
OE-fit replacement headlight assemblies reduce the need for repeated repairs and improve long-term beam performance.
A table is provided below to help vehicle owners and drivers understand when to replace a bulb or the entire headlight, enabling them to make an informed decision.
| Condition / Issue | Replace Bulb | Replace Full Headlight |
|---|---|---|
| Filament burned out | Yes | No |
| Housing in good shape, lens clear, no moisture | Yes | No |
| Cracked lens | No | Yes |
| Broken tabs or mounting points | No | Yes |
| Heavy oxidation on the lens | No | Yes |
| Poor beam pattern | No | Yes |
| DRL (Daytime Running Light) failure | No | Yes |
| Replacing only one headlight bulb | No (replace both bulbs recommended) | No |
How to Prevent Future Headlight Failure?
You can prevent headlight failure by inspecting your headlights regularly and using high-quality parts. Simple care now keeps your lights bright, safe, and reliable. Preventing headlight problems early can reduce issues later. To avoid future headlight problems:
- Always replace both headlight bulbs at the same time to get equal brightness.
- Inspect the seals and vents regularly.
- Use sealed dust caps to protect internal components.
- Avoid pressure washing the headlights.
- Check wiring and ground connections yearly to prevent major issues.
- Choose quality components and compatible parts when replacing any headlight parts.
For long-lasting results, consider Carlightvision headlights. Their sealed housings, optimized vents, and OE-fit parts help you avoid moisture, electrical problems, and repeated maintenance.
Final Verdict
Noticing dim headlights, or one or both sides not working properly, is common. Having a clear understanding of the issues that can cause headlight failure and knowing how to fix them can help you avoid potential problems.
Make sure to inspect the headlight switch, fuse box, and internal components regularly to prevent headlight failure. Also, no matter whether you need a 2017 Ford Escape headlight fuse, a 2019 Ford Escape headlight fuse, a Dodge Challenger headlight fuse, or a Dodge Charger headlight fuse, always choose trusted, reliable LED suppliers.
Carlight Vision: Your Trusted Automotive Headlight Manufacturer
With more than 15 years of experience, Carlight Vision is undoubtedly one of the best manufacturers of automotive lighting solutions. Our staff is experienced to meet all your unique requirements.
Simply contact us today to get a bulk quote tailored to your requirements.
FAQ
Q1. Why did my headlights suddenly stop working?
Your headlights may stop working if a fuse blows, a bulb burns out, or the headlight switch or relay is faulty. Check your fuses and bulbs first, and if problems persist, consider upgrading to reliable Carlightvision headlights to avoid repeated failures.
Q2. What is the most common reason for a headlight failure?
Most headlight failures happen because your bulb burned out, a connection is loose, or the wiring ground is poor. Using high-quality Carlightvision bulbs and housings can reduce the risk of frequent failures.
Q3. What to do if your headlights stop working while driving?
Turn on your hazard lights, pull over safely, and inspect your bulbs, fuses, and wiring. If your headlights keep failing, Carlightvision replacement units offer durable, fully sealed housings that prevent repeated issues.
Q4. Why do my high beams work but not my headlights?
If your high beams work but your low beams don’t, your low-beam bulb, headlight switch, or fuse may be the issue. Switching to Carlightvision headlights ensures properly tested bulbs and wiring compatibility for both high and low beams.
Q5: How do I check if my headlight fuse is blown?
Locate your fuse box, remove the headlight fuse, and check if the thin wire inside is broken or burnt. For long-term reliability, using Carlightvision’s high-quality replacement headlights can reduce fuse and wiring problems.
Q6: Can a faulty relay cause my headlights to flicker or stop working?
Yes, a failing relay can make your headlights flicker, dim, or go out completely. Carlightvision headlights are designed with tested electrical compatibility, helping you avoid relay-related issues.