Headlights play an important role in safety, either during nighttime travel or in adverse weather and situations with less visibility. Despite their importance, they are only noticed when they fail or become dim to the point of making driving dangerous. This article will provide you with important maintenance tips for your vehicle’s headlights.
Understanding Headlights and Their Maintenance Needs
To stay safe while driving, you need to check and clean your headlights regularly. You should also change the bulbs and fix the lenses on a regular basis to keep them working well.
You must know the various headlight types for better upkeep and repair.
Types of Headlights
Let’s discuss some of the most commonly used and admired headlights:
Halogen Headlights
Halogen headlights are the most frequently available, used, and cheap headlight option. While they are straightforward to replace, they tend to dim and lose brightness over time, and it is necessary to have regular checks and replacements to maintain optimal performance.
LED headlights
LED ones are very popular; they are very famous for their long lifespan and durability. The light-emitting diode, or LED, is what makes a headlight bulb function.
When an electric current passes through a light-emitting diode, it emits light. LEDs do not heat the environment since they emit very little heat. LEDs are more advantageous than halogen light bulbs, which convert only around 20% of the energy they use into light, with the other 80% wasted as heat.
High-Intensity-Discharge Headlights
The above are some classy and stylish headlight options; they offer greater brightness than both halogen and LED options. High-end vehicles commonly feature HID.
Why Regular Headlight Maintenance Matters
Headlights are important for safety. They help us see at night and in bad weather. They are crucial when visibility is low. Good headlights lower the chance of road accidents. They play an important role. Yet, people overlook them. They fail to prevent road hazards.
Blurred, dim, or flickering headlights are dangerous. They don’t work well and can cause accidents. These problems can also lead to traffic jams. With regular care and some basic knowledge, you can keep your headlights bright. This technique helps make your driving safe.
Cloudy headlights are very dangerous, and almost 50% of all cars on the road have degraded headlights, with visibility reduced to 80%.
Regular maintenance—including lens cleaning and quick replacement of malfunctioning headlight bulbs—not only maximizes lighting for the driver but also improves the vehicle’s visibility to other road users, therefore promoting general traffic safety in the crowded surroundings.
Common Headlight Issues and Solutions
Usually, because of a lack of awareness, people don’t understand the need for care and surveillance of their things, and they make mistakes. Let’s focus on the common issues that affect the headlight performance and some solutions to fix them:
- Ultraviolet radiation from the sun, upon continuous exposure, causes damage to headlights and makes them pale or yellow-colored.
- Using abrasive cleaners in households can scratch or cloud the headlight lens. Use products specifically made for headlights.
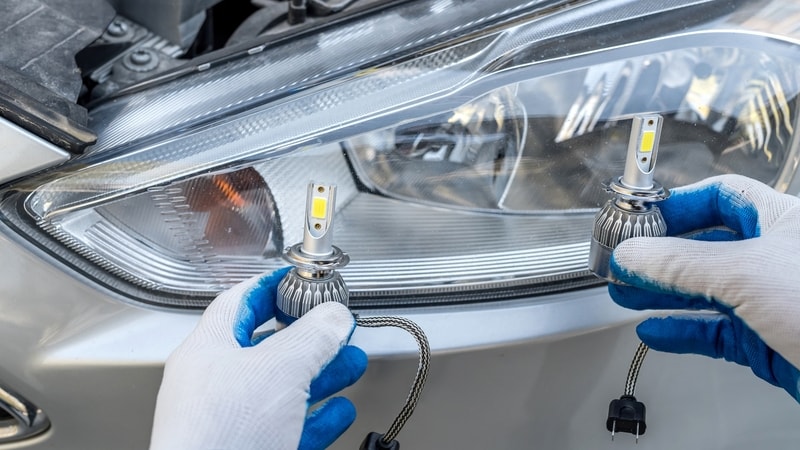
- Touching headlight bulbs with bare hands that contain oils can cause hot spots and reduce bulb life.
- Incorrect handling of halogen bulbs without gloves shortens their lifespan.
- Overlooking small cracks on headlights can lead to moisture access and cause issues.
Solutions to Fix These Common Issues of Headlights
Some solutions to fix the above issues and prevent vehicle headlights from causing more damage are as follows:
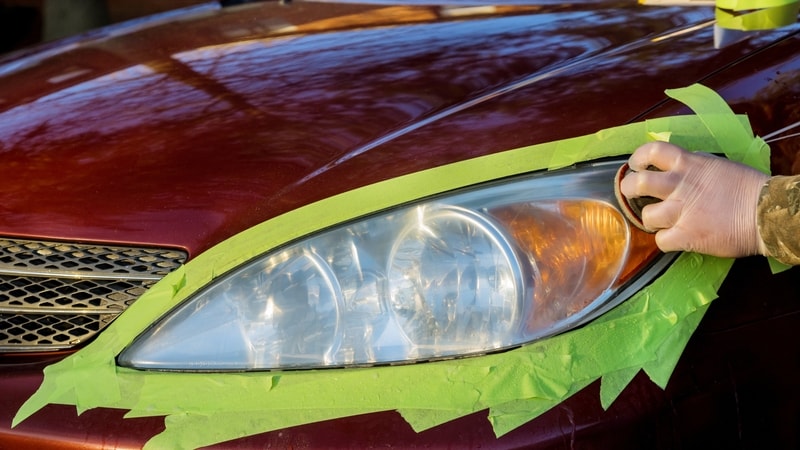
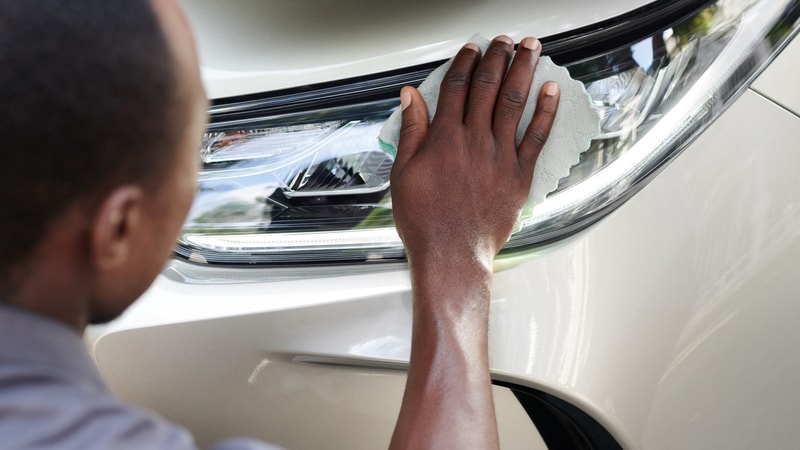
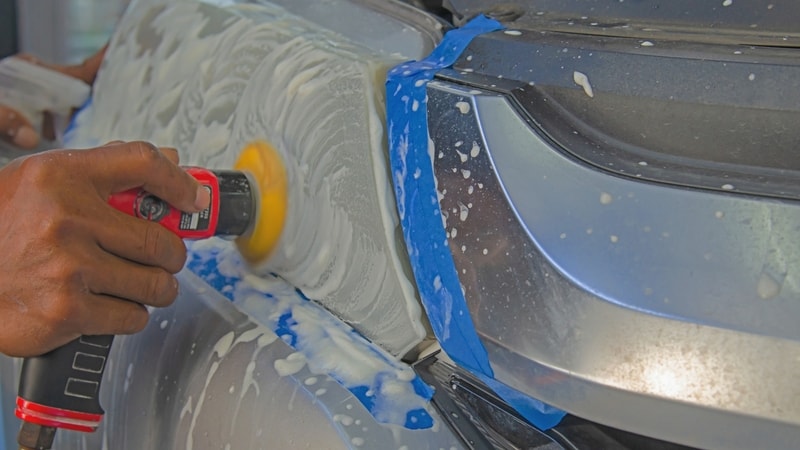
Clean the headlights using the restoration kit
Clean lenses with a specialized cleaner or use a headlight restoration kit. Look for professional services that involve sanding, polishing, and applying a protective clear coat. Though more expensive, this procedure often yields longer-lasting results.
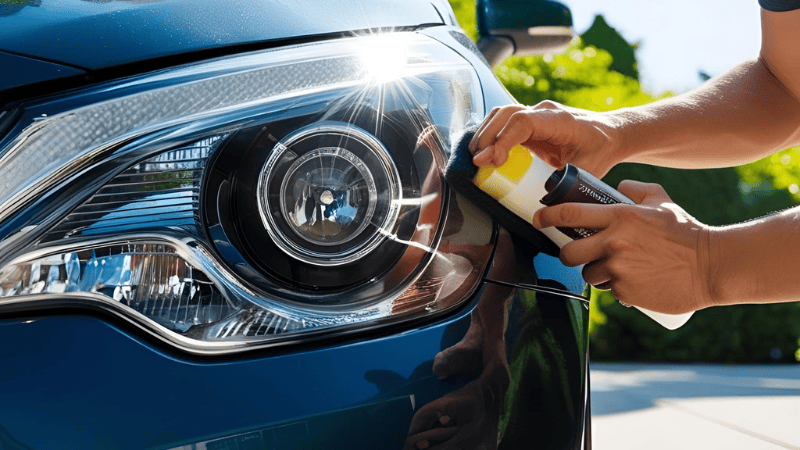
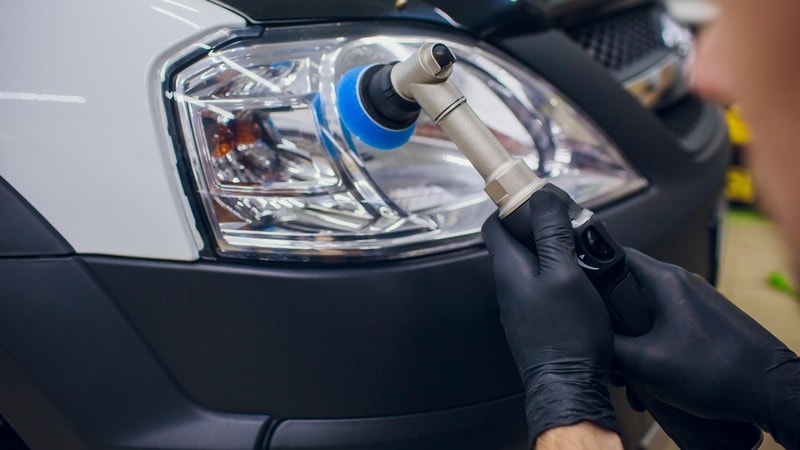
Apply UV (Ultraviolet) Sealant
The next step after cleaning or restoration is applying a UV sealant, which helps prevent yellowing and hazing due to sun exposure.
Use Headlight Covers
Plastic covers protect headlights from debris, dust, and sunlight. Choose covers that are vehicle-specific for a snug fit.
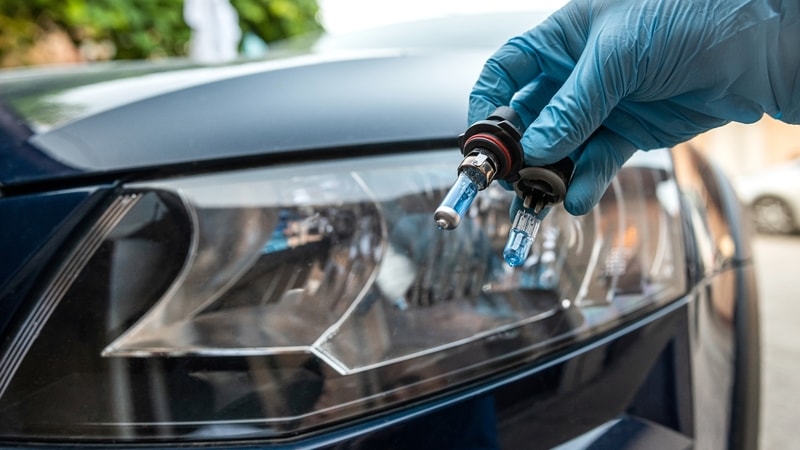
Replacement of Headlight Bulbs
Headlights carry bulbs in them, which are the basic functional unit of any headlight. Your car’s bulb replacement is included in one of the key maintenance tasks. Even if one bulb is still in good form, it’s recommended to replace both at the same time for balanced visibility.
Park in the Shade or Garages
Limiting sun exposure reduces the risk of UV damage and helps preserve clarity. UV rays are sharp ones, and prolonged exposure may damage them. This photodegradation process also breaks down polymer chains, diminishing the lens’s transparency and structural integrity.
In short, with no doubt, by doing the right care along with the right decisions for headlights, you are able to have well-maintained headlights.
DIY Cleaning Methods for Clearer Headlights
Everything you have in your home requires maintenance, and that’s also the case for headlights.
Considering the typical problems, such as dust and pollution buildup, below are some DIY cleaning techniques for better headlight maintenance. Utilising these tips, you can increase the lifespan of headlights.
Baking Soda Paste
Mix baking soda with a little water and make a thick paste. Using a delicate cloth, dab the paste over the foggy headlight lens. For a few minutes, rub in circles. Rinse well with water, then use a fresh microfiber towel to wipe dry.
Baking soda’s mild abrasive quality may aid in gently removing the top layer of filth and oxidation brought on by dust and impurities.
Vinegar and Baking Soda (Two-Step Method)
Wipe the headlight lens first with a towel soaked in white vinegar. This might assist in releasing some of the accumulation. Then, apply the paste of baking soda and water to the lens. Rub gently, rinse completely with water, and then dry.
Before using baking soda for a mild abrasion, you may use vinegar to soften the deposits that have built up on your headlights from exposure to filthy air.
Important Considerations for DIY Methods:
1. Effectiveness
For modest cloudiness, DIY techniques usually work well. Extremely yellowed or oxidized headlights might need expert repair or the use of specific headlight restoration kits for best results.
2. Gentle Application
Prevent the use of abrasive materials or caustic compounds that are not intended for headlights, as they may cause additional damage. Use gentle towels to stop scuffing.
3. Time and effort
DIY techniques may not provide long-lasting benefits, such as professional services or repair kits, which require some manual work.
4. Protection
Applying a UV protectant sealant, especially intended for headlights, will prevent future yellowing and destruction from the strong sun after cleaning using any technique.
If the cloudiness continues or is severe, you may want to look at professional headlight repair services or a commercially sold headlight restoration kit, which often includes polishing chemicals and sealants.
Common Mistakes to Avoid in Headlight Maintenance
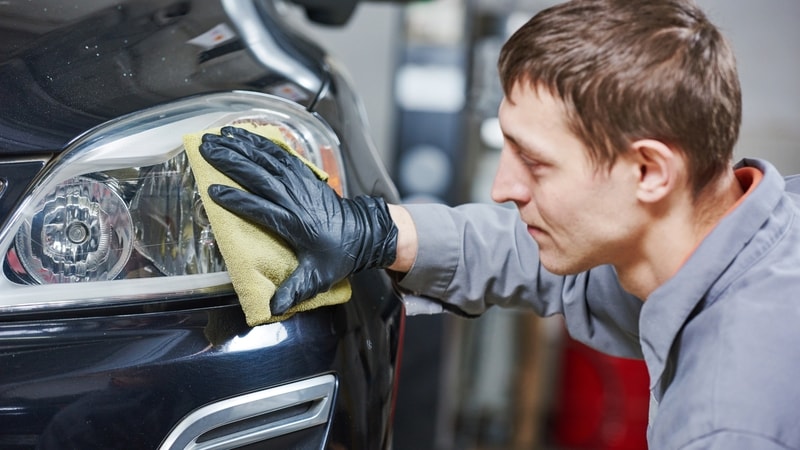
Some common mishandlings lead to reduced durability of car headlights. Abrasive use of cloth for cleaning will cause scratches on the glass and damage the clarity. Always prefer a soft microfiber cloth to clean the headlight glass or bulb.
Direct contact of solutions with headlights is not good; they cause damage to the headlight glass and leave stains. First, apply the solution on the cloth or mix it in water, then rub it over the glass.

UV sealant use is a necessity, not an option. UV sealant protects from direct UV rays from the sun and helps in avoiding the yellow tinge on the headlight glass. This car wax sealant protects the paint for 6 to 12 months.
Avoid bleach; it is a detergent and may contain heavy materials that are not ideal for car headlights and affect the light output.
Headlight Restoration and Refurbishment
Plastic headlights can lose clarity over time. They may become cloudy, yellowed, or hazy. This makes your vehicle look worse. It also lowers visibility at night. According to the NHTSA, pedestrian safety rules for driving and speeding, proper headlights, and reducing nighttime pedestrian fatalities by 29%.
Headlight lenses are usually made of polycarbonate plastic. This material is strong but can oxidize. UV rays break down the protective coating. This causes a rough and foggy surface over time. Road debris, pollution, and harsh weather speed up this process.
Rain, snow, and extreme heat are key factors. Furthermore, slight scratches from dirt and poor cleaning exacerbate the haze, giving the headlights a lifeless appearance.
How to Restore Headlights Using a Restoration Kit?
A headlight restoration kit is cheap. It helps restore clarity. Kits usually have;
- Cleaning solution that removes dirt, grime, and old wax.
- Use sandpaper with different grits. It helps remove oxidation. Grits range from 800 to 2000.
- Polishing compound smooths fine scratches.
- UV-resistant sealant. It protects against future damage.
Restoration Process: Step by Step
Here are the steps to restore and maintain the vehicle headlights.
1. Properly clean the headlights.
Wash with soap and water; then, to remove any wax or residue, apply a degreaser.
2. Sand away oxidation.
Restore the shine of your headlights by using 2000-grit sandpaper for a flawless finish, starting with 800-grit sandpaper(for severe oxidation). To prevent scratches, always sand in one direction and keep the surface moist.
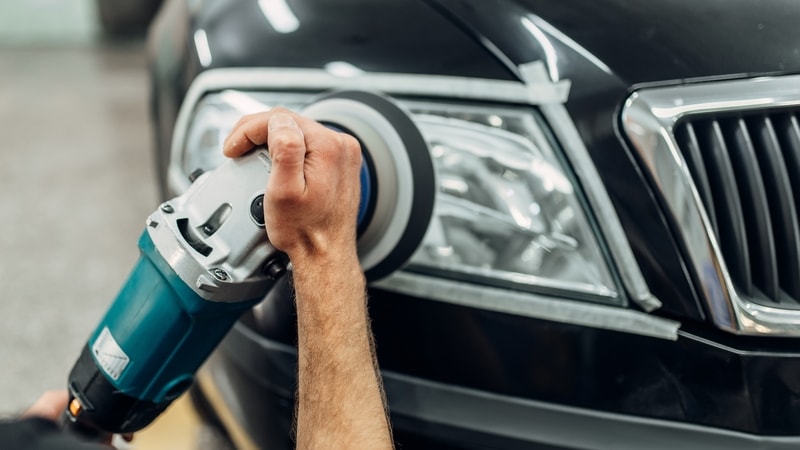
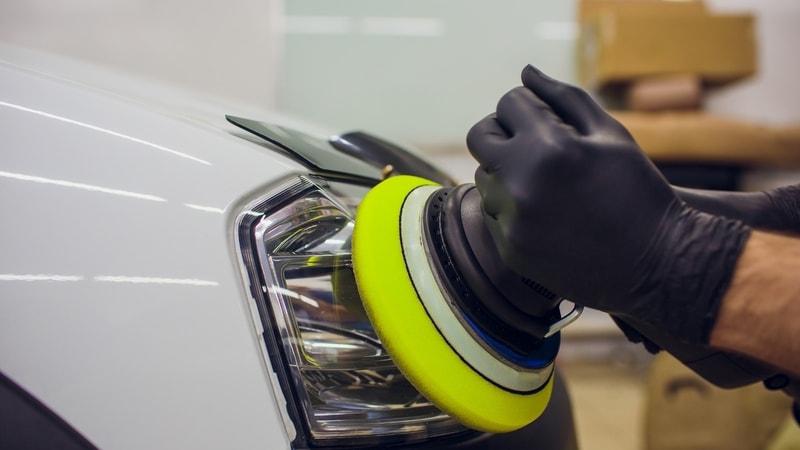
3. Polish for Clearness
To get shine back, use a polishing compound either with a drill-attached buffer or a microfiber cloth.
4. Seal with UV Protection
Finish with a sealer or clear varnish resistant to UV light to stop further yellowing.
Professional vs. DIY Restoration—Which Is Better?
| Factor | DIY Restoration | Professional Restoration |
|---|---|---|
| Cost | Affordable (20−20−50) | More expensive (100−100−300) |
| Time | 1-2 hours | 30 mins – 1 hour |
| Durability | May need touch-ups every 2-3 months | Touch up when needed only. |
DIY repair is better.
- If your budget is tight.
- If you are willing to dedicate one to two hours for the project.
- You are at ease with practical work (polishing, sealing, sanding).
- You may understand that before having a touch-up, results can endure six to twelve months.
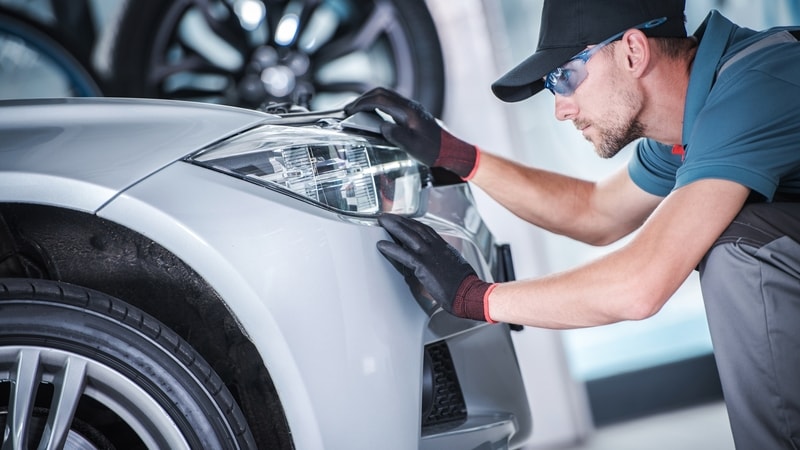
Professional restoration is better.
- If you want longer-lasting results, two plus years with premium sealers
- You want speedy, professional service—in 30 to 60 minutes.
- If you want to avoid the inconvenience of purchasing tools or completing the task yourself.
- You drive under demanding circumstances, or your headlights are somewhat oxidized.
Final Thought: DIY projects are affordable and ideal for minor oxidation. Professional restoration equals a premium, long-term solution.
Headlight Bulb Replacement and Upgrades
Headlight bulbs fade or burn out with time, therefore lowering visibility and safety; yet, changing them is a simple task that may greatly enhance nighttime visibility. Most current cars use HID (xenon) or LED headlights, each with differing lifespans and brightness levels.
Using LED headlights improves nighttime safety and reduces the glare of oncoming traffic.
When upgrading, make sure the new bulbs are bright enough and have the right color temperature. According to the Code of Federal Regulations (ECFR), white and yellow color lights are operating between 4300K and 6500K for good visibility.
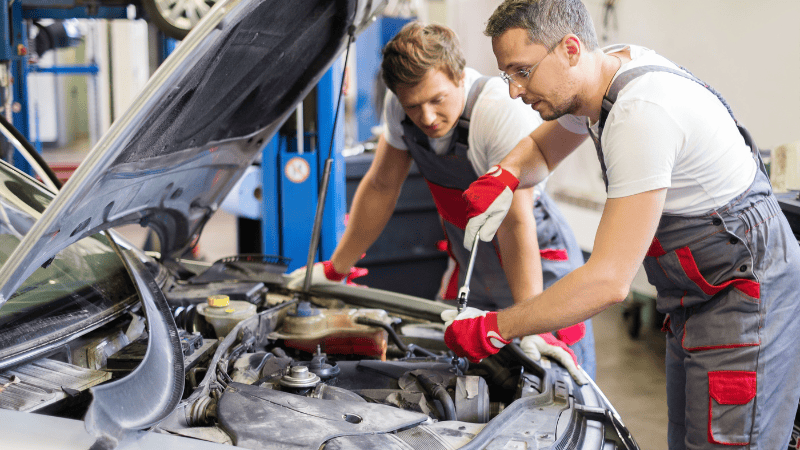
For complex systems like HIDs, think about getting professional help. To swap the bulb, check the vehicle manual. Open the headlight housing. Disconnect the old bulb. Do not touch the glass on halogen bulbs. Install the new bulb. Make sure it seals well to keep out moisture.
Choose OEM replacements or aftermarket upgrades. High-performance halogens and LEDs work well. Good bulb selection and installation improve light, safety, and comfort while driving.
FAQs
How often should my headlights need cleaning sessions?
Headlights must be cleaned according to need, but ideally every 3-6 months. But you must keep a check on them during harsh and critical weather conditions.
How to clean headlight lenses in the best way?
To avoid damaging your headlights, use mild, soft soap and water first, use soft clothing, and use a sponge. Apply UV protectant.
Are regular glass cleaners enough for headlights?
A big no! Those cleaners will damage plastic lenses over time. Always use headlight-specific products.
Can we fix foggy headlights at home?
Yes, sure, you can try the baking soda and toothpaste hack, but don’t exaggerate. For severe cases, use a restoration kit with sanding and polishing steps.
Conclusion
Headlights are the eyes of the vehicle, which also allow us to see and take paths accordingly. Constant and regular maintenance not only improves visibility but also extends the lifespan of your headlight system. Having clear and clean headlights is necessary for a safe outcome while driving at night.
Keep your night drives safer and brighter with Carlightvision!
Offer Safer and Brighter Night Driving experience with Carlightvision!
Carlightvision is the leading maker of headlights. We offer the best quality and the newest technology. We have a lot of various products for different kinds of vehicles. Feel free to get in touch with us if you have any questions or would like free samples. Your visibility is valuable and worth defending!