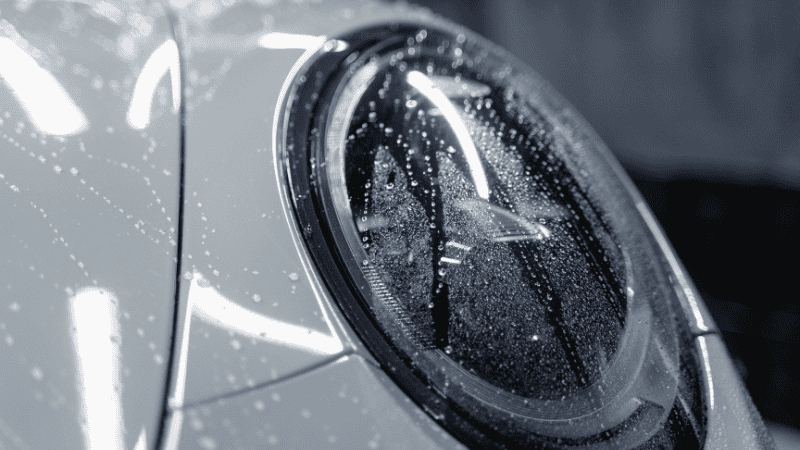
Have you been noticing some moisture buildup in your headlights that is impacting your visibility? Moisture buildup or water in a headlight unit can significantly reduce visibility and even damage the electrical components of your car. The good news is you have landed on the right page. We will teach you how to remove moisture and prevent condensation while uncovering the causes of this problem.
Let’s get started on keeping your headlights clear and functioning properly!
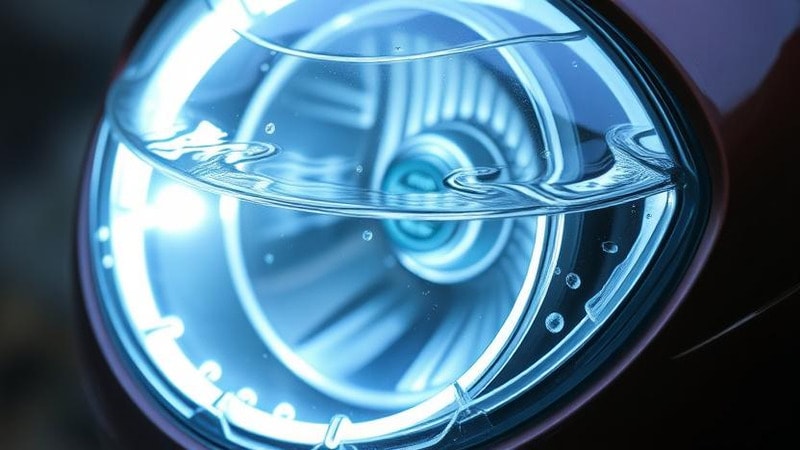
Understanding Headlight Condensation
In order to understand the reason behind water in headlights, you have to understand headlight condensation. When warm air inside the headlight housing comes in contact with a cooler surface, it converts into water droplets. Consistent headlight condensation can result in water accumulation inside the headlight casing.
This phenomenon is quite common in regions with fluctuating temperatures or high humidity. While minor condensation is normal and clears up on its own, excessive moisture buildup can be problematic. Usually, water accumulation indicates an underlying issue such as a blocked vent or a damaged seal.
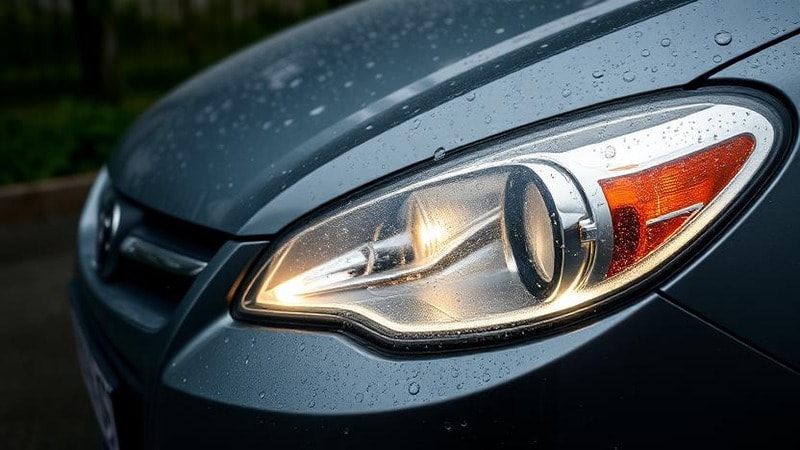
If left unchecked, this issue can exacerbate and even lead to water damage that affects the brightness of the headlight and shortens the lifespan of the bulb. Understanding why condensation forms is the first step in preventing long-term damage and ensuring optimal headlight performance.
Why Is There Water in My Headlights?
Generally, water buildup inside a headlight assembly is due to environmental factors such as exposure to moist air. But it can also be caused by structural issues within the headlight. In order to fix the problem in the best way, it is important to understand the specific cause of water accumulation in your headlights.

Here are some common causes of water buildup in headlights.
- Temperature Fluctuations: Rapid fluctuations between hot and cold temperatures cause condensation to accumulate inside the headlight housing, especially in humid weather.
- Damaged Headlight Seals: Over time, rubber seals around the headlight assembly might fail, which allows moisture to enter and accumulate inside the housing.
- Blocked or faulty ventilation: Most headlights include built-in vents to manage airflow and prevent moisture buildup. If these vents become clogged, condensation can accumulate within, causing water buildup.
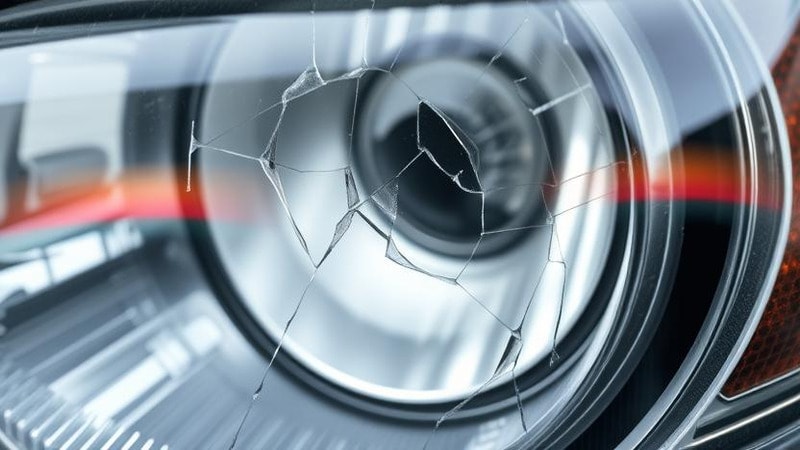
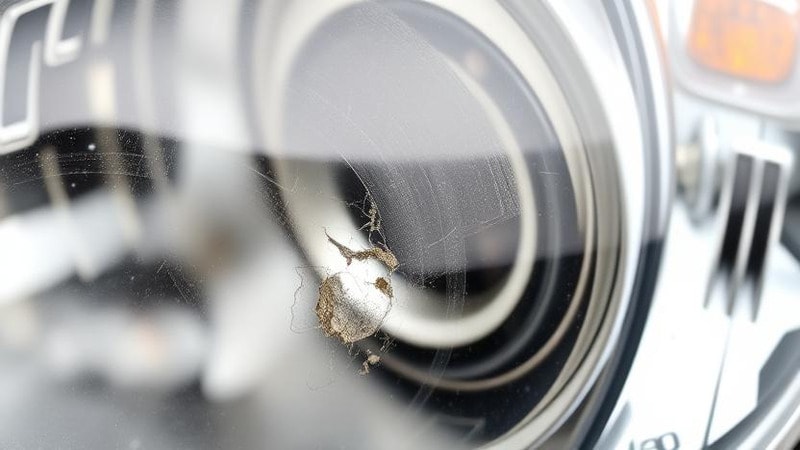
- Cracks in the headlight lens or housing. Even tiny fractures might allow water to enter, resulting in ongoing moisture problems. These cracks may form as a result of road debris, accidents, or normal wear and tear.
- Improper Headlight Installation: Poorly sealed headlights, whether from aftermarket parts or faulty reassembly, can allow water and humidity to lead to buildup.
Identifying and Fixing Leaks in the Headlight Housing
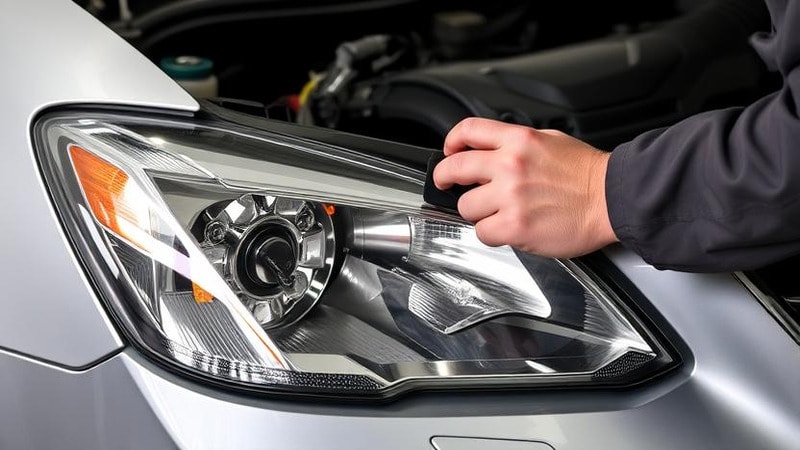
If water buildup in your headlight is a recurring issue, then it is crucial that you inspect and repair the issue before it causes serious damage. In order to diagnose the actual issue and fix it, you have to understand the technicalities of headlights. Here are some easy steps you can follow to identify and fix the moisture buildup issues in your car’s headlights.
- Inspect the Headlight Seal: Look for cracks, wear, or loose areas that could let water in. Remove any dirt or debris that may be compromising the seal’s efficiency.
- Check the Headlight Vents: Most modern headlights contain ventilation openings to control air pressure and moisture levels. Inspect these vents for blockages caused by debris, dust, or bugs, which can trap condensation within the housing.
- Apply Silicone Sealant: If you observe any gaps or damaged seals, put an automotive-grade silicone sealant around the edges of the headlight housing. This helps to form a waterproof barrier, preventing further moisture entry.
- Use Compressed Air to Clear Debris: If your headlight vents are clogged, blow out any trapped dirt or dust to restore correct airflow and moisture regulation.
- Regular inspection and maintenance of your headlight seals and vents can help prevent moisture buildup and extend the life of your headlights.
How to Remove Water from Headlights
If your headlights are fogged up or have visible water droplets within, you should remove the moisture as quickly as possible to avoid long-term damage. Fortunately, there are several efficient DIY ways for draining moisture and restoring the headlight clarity. Depending on the severity of the moisture buildup, you can use basic drying procedures or more complex ones such as resealing the headlight assembly.
Here are five tried and tested techniques for getting water out of your headlights and keeping it out for good.
Method 1: Using a Hair Dryer or Heat Gun
One of the quickest ways to remove water from headlights is by using a hair dryer or heat gun. Aim the warm air at the headlight vents or directly onto the lens to evaporate moisture. Make sure the hair dryer produces so much heat that it effectively evaporates any moisture in the headlight.
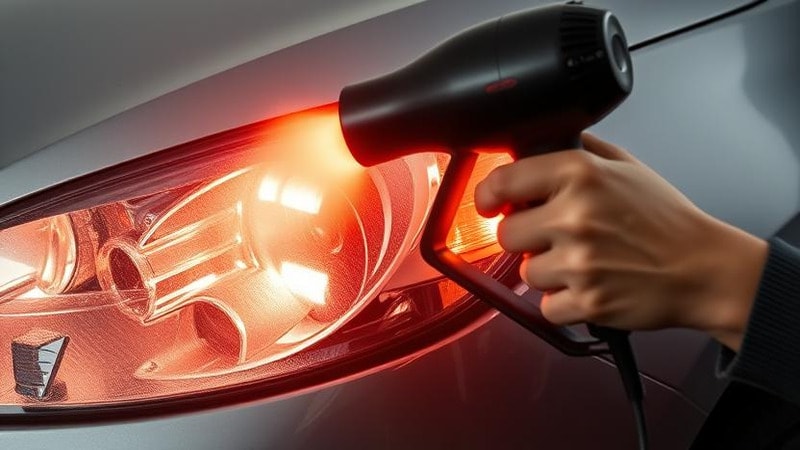
Keep the device at a safe distance to avoid overheating or melting plastic components. Use low to medium heat settings and move the dryer in circular motions to distribute the warmth evenly.
Method 2: Removing the Headlight & Letting It Dry
If there is a major moisture buildup, then removing the headlight assembly can help speed up the drying process. Once removed, place the headlight in a dry, warm spot or use effective drying strategies such as storing it in a jar filled with rice or silica gel packs to absorb moisture.

You can also place it under direct sunlight, as sunlight exposure is another natural method for evaporating trapped water. Make sure all the remaining moisture evaporates before reinstalling it in the headlight assembly.
Method 3: Using Silica Gel to Absorb Moisture
Silica gel packets are quite excellent at absorbing moisture from headlights. Place a few packets inside the headlight housing (if accessible) or tape them to the vents. Over time, these packets will pull away any excess moisture, preventing further condensation. This procedure is particularly effective as a long-term solution for keeping clear headlights.
Method 4: Resealing the Headlight with Silicone Sealant

If water enters through cracks or worn seals, the headlight needs to be resealed. Apply automotive-grade silicone sealant to the corners of the headlight housing, ensuring that all gaps are filled. Allow the sealant to completely dry before reinstalling the headlight in order to form a waterproof barrier and prevent further moisture buildup.
Method 5: Drilling Small Vent Holes (Last Resort)
If moisture persists despite your attempts to drive it away, then you have to opt for some extreme measures. You can drill small vent holes in the bottom of the headlight, which may enhance airflow and allow trapped moisture to escape.
Use a small drill bit to make 1-2 tiny holes, making sure they are positioned such that water can drain without interfering with the headlight’s performance. This approach should only be used if all other options have failed, as it permanently modifies the headlight housing.
How to Prevent Headlight Moisture Issues
Preventing moisture buildup in your headlights is critical for maintaining visibility and extending the life of your headlight. Regular maintenance and a few proactive techniques can help prevent condensation and moisture buildup, saving you from spending on costly replacements.
- Regularly Check and Replace Seals: Inspect the rubber gaskets around the headlight housing for cracks and wear. Over time, these seals can deteriorate, enabling moisture to enter. Replace worn-out seals to provide a tight, waterproof barrier that blocks water entry.
- Keep the ventilation holes clear: Most headlights include factory-installed ventilation holes to control temperature and moisture levels. Check these vents on a regular basis to ensure they are not clogged with dirt or debris, which can cause moisture to accumulate inside the headlamp.
- Use Anti-Fog Coatings: Applying a headlight defogging spray or anti-fog treatment can help decrease condensation buildup. These coatings form a protective layer that repels moisture, ensuring that your headlights remain clear and function in humid or fluctuating weather conditions.
- Avoid Car Wash at Extreme Temperatures: Using hot water on cold headlights can create fast temperature swings, resulting in condensation inside the headlight housing. To reduce this risk, wash your car at moderate temperatures and let the headlights adjust before cleaning.
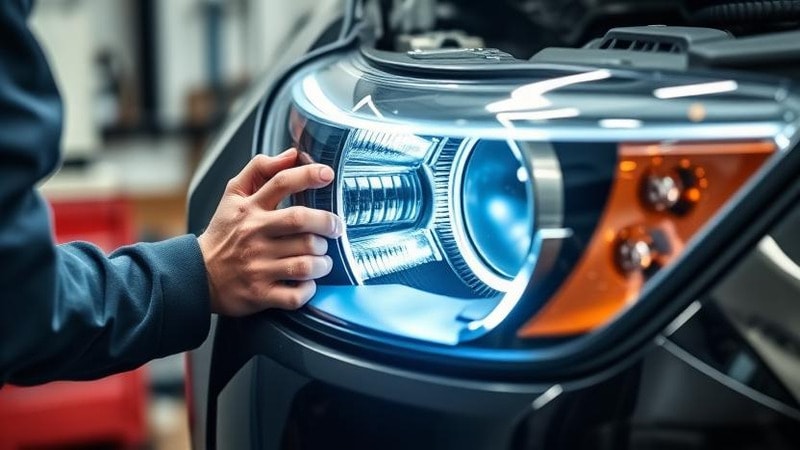
- Upgrade to High-Quality Headlights: If moisture problems persist despite proactive measures, consider changing to high-quality OEM (Original Equipment Manufacturer) headlights, which often have superior seals and ventilation than aftermarket options. Investing in well-sealed headlights lowers the risk of moisture entry and improves long-term performance.
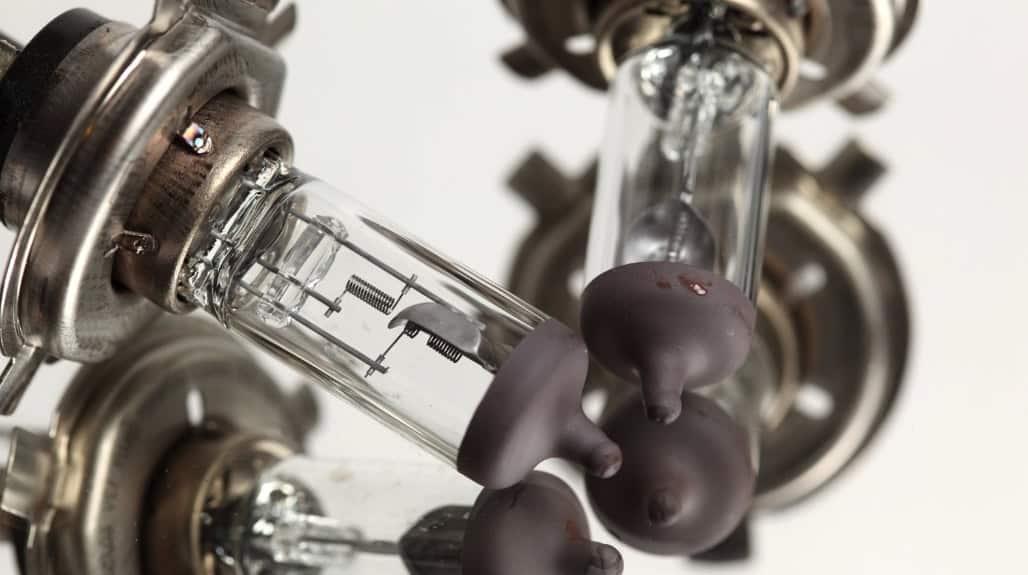
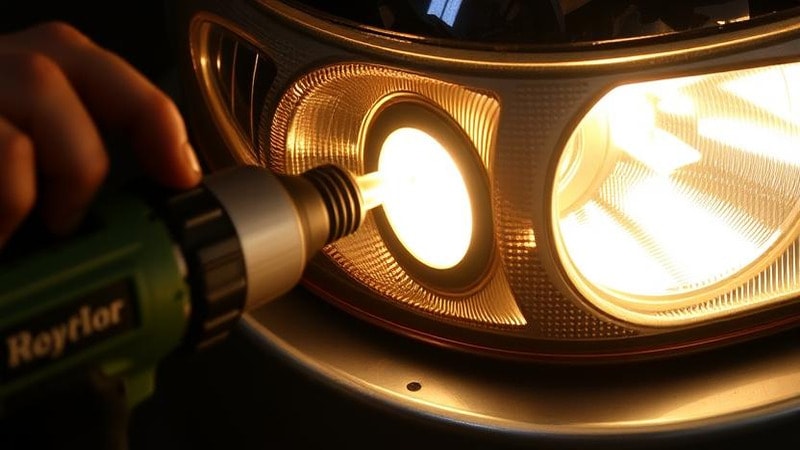
Replacing Headlight Bulbs Affected by Moisture
If moisture has caused your headlight bulbs to dim or burn out, you have to replace them to ensure safe driving visibility. Begin by removing the battery to avoid electrical problems, then carefully remove the damaged bulb. When selecting a replacement, look for high-quality, moisture-resistant bulbs that can endure temperature changes within the headlight housing.
Before replacing the bulb, check the socket for evidence of corrosion or water damage. If there is moisture, thoroughly dry it using compressed air or a clean cloth. To prevent future leaks, put a small layer of automotive-grade silicone sealant around the bulb socket to create a tight seal.
Once the replacement bulb is installed, reconnect the battery and test the headlights to ensure proper functioning. If the problem persists after replacing the bulb, a thorough evaluation of the headlight assembly for further moisture damage may be required.
Tools and Materials Needed for DIY Headlight Repair
Having the appropriate tools and materials is critical for successfully repairing moisture problems in your headlights.
To remove the headlight assembly, you will need a screwdriver or ratchet set. The moisture can be tacked with a heat gun or hair dryer to dry off the dampness, and silica gel packs to absorb any remaining humidity. You can also use lint-free cloths, as they are useful for cleaning. Lastly, automotive-grade silicone sealant can help reseal any holes and prevent further leaks.
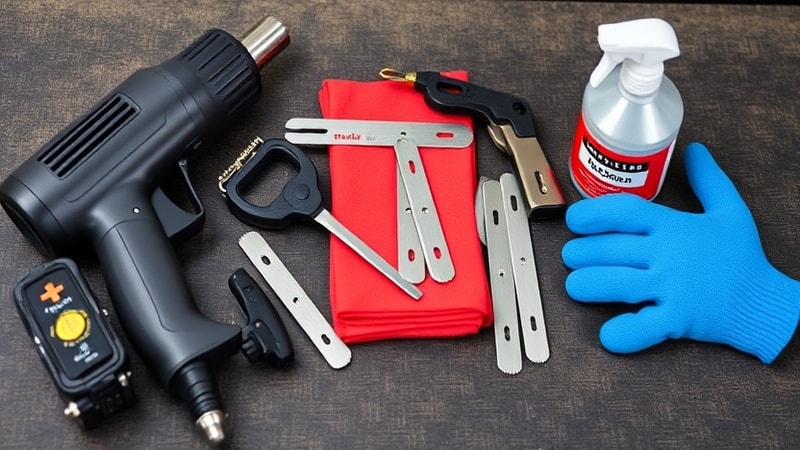
Wear protective gloves to avoid burns while using heating tools, and use safety glasses to protect your eyes from dust and debris during the repair procedure.
Advanced Repair Techniques
For serious headlight moisture problems, you have to opt for specialized repair techniques that provide long-term solutions. If the headlight assembly is severely damaged, for example, by significant cracks in the housing or persistent moisture buildup despite prior repairs, replacing the entire unit may be the best way to restore appropriate functionality and visibility.
To prevent more condensation, use a desiccant pack inside the headlight housing to absorb excess moisture over time. These packs, which are commonly filled with silica gel, are effective at keeping the interior dry. Furthermore, adding a transparent RTV silicone sealer to the seams where the two pieces of the headlight unit meet forms a waterproof barrier, preventing future leaks.
If the headlight lens or housing has minor cracks, a headlight repair kit can assist in rebuilding the structure and keep moisture out. These kits often include resin-based treatments that repair minor flaws, improving durability and clarity. Proper application of these innovative repair techniques offers a long-term solution, lowering the likelihood of reoccurring condensation and maintaining maximum headlight performance.
Troubleshooting Common Issues
If headlight condensation persists despite your attempts, resolving typical issues can aid in determining the underlying cause. Start by inspecting the headlight vents, since obstructions or damage can restrict normal ventilation and trap moisture inside. Clearing these vents can typically fix persistent condensation issues.

If your headlights are flickering or not working properly, check the bulb sockets for signs of moisture or rust. Dampness in the socket can cause electrical problems so fully drying it and applying dielectric grease can help prevent further water damage.
In more extreme circumstances when the headlight assembly itself is compromised, such as cracks in the housing or continuous leaks despite resealing, replacing the entire unit may be essential to restore optimum performance and prevent future moisture issues.
If none of these methods work, it is recommended that you visit a skilled technician or an auto electrician. They can detect underlying problems, such as defective wiring or concealed leaks, assuring an accurate and long-lasting solution for your headlights.
FAQs
Q. Is condensation in headlights normal?
A. Yes, condensation in headlights is normal. It occurs when warm, humid air comes into contact with the cool inner surface of the headlight lens. Temperature variations or car washes are common causes of this problem. Most modern headlights include ventilation to allow moisture to escape. However, significant or continuous condensation could signal a sealing problem that has to be corrected.
Q. Will moisture in headlights go away on its own?
A. In most circumstances, the answer is yes. If the headlights’ ventilation system is working properly, the moisture should evaporate on its own as they heat up during operation. However, if water pooling or heavy fogging continues, it could indicate a more serious problem, such as a damaged seal or clogged vent, which may necessitate physical intervention.
Q. Can I drive with foggy headlights?
A. Driving with foggy headlights is possible, although it can limit vision, particularly at night or in bad weather. Moisture buildup can scatter light, making it difficult for you and others to see your vehicle. If the fogging is severe or if water collects within, it is advisable to address the problem as soon as possible to ensure safe driving.
Q. How much does it cost to fix moisture in headlights?
A. The cost of repairing headlight moisture varies according to the severity of the problem and the repair procedure. DIY methods such as utilizing silica gel packets or resealing with silicone are often less than $20. If the headlight requires professional resealing, the cost might range between $50 and $150. Costs for replacing a whole headlight system can range from $200 to $1,000 or more, depending on the vehicle’s make and model.
Conclusion
Condensation and moisture buildup in headlights is a common but preventable problem. Whether the cause is moisture, defective seals, or blocked vents, taking immediate action will help you avoid reduced visibility and potential electrical damage.
Simple DIY approaches, such as applying silica gel, resealing with silicone, or increasing ventilation, can successfully remove and prevent water accumulation. However, if moisture persists or the headlight component has been significantly damaged, professional repair or replacement may be the best option.
Are You Ready to Introduce High-Quality Headlights to Your Car?
With years of experience in the industry, we have perfected the design of headlights that prevent any major or minor issues, such as water buildup. At Car Light Vision, we prioritize your safety over everything, ensuring our headlights remain functional for a long time.
Contact our experts to learn more about the best headlights in town.