When your headlights have stopped working, it is important to diagnose the problem with the bulb so that you can carry out your repairs and prevent danger to other drivers. Understanding how to test a light bulb with a multimeter gives a correct method of determining a burnt wire, and knowing how to check the voltage going to the headlights.
Understanding Headlight Bulbs and Common Issues
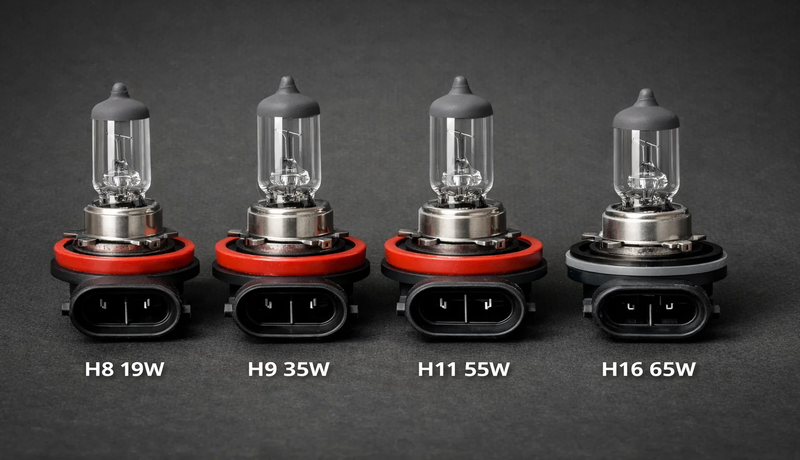
There are three primary types of headlight bulbs in cars. The most common ones are the halogen bulbs. They contain a wire, which they make light up when they run electricity through it. The bulbs have a lifespan of 500 to 1,000 hours. The LED bulb has a very long life of up to 25,000 hours.
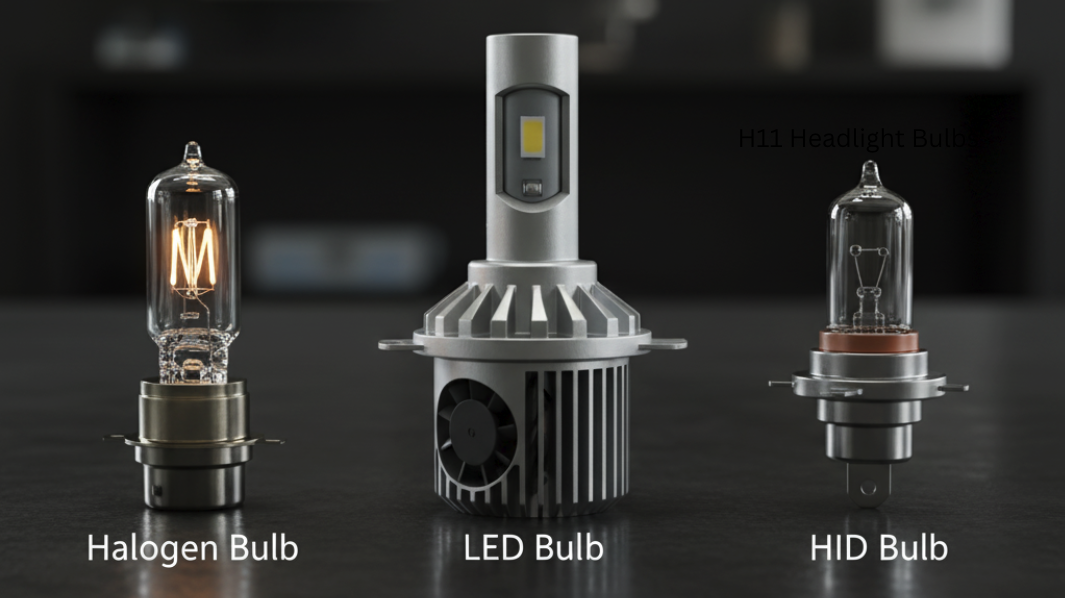
HID bulbs do not use a wire—they use gas; they provide very bright light. It is necessary to know how to tell if a halogen bulb is blown. A bad bulb could produce poor light and sometimes flicker, or it could fail to work. The light’s high beam appears uneven at times.
However, these issues do not necessarily imply that the bulb is defective. The same issues may also arise due to bad wires, dirty connections, or electrical problems.
There are numerous reasons why headlight lamps break. Switching repeatedly causes them to have a shorter lifespan. Driving can damage them through vibration.
Bulbs are also sensitive to very hot and cold weather. By touching a halogen bulb with your bare hands, oils in your skin might create hot spots, shattering the bulb before its time.
Tools and Safety Precautions for Headlight Bulbs
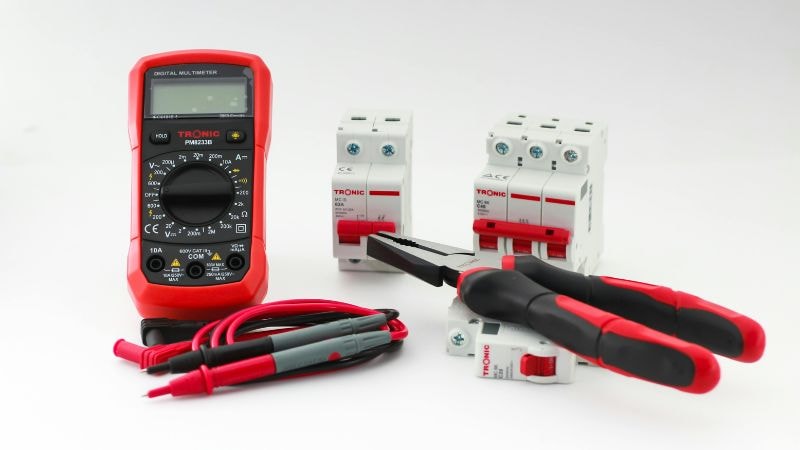
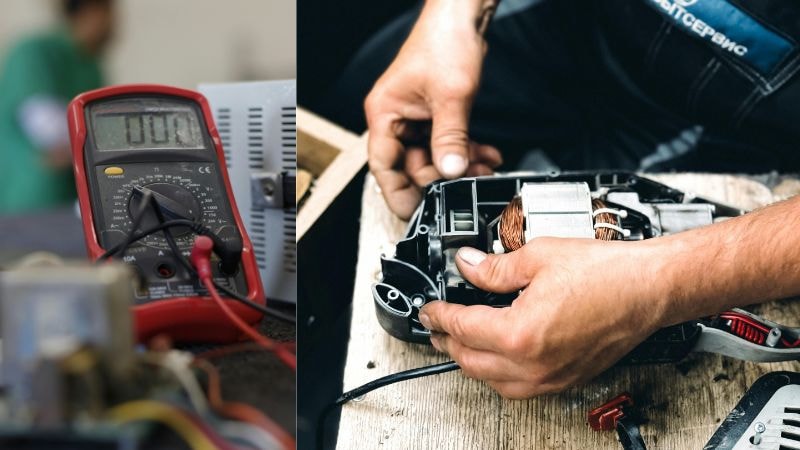
To test an LED headlight, you require a number of tools. The best-known tool is a multimeter. This may be electronic or the old-style needle. Electronic ones are easier to read. Clean gloves are also required so that you can handle bulbs safely. Safety glasses take care of your eyes in case of broken glass.
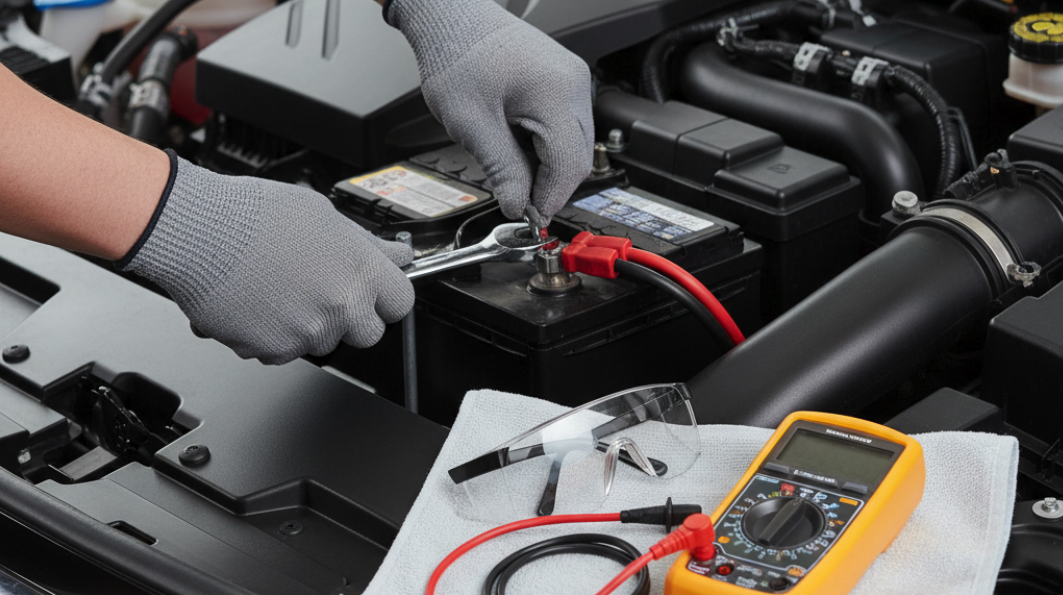
Never forget about safety prior to working on electrical car parts. Before starting up, always disconnect the car battery and turn off the ignition to verify that all the systems are powered down. This prevents the short circuit, which did not occur intentionally, and does not expose you to the electric shock.
Disconnect the negative terminal first. Remember to put it back on last. These testing guidelines apply to any vehicle model, whether you’re working on a 2015 Chevy Traverse headlight issue or another one.
Always ensure that your workplace is clean and dry. Store the removed bulbs safely somewhere so they are not able to roll around and break. Have your multimeter manual around, just in case you need assistance with settings.
How a Multimeter Works in Bulb Testing
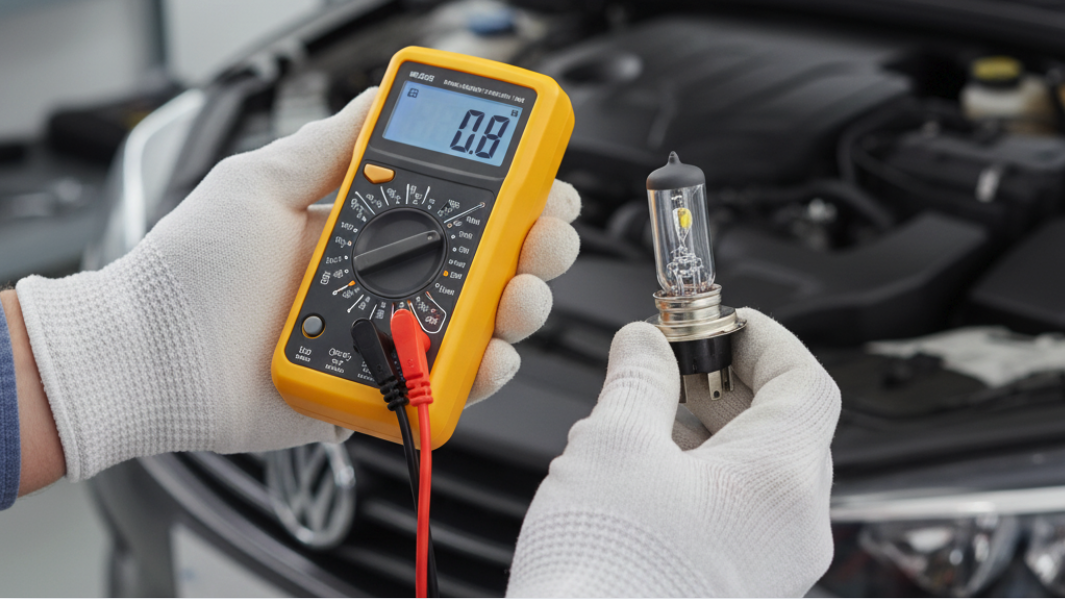
Your multimeter provides various bulb test modes. In continuity mode, electricity can flow through the bulb, and it makes a beep sound. This will indicate whether the wire within is broken or not. Resistance mode displays numbers that indicate how much the bulb resists electricity.
The easiest way to test a light bulb using the multimeter technique will involve the removal of the bulb from the car. It may provide an erroneous response when it is still connected during testing. Your voltage reading can be confused by other electrical components in the vehicle.
A good halogen bulb typically displays 0.5-5 ohms of resistance. Greater watt bulbs display fewer numbers. A broken wire on the inside will cause the meter to measure an infinite resistance or “OL” on digital meters.
According to the National Highway Traffic Safety Administration(NHTSA), approximately half of all fatal incidents occur at night; hence, adequate lighting function is crucial for road safety.
Step-by-Step Guide to Testing the Bulb
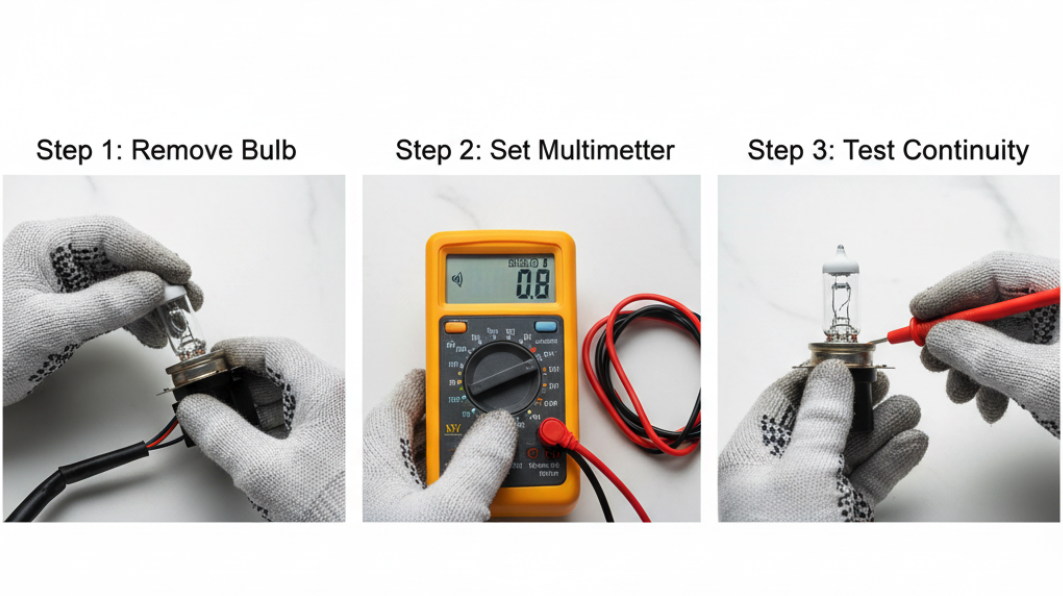
1. Take the bulb out of the vehicle.
First, turn off the headlights and disconnect the battery. Pop the hood and locate the rear of the headlight. In some cars, you have to take covers off or other parts to access the bulb.
Unplug the electric connector on the bulb with care. Find the little tabs that you must push to open them. Pull back while making no twists. Clean (probably with electrical contact cleaner) any gummed-up or dirty contact areas.
To replace it, just rotate the bulb counterclockwise or unclip it. Grab it on the bottom part, not the part that is glass. If you have to handle the glass on a halogen bulb, neutralize it with alcohol to get it replaced.
2. Calibrate Multimeter
On your multimeter, set the continuity. Otherwise, resistance mode should be used and the lowest level, which is normally 200 ohms. A lot of newer multimeters automatically select the correct range.
Check on your multimeter, then apply it to the bulb. Connect the two probes. In continuity mode, you should hear a beep, whilst in resistance mode, you would see a very small number. This confirms to you that the meter is functioning properly.
Ensure that your test probes are sharp and clean. Probes that are dirty or damaged also give inaccurate readings. Change them when they appear bad.
3. Filament Testing
An open circuit means burnt LEDs must be replaced. Place the multimeter probes on the metal contacts on the base of the bulb. In case there are two wires in the bulb (high and low beam), you should test each of them separately by replacing each probe with another contact.
The working bulb must cause the continuity beep or indicate resistance within the range of 0.5 to 5 ohms. This would vary depending on the type of bulb and the wattage thereof. The resistance tends to be lower in higher-wattage bulbs.
No beep or meter reads OL or infinite resistance; that means the inside has a break, and a new bulb is needed. This happens despite the fact that the wire may be outwardly fine.
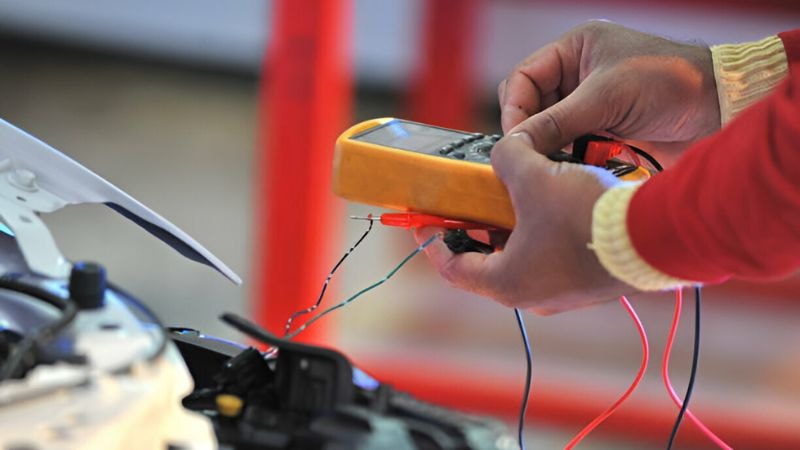
How to Test the Vehicle’s Headlight Socket
A bulb test on your headlamps indicates that it is good, but the fault is within the car, somewhere in the electrical circuit. You can test the socket to see if enough power is reaching the attachment point of the bulb. This demonstrates how to check the voltage going to the headlights using the wiring within a car.
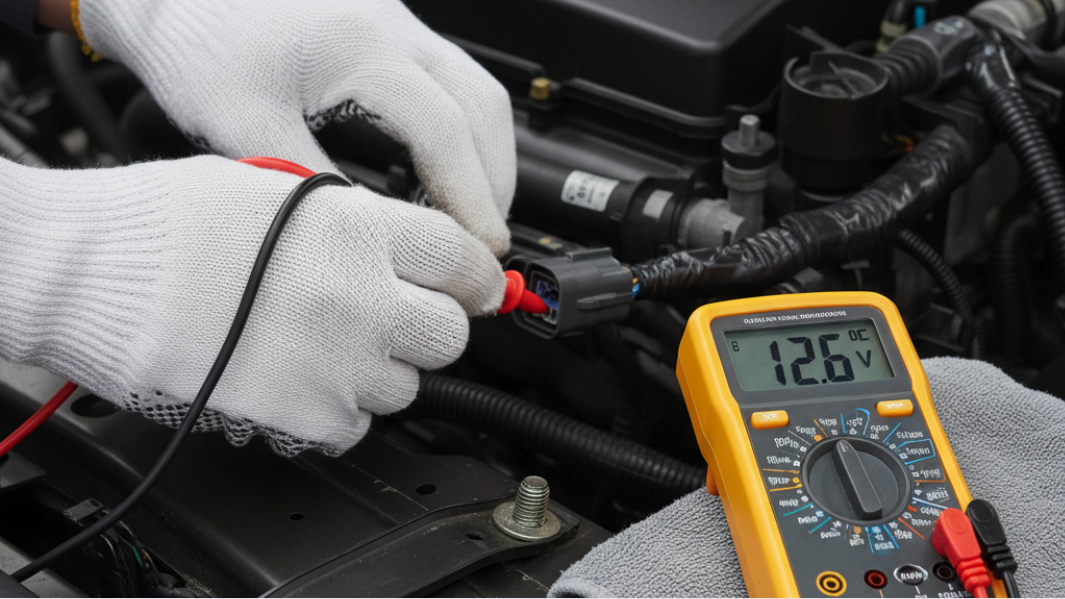
Place your multimeter in the DC voltage setting, which should be set at 20 volts. Reconnect the car battery and flip the switch of the headlight. With the bulb still out, insert the red probe into the power terminal of the connector and the black probe into a metal ground.
The meter is expected to show 12 to 14 volts. When the numbers are low, it indicates that there are faulty connections, wires, or grounds. Zero voltage equates to a blown fuse, bad relays, or switch issues.
Testing the headlight connector with a multimeter involves testing the low beam and high beam separately. Most automobiles have separate wires for each, which allows one to be active and the other inactive.
Troubleshooting Beyond the Headlight Bulb
When the bulb test and the socket test both indicate faults, you have to test other components. Fuses are used to protect headlight circuits. These will tend to be in a fuse box, which is under the hood. Inspect fuses to see whether they have blown, but a useful tip is to test with a multimeter rather than just looking.
The heavy electric current flow to the bulbs is regulated by headlight relays. These may encounter issues on the inside that prevent them from working. Change a suspected bad relay with a good one of the same type.
Look at the wiring problem to see whether it is damaged, worn, or rusty. Check where wires are bent, brushing up against metal, or becoming wet. Poor connections to the ground are extremely prevalent and lead to numerous lighting issues.
More complex electrical issues could entail the headlight switch, computer modules, or other modules. These typically require special tools and skills to repair. However, with the multimeter test, you can detect most of the common faults and save yourself money.
Expert advice: After components have been tested and found to be in good condition, see if the power switch is faulty. This is a frequent but often disregarded reason for headlight issues.
Conclusion
When you test your headlight bulbs using a multimeter, you save money and have a precise testing result. It gets rid of guessing and the possibility of buying parts you do not need. It also maintains your car and helps with safe driving.
And keep in mind that most so-called headlight problems should be bad wires, dirty connections, or blown fuses, not bad bulbs. With these steps of testing, you will identify the actual reason for the issue headlight assembly with the headlights and repair them correctly.
Periodic cleaning of the headlights and a test should allow you to know when the lights are functioning as they should. The money you save waiting to fix your problems is the time you use to diagnose correctly, as this saves you and keeps you safe on the road.
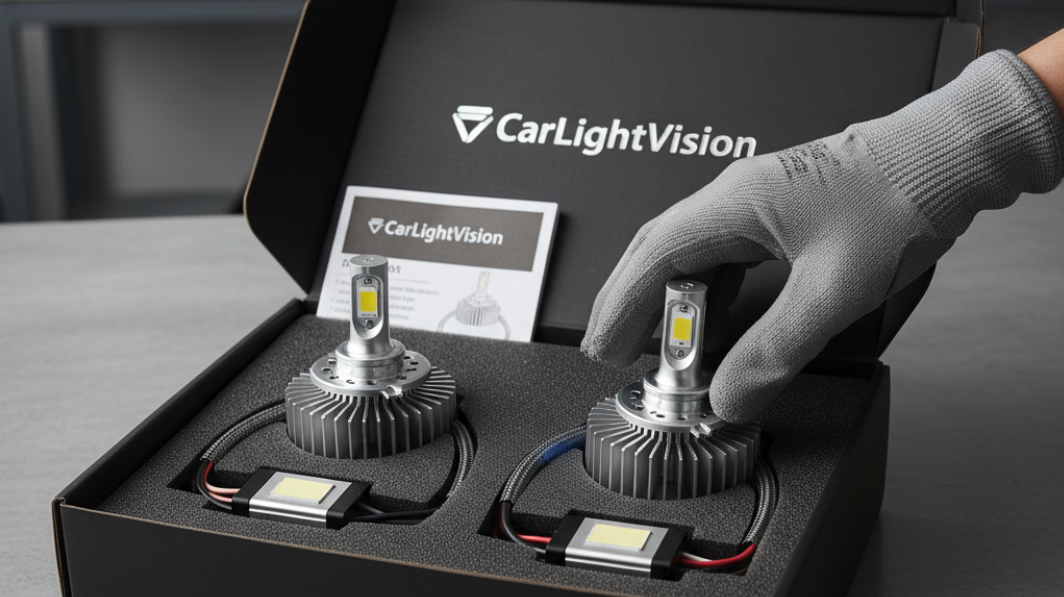
Don’t Drive in the Dark—Shop CarLightVision Now!
When your headlight bulb fails a test, don’t wait until it goes completely dead. Find our premium-grade replacement bulbs and LED conversions at CarLightVision—your trusted source for high-quality automotive lighting that delivers top-level performance and safety. Find the perfect fit for your car now at CarLightVision.
FAQs
Q1: Is it possible to test LED or HID bulbs in the same way?
No, you can’t test LED and HID bulbs the same way. Instead, check the voltage at the connector.
Q2: What does resistance reading mean that a bulb is good?
A multimeter should show that good halogen bulbs have a resistance of 0.5 to 5 ohms.
Q3: Why isn’t my light bulb working? It looks fine.
The wire inside could be broken even if it looks fine, or the wiring could be bad.
Q4: Is it okay to use a test light instead of a multimeter?
A simple test light doesn’t give as accurate readings as a headlight voltage reader or multimeter.
Q5: Is it okay to test a lightbulb without taking it out of the vehicle?
Before testing the bulb, it is safer and more accurate to take it out.
Q6: How frequently should I check my headlights?
Do electrical testing once a year and check your headlights every month.