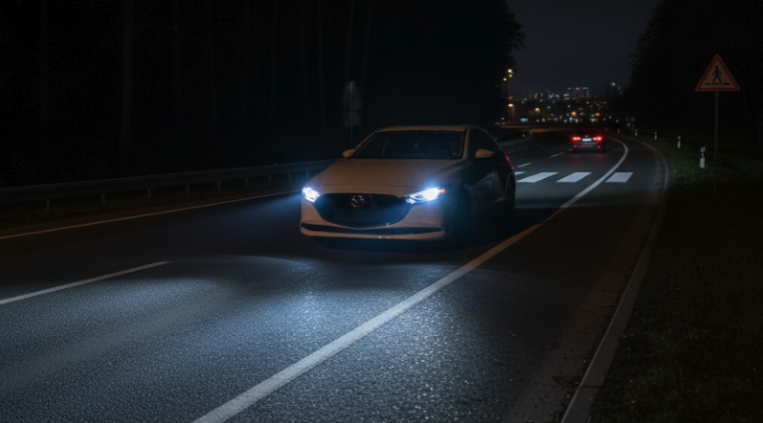
Frustrated by those halogen bulbs that are yellowish and dim, desperately trying to illuminate the road when driving? Making the upgrade to LED or HID technology enables you to experience a brighter light and increased driving safety, something that changes your complete driving experience.
Let’s find out how you can easily upgrade your Mazda 3’s headlights from a wide selection of bulbs on the market.
Choosing the Right Headlight Upgrade for Your Mazda 3
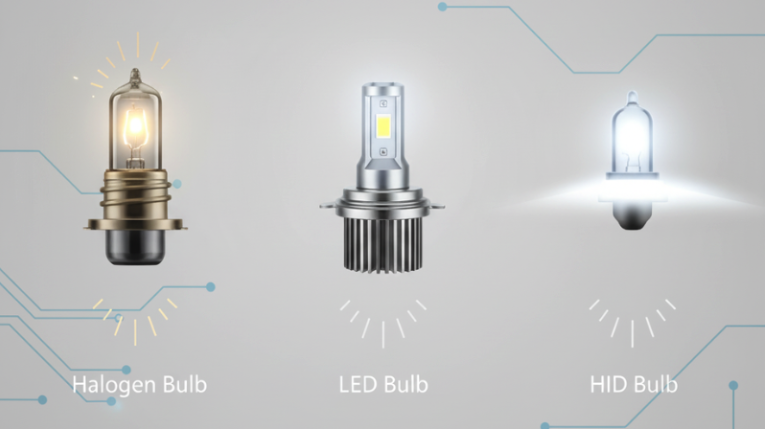
Regarding the Mazda 3 headlamp upgrade, there are three general directions you may choose, and each direction has its benefits and levels of difficulty.
LED Bulbs (Plug-and-Play)
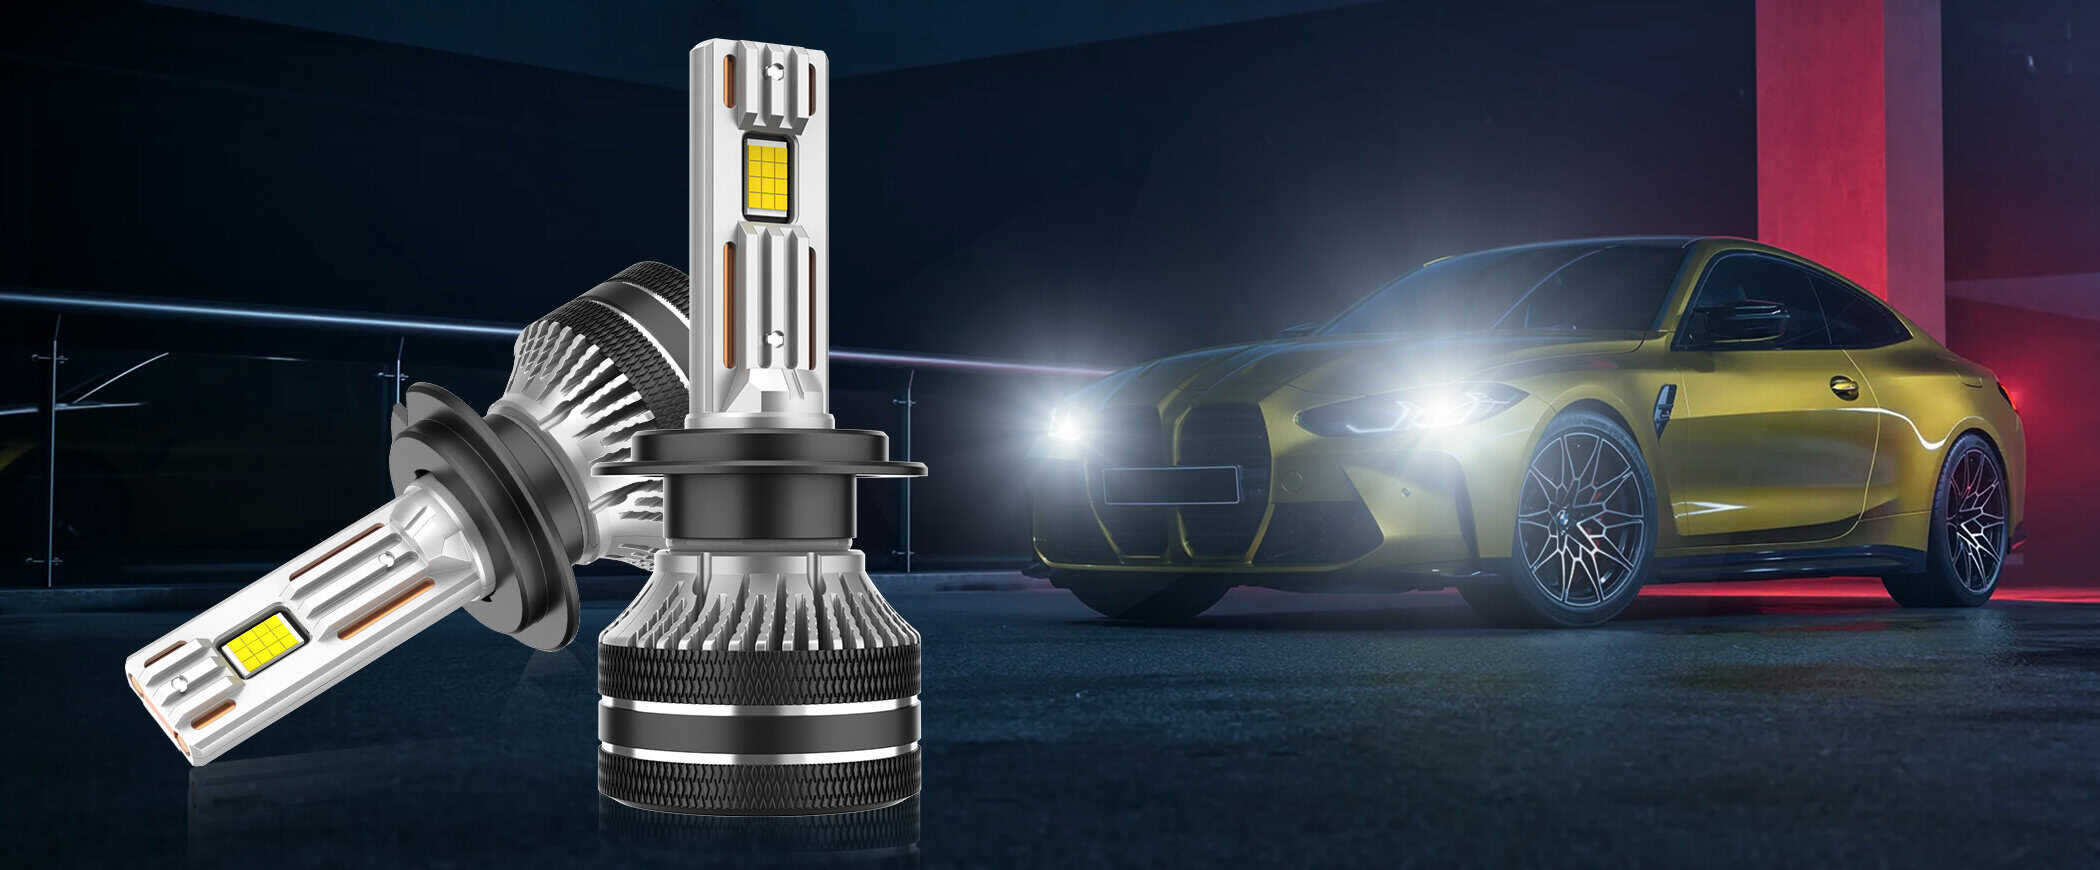
The LED Bulbs (Plug-and-Play) are the most convenient starting point for most drivers. These are direct Mazda 3 headlight replacement bulbs that only plug straight into your current halogen sockets and instantly give out brighter and whiter light.
The current power-using LED headlight bulbs use fewer resources than halogens and produce many times the amount of light. They are ideal with a driver who wishes to notice some tangible improvement without significant changes.
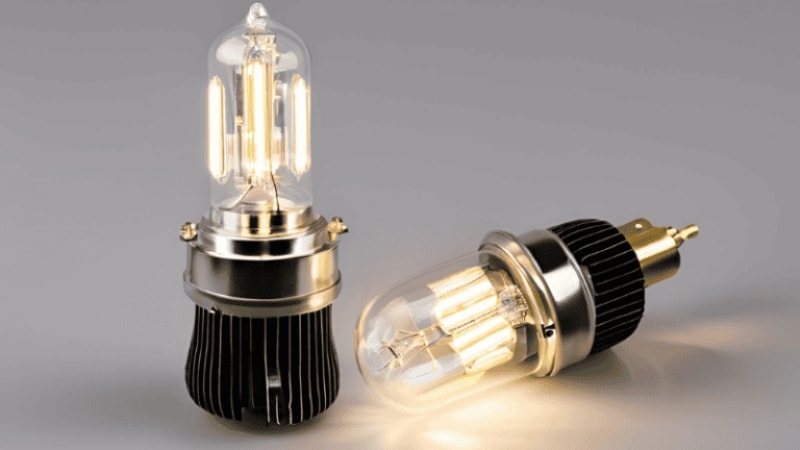
Standard LEDs have a lifespan of between 25,000 and 50,000 hours, unlike halogen headlights, which have a
lifespan of 1,000 hours.

Xenon HID Kits
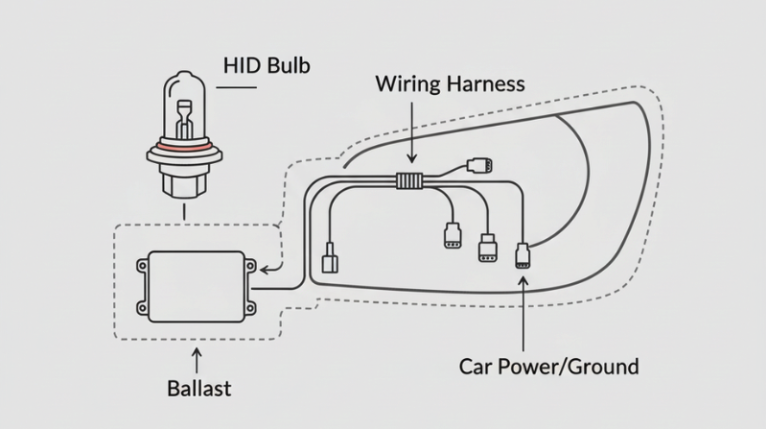
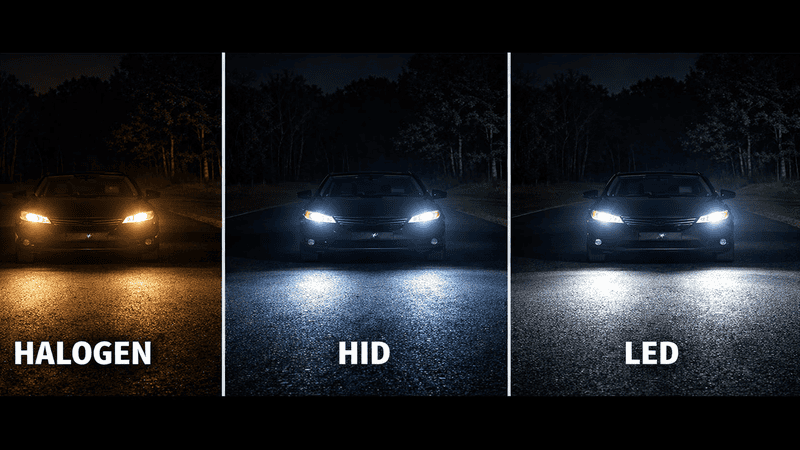
Xenon HID kits have the highest luminosity among headlight upgrade products. HID(High Intensity Discharge) technology produces a really strong white or blue-white beam, which is about thrice as bright as ordinary halogens.
But HID installations have ballasts to control power, as well as more wiring. It is a very high-quality light in terms of visibility, but it is somewhat too cool in color temperature according to the preferences of some drivers.
A Full LED Projector Assembly
This is the most comprehensive setup you can get. These are whole headlights that replace your original models. They often have features such as LED daytime running lights, sequential turn signals, and a stable beam pattern.
As headlights for 2010 Mazda 3 vehicles, you will find full LED projector assemblies that give your car an upscale yet new appearance, together with significantly better light output and control, too.
Each alternative involves a different cost and method. LED lighting ranges between $50 and $150. HID kits are generally $100-$300. A full projector assembly can cost anywhere from $400 to $800.
Upgrading Headlights: Step-by-Step Methods
This guide will take you through the entire process, like how to upgrade your Mazda 3s headlights, from preparing to your last checks.
Preparation is Key
You have to be ready to work safely before you can even lay a hand on your car. This is to prevent any damage to your car or to prevent an injury to you.
Choose a safe space
Park your car on a flat surface covered with a bright parking light. The best is your driveway or garage—it’s out of the weather and provides you with good light.
Disconnect the battery
For an additional measure of safety, disconnect your car’s battery by removing the negative terminal. This eliminates any shorts that might occur during the installation of the 2010 Mazda 3 headlight. It meets the requirements of high-energy wire processing and protects fragile electronic components.
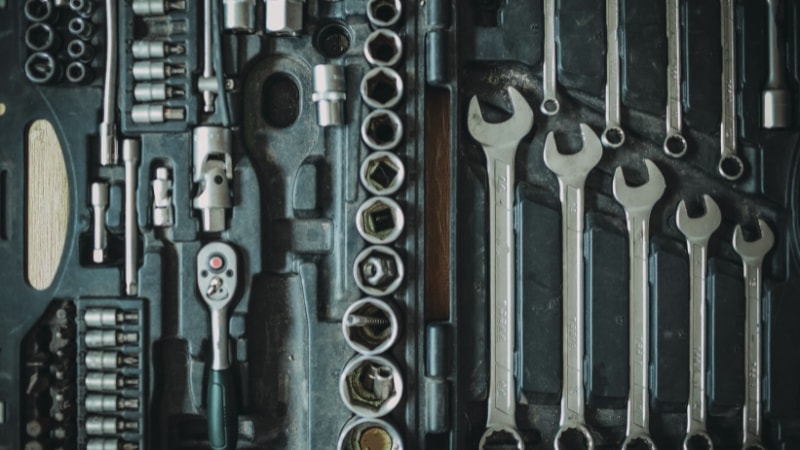
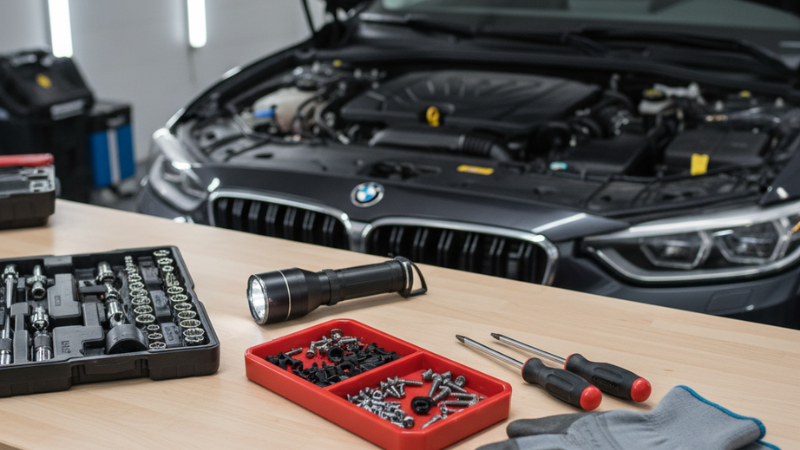
Gather your tools
Have everything you need ready. You’ll probably want some basic screwdrivers, a set of sockets, a flashlight or headlamp, and some work gloves.
Organize your workspace
Lay out your tools and new parts in a clear area. A magnetic tray or a set of small containers is nice to have on hand to keep screws and clips from getting lost.
By following these steps, all the most common issues can be avoided, and you can be sure that the process will run far more smoothly.
Step 2: Get to the Headlight Housing
The hardest part of the job can be just getting to the headlight bulb. How exactly you do this will vary based on the precise model year of your Mazda 3.
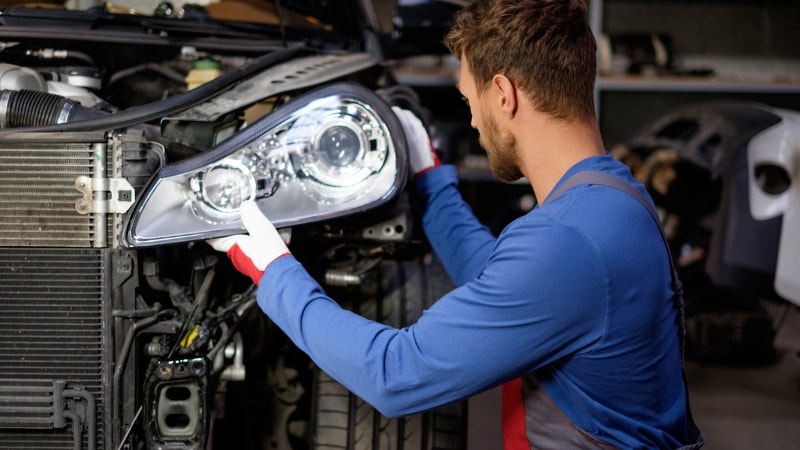
Engine Bay Access
A lot of newer model vehicles allow you to access the bulbs from the engine bay. Search for a round plastic dust cover behind each headlamp. You extract it to get to the bulb. You may have to relocate a few items, such as the air intake or similar items that may be in your path.
Remove the Bumper
On certain vehicles, there is not enough space to reach the bulb from the engine bay. To do this, you will need to take off the front bumper. This is a bigger job. You have to unscrew the screws and clips from around the edge and in the wheel wells. This makes for lots of room to work.
Fender Liner Approach
On some vehicles, you can pull away the fender liner inside the wheel well. This allows just enough room to stick your hand in and access the back of the headlight housing. The fit is a bit snug, but it saves the hassle of pulling the whole bumper.
Take Photos
Take photos of how everything is assembled to prevent future headaches. It will come in handy as a reference for when you are reassembling the car.
Step 3: The Replacement of the Old Halogen Bulb
Removing the old bulb can be done once you have access. Handle it with care, and take small steps.
Identify the dust cover
Locate the circular dust cover. There are generally some arrows on it indicating the direction to turn or get it off.
Take off the cover
Rotate the cover counterclockwise to remove. This will open up the light bulb and the electrical lead.
Detach the connector
There will be an electrical connector with a little release tab. Press on the release tab and pull the connector out straight back. Never pull at the wires because it may break them, and the restructuring can be costly.
Unscrew the bulb
Some bulbs are clipped with a spring, especially in the 2013 Mazda 3 headlights. Locate the clip on the right above. Press it gently to release. Other bulbs are twist-locking. You will have to turn them in a clockwise direction until they are free.
When loosened, use caution to remove the elderly bulb. Make note that in case the lights have been recently turned on, the bulb glass will be hot. Always pick up by the metal base.
Check the socket visually
Open the socket and inspect inside it to see if there is any dirt in it, or if it is corroded or damaged. In case it appears to be dirty, clean it off with an electrical contact cleaner to ensure the new bulb is firmly fixed.
Store the old bulbs as a reserve until you are confident that your new bulbs are absolutely fine.
Step 4: The Assembly Installation of the New Bulb
This is the step that matters most to make your new 2016 Mazda headlights operate as they are supposed to.
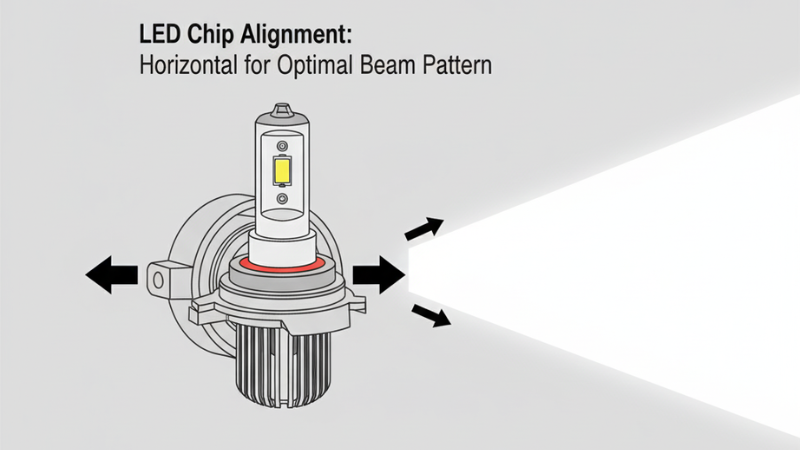
Light-Emitting Diode Bulb Alignment
Ensure that when you install the new bulb, the light-emitting diodes(LED chips) should be positioned horizontally, to the left and right. This is termed clocking, which is important in producing a desirable single-beam pattern.
Unless the chips are pointing sideways, the light will not converge and could serve to blind other drivers.
Installation
Insert the new bulb into the socket. Be sure that it is pushed down and engaged. It must be safe and not shake.
The LED bulbs are known to have a driver box that is small in size. HID headlight kits contain a bigger ballast. You must mount this box or ballast safely out of the heat and moisture. Stick it using the given adhesive or zip ties. Also, it should not hang loose because it can vibrate and break.
Wiring
You should connect the new bulb using the wiring harness on your car, and you should use the contents of the kit. Ensure that all connections are quite solid. You may cover the connection with dielectric grease to inhibit corrosion and protect it from lasting longer.
Cable Management
Ensure that all the wires are out of reach of any moving parts, such as fans or belts, or hot engine parts. Zip them up and make sure they don’t damage.
Step 5: Converting Beam and Final checks
Adjustment of the high beams is essential in terms of safety. An improperly adjusted headlight might blind other traffic, and it can reduce your visibility.
Always park your car near a garage door or a plain wall (25 or more feet) in a dark place. Turn on your low-beam headlights. The pattern of the light will be shown on the wall.
There should be a clear horizontal cutoff line of light. This line is not supposed to be blurred. The brightest proportion of the light must be lower than this line.
Your headlight housing shall be provided with adjustment screws. Adjust the amplitude of the high beams with these. The cutoff line, the top of it, should be roughly in the position of the center of your headlight.
Switch on and check the low beam and the high beam to determine that they are functioning properly. Test your nighttime driving so that you can see how they work in reality. Check that your dashboard does not bear error messages.
Once all disconnection checks are complete, you will be able to reinstall any removed panels or bumper components, as well as recharge your car’s battery.
Tips & Common Problems in the Real World
The evolution of modern headlights has taken over the marketplace. Here are some tips to follow about the modification of halogen headlights to LED bulbs in your vehicle:
- Cramped Spaces: Prepare to be in compact, cramped quarters. The spaces between the headlights can look confined, thus having the breaks that do not allow the hands to become cramped.
- Do not omit adjustment: This is a very important procedure. An LED or HID bulb uses light in contrast to a halogen bulb. You have to specify the beam so that you do not blind other road users.
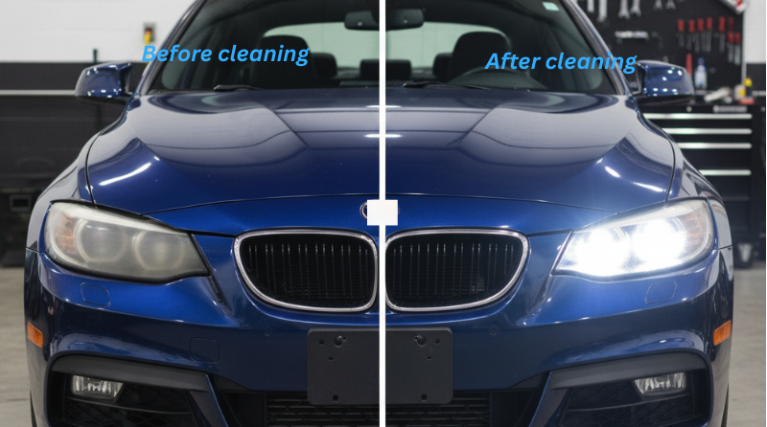
- Clean Your Lenses: As long as your headlight lenses appear to be foggy or yellow, new bulbs won’t do too much to change things. First, invest in the headlight restoration kit in order to make them clear. This is quite a crucial step.
- Buy Quality Parts: The cheap HID ballasts will result in flickering or may break early, or damage the electrical system of your car. One will be glad to pay a bit extra and acquire a good-quality kit.
- Look up Local Laws: It might also be a smart move to check the availability of the type of bulb that you want to buy in your locality. Color, brightness of the headlights, and alteration of headlights are rules that are observed in some states.
Conclusion
Improving the quality of the headlights in your Mazda 3 has more than aesthetic value. Increased road lighting allows you to see road hazards, pedestrians, and road signs much earlier, particularly on nights. The primary reason to upgrade is for safety. A Modern, clean appearance is a bonus feature that makes your car superior.
A successful upgrade comes by ensuring a careful installation and adequacy in beam adjustment. Be patient, follow the instructions, and ensure that your new lights are positioned correctly. A modest upgrade to LED, even over halogen, will provide you with a significant gain in visibility and on-road confidence.
Are You Ready To Upgrade The Driving Experience Of Your Mazda 3?
Shop CarLight Vision’s finest selection of LED and HID systems, all designed for a flawless fit and outstanding visibility. Shop our specially engineered kits today and see the difference proper lighting makes.
Don’t compromise on safety; contact us now to get the expert solution and improve your headlights to view the road clearly.
FAQs
Q1: Can I easily do this myself?
Yes, the majority of Mazda 3 owners can fit it themselves with ordinary tools and a little time. You ought to allow yourself 1-2 hours (counting the time taken to adjust the beam) on the initial effort.
Q2:Do the LED bulbs fit into my current housing?
Yes, in the majority of situations. An LED bulb should fit in the housing of your car as long as it has a standard-sized halogen bulb (such as those marked H11, 9005, and 9006).
Q3: Do I require additional components such as ballasts?
LED bulbs tend to be plug-and-play, but HID installations require a ballast. Full projector cabinets include all the parts that you would require.
Q4: What is the life span of the new bulbs?
LED bulbs have a lifetime of up to 25-50 thousands of hours. The life spans of HID bulbs are 2000 to 3000 hours. This is by far longer than a typical halogen bulb that lasts just 1,000 hours.
Q5: Will I be able to put a variety of bulbs on the two sides?
No, never should you do this. It is not advisable to place two different bulbs in use. This guarantees the light output and the color are identical on both sides, which is important, in case of safety and legal.