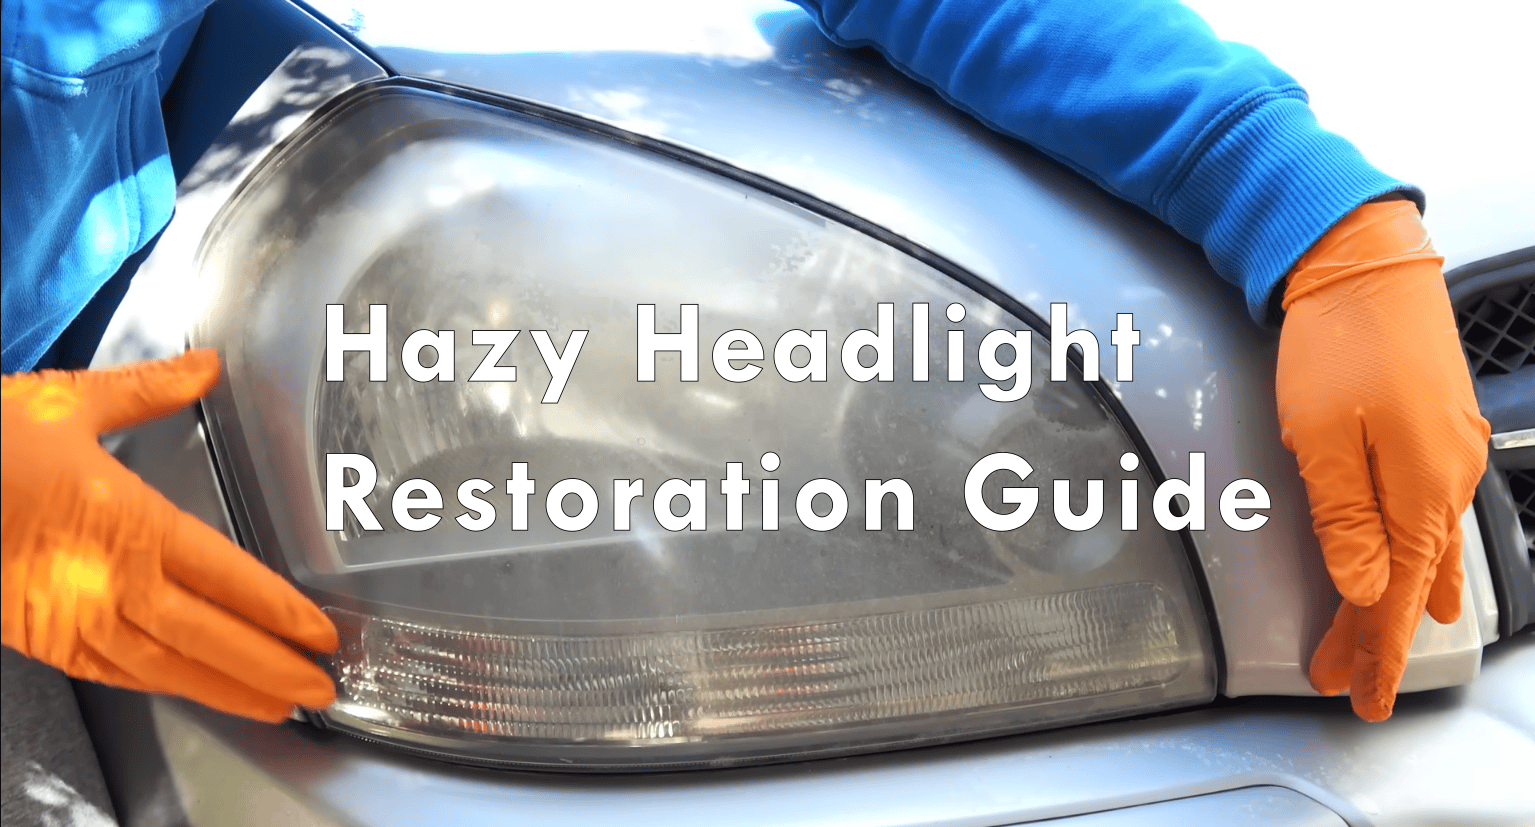
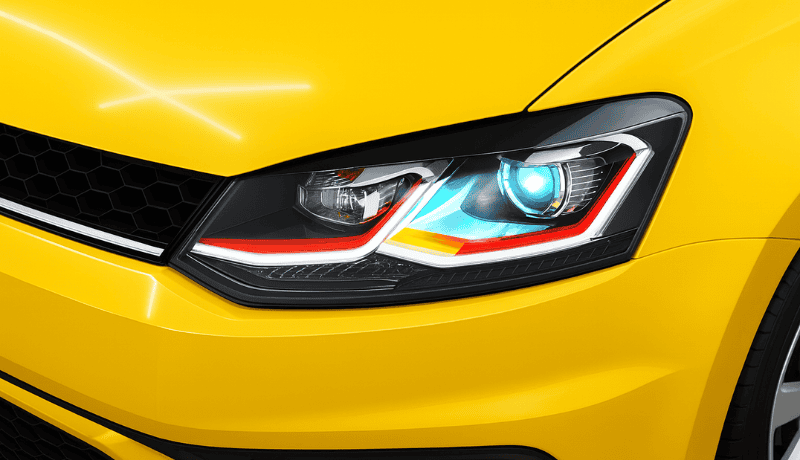
Is your headlight getting cloudy or hazy by the day? Is driving at night difficult because your headlight is not working at its full potential? Then, it’s time to grab a restoration kit and bring back the glory of your headlamps.
Headlight restoration kits clean and refurbish cloudy or yellowed headlight lenses. They typically include abrasives, polishing compounds, and protective coatings. These kits restore clarity to the lenses, improving light output and visibility. Let’s find the best headlight restoration kit on the market and see what suits your budget.
Understanding Headlight Restoration
Importance of clear headlight lenses for road safety
Among the different types of car lights, the headlights have to be the most sought-after. Clear headlight lenses are crucial for road safety, as clouded lenses can significantly impair night vision and reduce light output by up to 80%. As a car ages, its headlights turn from transparent to yellow. With the widespread use of plastic lenses, which are prone to discoloration and hazing, the risk of reduced visibility is higher. Maintaining a clear headlight lens ensures optimal lighting performance, enhances visibility, and helps prevent accidents by providing better illumination of the road and surrounding environment.
How oxidation and UV damage affect headlight lenses
Ultraviolet (UV) Radiation:
UV radiation from the sun is the primary cause of headlight lens degradation. It breaks down the plastic’s molecular structure, leading to yellowing and cloudiness. This photodegradation process also breaks down polymer chains, diminishing the lens’s transparency and structural integrity.
Oxidation:
Oxidation occurs when the plastic reacts with oxygen, forming a dull, opaque layer on the lens surface. This layer starts white and can turn yellow or brown over time. The oxidation process causes micro-cracks and pits on the lens, which scatter light and further reduce clarity.
Combined Effects:
The combination of UV damage and oxidation can cut light output by up to 80%, impairing night vision and overall visibility. Damaged lenses scatter light, increasing glare for oncoming drivers and reducing headlight effectiveness. It consequentially raises the risk of accidents, particularly in low-light or adverse weather conditions.
Material Breakdown:
Modern headlights are typically made from polycarbonate, a durable plastic prone to UV damage and oxidation without proper protective coatings. Initially, headlights have a UV-resistant coating to prevent sun damage, but this coating wears off over time, exposing the plastic to direct UV radiation and accelerating degradation.
Benefits of restoring headlights over replacement
Restoring headlights is a cost-effective alternative to replacement, with kits priced between $20 and $50. While DIY restoration kits offer a temporary fix, professional services provide a more durable and longer-lasting solution.
Top Headlight Restoration Kits
Sylvania Headlight Restoration Kit: A popular choice among car owners
The Sylvania Headlight Restoration Kit is a popular choice among car owners for its effectiveness in addressing moderately foggy headlights. It works well for routine maintenance and can significantly improve the clarity and brightness of headlights that become yellow over time. However, this kit might not provide comprehensive restoration for headlights with severe oxidation or extensive damage.
The Sylvania headlight restoration kit is reasonably priced, making it an accessible option for many. The kit includes everything necessary for the job, such as sanding pads, polish, and a UV sealant. While it may not be a perfect solution for extreme cases, it offers good value for routine upkeep and light restoration needs.
Features:
- Eliminates yellowing, dullness, and haze from sun exposure.
- Fully removes haze and corrosion to restore clarity and shine.
- Enhances visibility and safety by improving the road illumination at night.
- Revives original clarity and vision for sun-damaged plastic headlight lenses.
3M Ultra Headlight Restoration Kit: A high-performance option
The 3M Ultra Headlight Restoration Kit is a high-performance choice that delivers impressive results in restoring headlight clarity. However, it requires the use of a drill, which might be a drawback if you don’t have one readily available. Despite this, the headlight renewal kit is both practical and affordable, making it a reliable option for many car owners. Priced reasonably, it benefits from the trusted reputation of 3M, a well-established brand in the automotive industry.
Features:
- Includes light abrasives, polishes, and protectants to remove scratches, dirt, and oxidation from headlight lenses.
- Restores clarity and reduces discoloration on headlights, tail lights, fog lights, and directional lights.
- The kit has abrasive discs for sanding, finishing, and refining.
- For tool-free restoration, a kit option is available that does not require a drill.
CERAKOTE Ceramic Headlight Restoration Kit: A durable and long-lasting solution
The CERAKOTE Ceramic Headlight Restoration Kit offers immediate improvement in headlight clarity. While it’s a good option for a fast fix, it may not deliver the long-term results you might seek. This kit is particularly effective for a quick restoration but may fall short when dealing with heavily oxidized headlights. For more durable, long-lasting clarity, exploring other restoration options might be beneficial.
Features:
- The CERAMIC coating lasts as long as you own your vehicle, and it has a limited lifetime warranty.
- It provides a UV-protective coating that chemically bonds to headlights for long-lasting clarity and protection.
- No power tools are needed.
- Minimum risk of damage to your headlights or vehicle paint.
Choosing the Right Headlight Restoration Kit
Assess Headlight Condition: Consider the level of oxidation and damage to your headlights when selecting a restoration kit to ensure you choose one that effectively addresses your specific needs.
Evaluate Key Factors: Compare each kit’s ease of use, effectiveness, and cost. Based on your budget and desired results, determine which kit offers the best balance of these factors.
Check Kit Components: Some kits include a sealant, while others may require you to remove a hard protective coating before refinishing the plastic lens. Make sure to choose a kit that suits your application and surface preparation requirements.
Look for Comprehensive Kits: Opt for kits that include both a polishing compound and a clear coat to ensure a durable, long-lasting finish. A good kit should provide all the necessary components for a complete restoration process.
The Restoration Process and Maintenance
Your restoration kits should include a step-by-step guide with pictures. However, here’s the general procedure.
1. Preparation:
- Gather materials: headlight restoration kit (sandpaper of various grits, polishing compound, UV sealant), tape, water spray bottle, and microfiber cloths.
- Wear gloves and safety glasses for protection.
2. Masking:
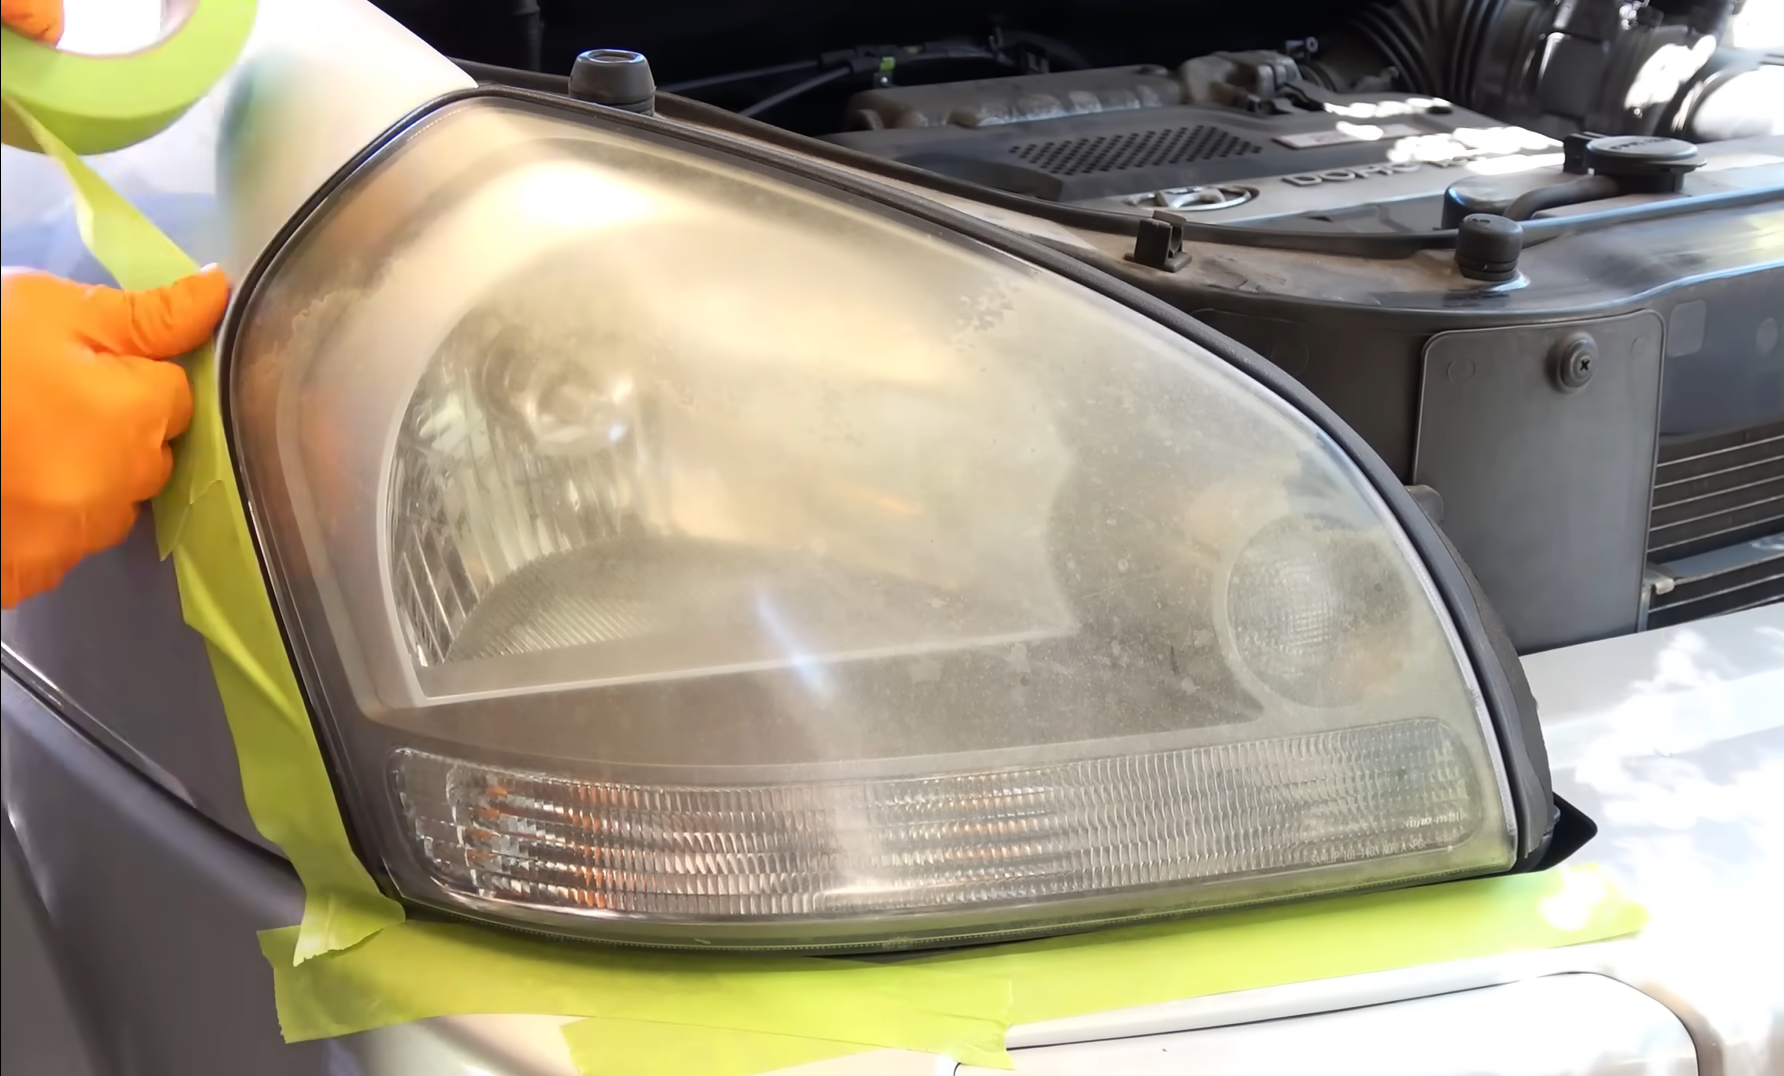
Apply masking tape around the headlights to protect the car’s paint from scratches and abrasives.
3. Wet Sanding:
- Start with coarse-grit sandpaper (around 600 grit), and wet both the sandpaper and headlight surface.
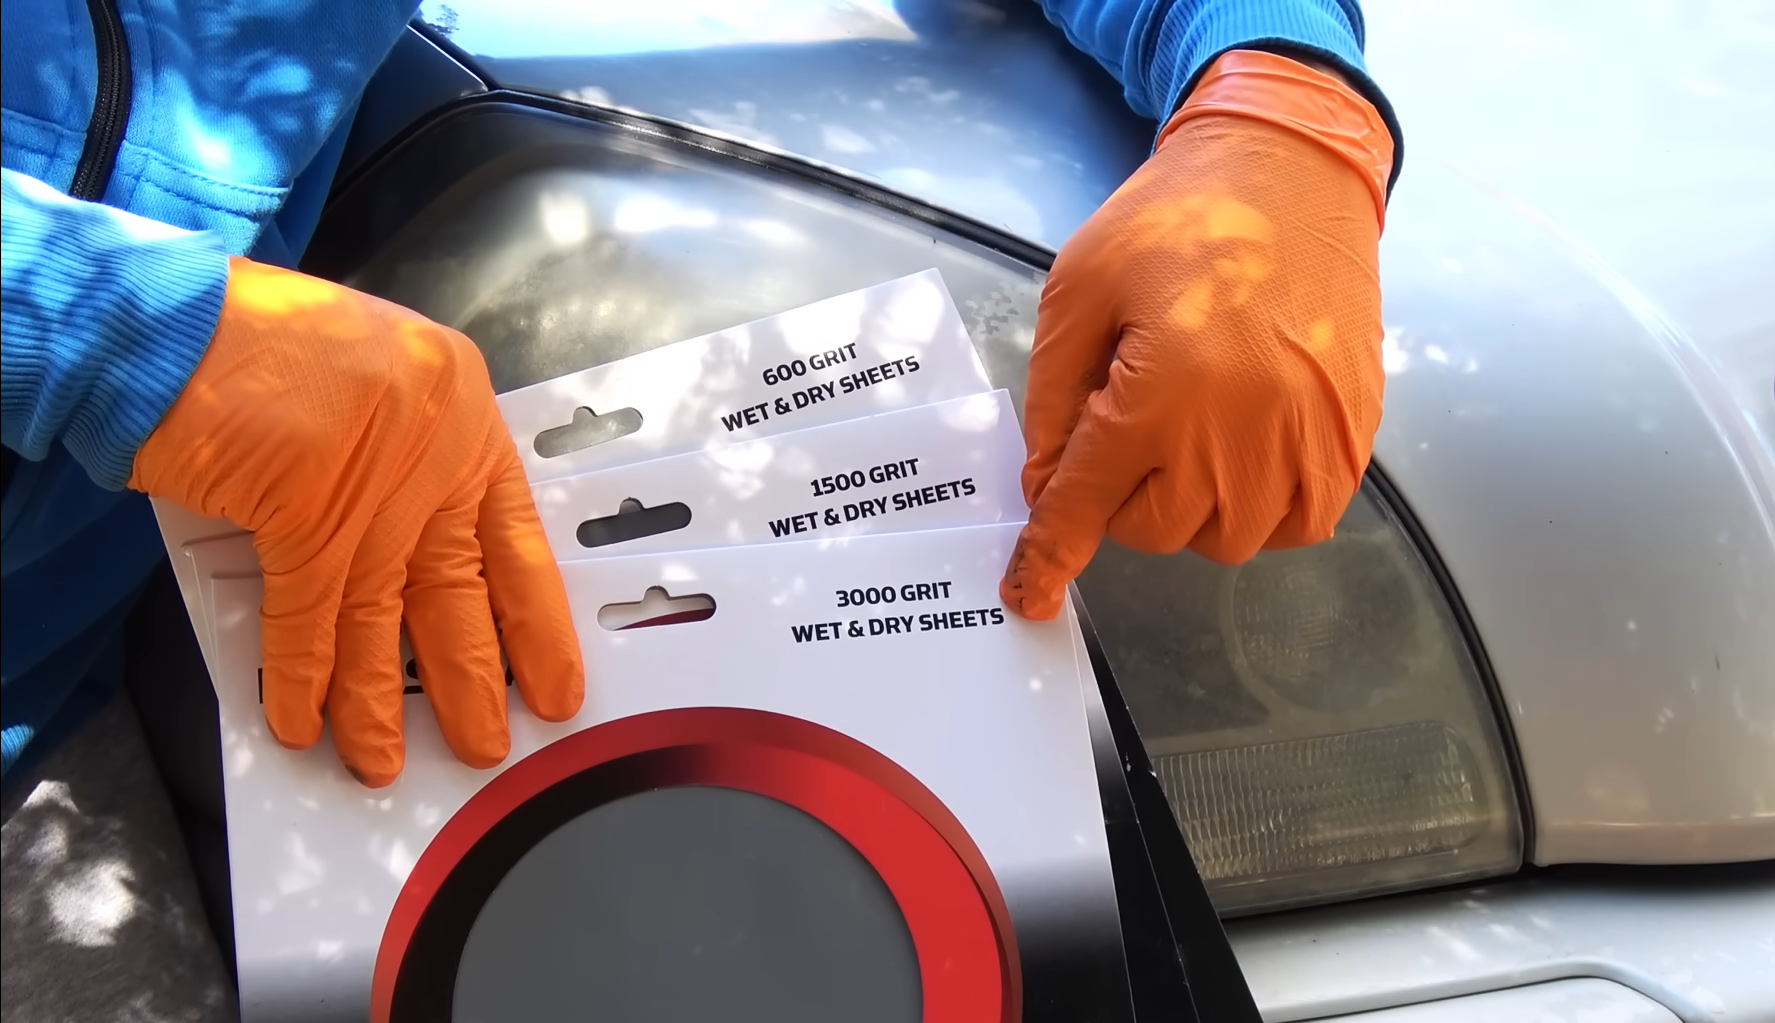
- Sand evenly in horizontal or vertical strokes, keeping the surface wet to remove oxidation.
- Progress to finer grits (1000, 2000, 3000), smoothing out scratches from previous grits.
4. Polishing:
- Apply the polishing compound with a microfiber cloth or polishing pad.
- Buff the headlight in a circular motion until the lens is clear and smooth.
5. Cleaning:
Wipe away any residue from the polishing compound with a clean microfiber cloth.
6. UV Sealant Application:
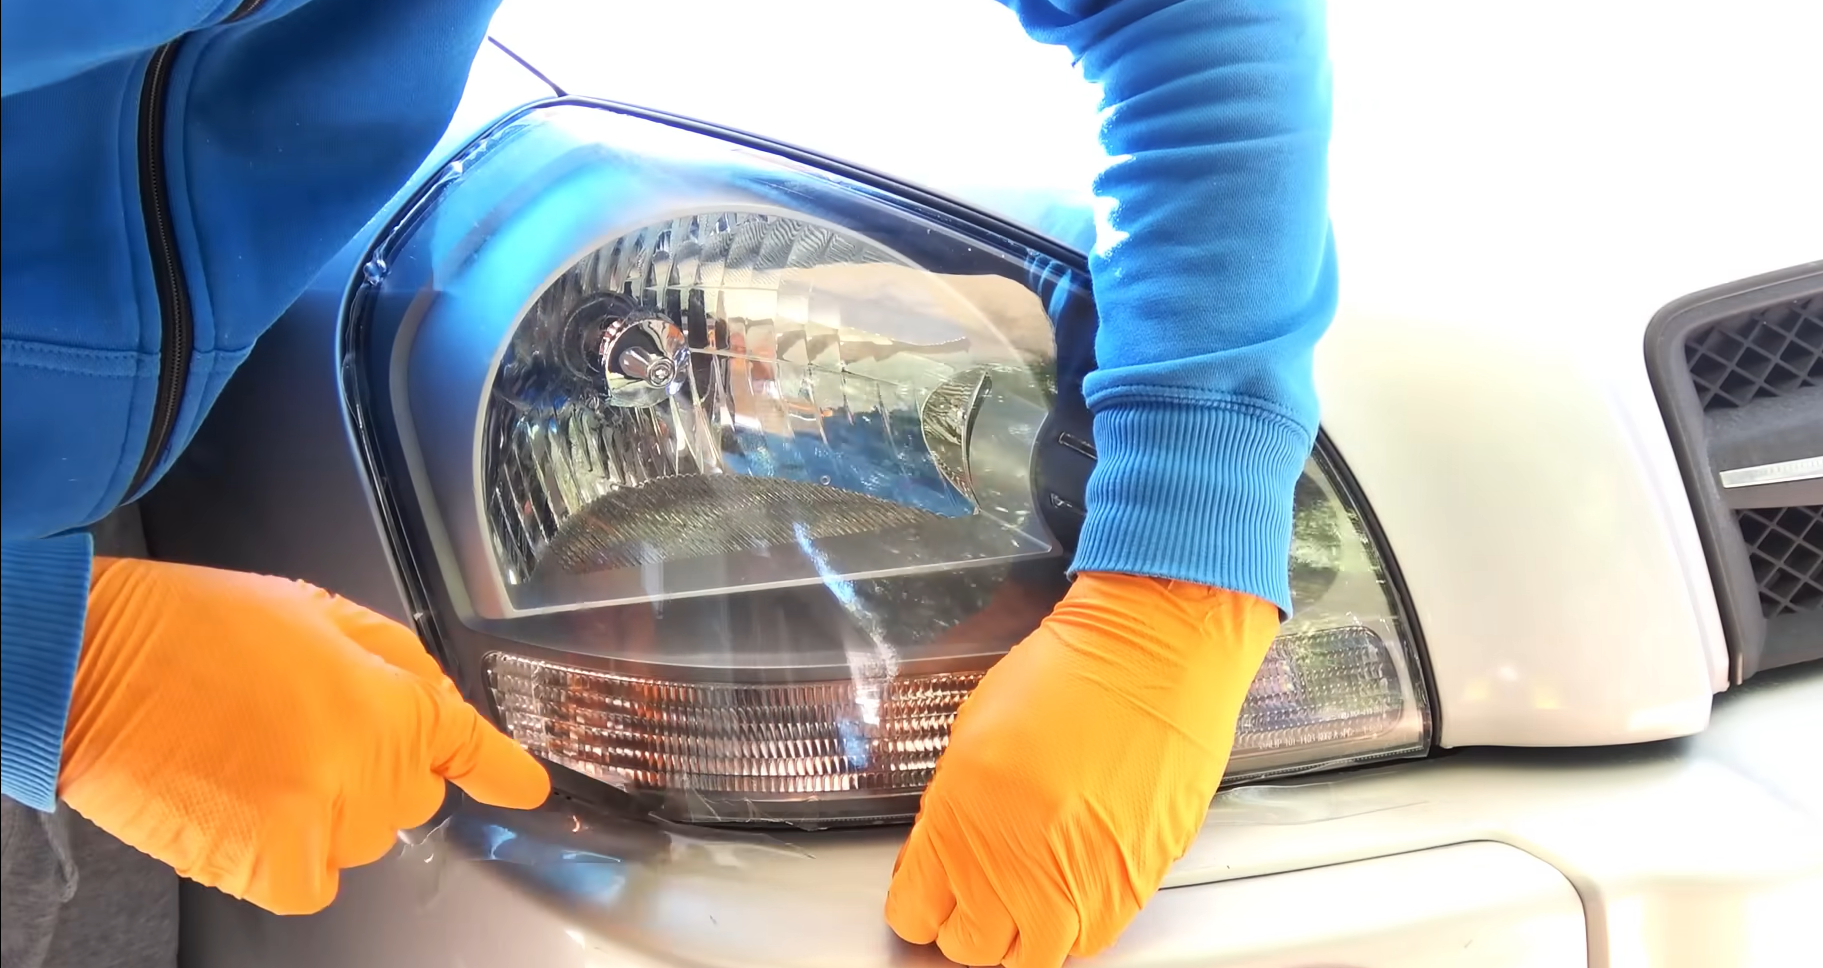
- Apply a UV-resistant sealant to protect against future damage.
- Allow the sealant to cure for the best results, usually for a few hours.
- Alternatively, UV resistant films are also a good option. They last for a few years.
How to maintain your restored headlights to prevent future damage
To maintain your restored headlights and prevent future damage, it’s important to clean them regularly to remove any dirt and debris that can accumulate over time. Additionally, applying a ceramic coating can provide extra protection, helping to keep the headlights cleaner for longer and shielding them from potential damage.
Buying Tips and Considerations
Where to buy headlight restoration kits: online retailers and auto parts stores
You can buy headlight restoration kits from online retailers like Amazon or at local stores such as Walmart and AutoZone. In Sacramento, you can also visit detailing stores like “Ivan’s Detailing Supplies” for specialized products and expert advice.
Common mistakes to avoid when restoring your headlights
1. Skipping Grits:
- Why It Matters: Using progressively finer grits of sandpaper is essential for achieving a smooth, polished surface. Skipping grits can result in deep scratches that are challenging to remove, leaving your headlights looking worse than before.
- How to Avoid: Always follow the recommended sanding sequence, such as 600, 1000, 1500, 2000, and 3000 grits. This gradual progression ensures that each layer of sanding smooths out the scratches from the previous grit.
2. Insufficient Wetting:
- Why It Matters: Wet sanding is critical for preventing scratches and extending the life of your sandpaper by keeping it from clogging with debris. Dry sanding increases the risk of damaging the headlight’s surface.
- How to Avoid: Consistently spray water on both the headlight and the sandpaper throughout the sanding process. This helps to reduce friction, clear away particles, and keep the surface smooth.
3. Uneven Sanding:
- Why It Matters: Applying uneven pressure during sanding can create an inconsistent surface, resulting in hazy or cloudy areas of the headlight. This can lead to a patchy appearance and reduce visibility.
- How to Avoid: Maintain even pressure across the entire surface and use consistent, overlapping motions when sanding. Take your time to ensure the entire headlight is sanded evenly, avoiding any shortcuts.
4. Not Cleaning Between Steps:
- Why It Matters: Residue from previous sanding steps can interfere with the results of subsequent steps, leading to a less polished finish. Dirt and debris can also scratch the surface if not removed.
- How to Avoid: After each sanding step, thoroughly wipe the headlight with a clean microfiber cloth to remove any dust, residue, or debris. This ensures that the next sanding step or polishing process can be performed on a clean surface.
5. Skipping the UV Sealant:
- Why It Matters: A UV sealant is crucial for protecting your restored headlights from the sun’s harmful UV rays. Without it, the plastic lenses can quickly become cloudy and discolored again, undoing all your hard work.
- How to Avoid: After polishing, always apply a UV-resistant sealant or clear coat designed for headlights. This protective layer will help maintain clarity and prolong the life of your restoration.
If you have any questions or need professional assistance, contact our support team. We’re happy to help you maintain prim conditions for your components.
